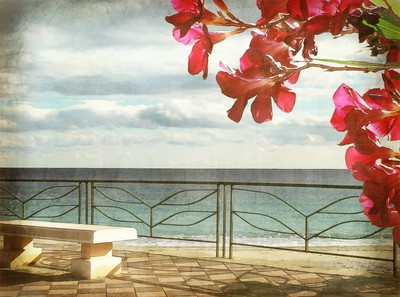
Red Oleander (Old Drawing Effect)
The author of this tutorial is Grazia Zitara from Italy.
In this tutorial we are using AKVIS ArtWork and AKVIS Sketch to transform a photo into a weathered drawing.
-
Step 1. Open the photo in any image editor compatible with the AKVIS plugins, for example, AliveColors.
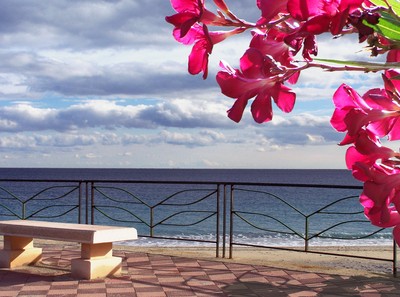
Original Image -
Step 2. Create an adjustment layer (Layers -> New -> Adjustment Layer -> Selective Color) and choose Reds and Cyans options in the dialog (Cyans: Magenta = -56%; Reds: Yellow = +38%).
Merge the layers into a single layer (Layers -> Merge All).
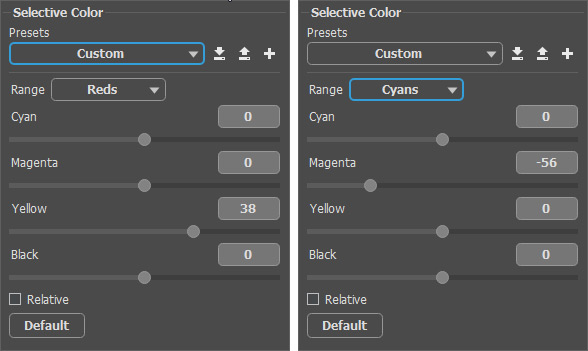
Selective Color Correction -
Step 3. Duplicate the background layer (Layers -> Duplicate) and call the AKVIS ArtWork plugin (Effects -> AKVIS -> ArtWork). Choose Watercolor from the list of styles and set the parameters as shown below:
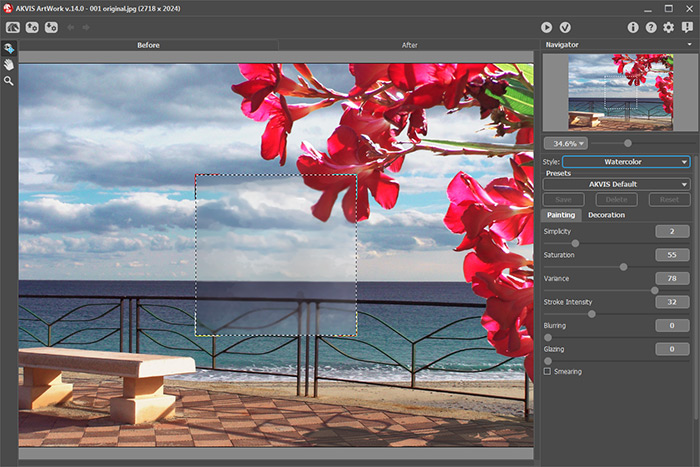
AKVIS ArtWork WorkspacePress
 to process the image and then press
  to apply the result. You'll get this watercolor painting:
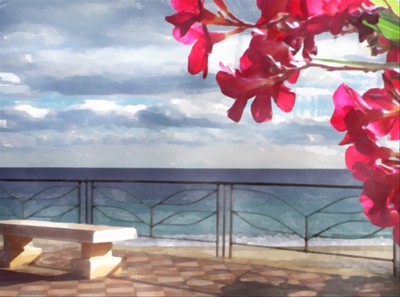
Watercolor -
Step 4. Go to the Layers palette and change the top layer's blend mode to Lighter Color and its opacity to 44%.
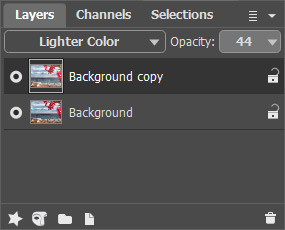
Merge the two layers.
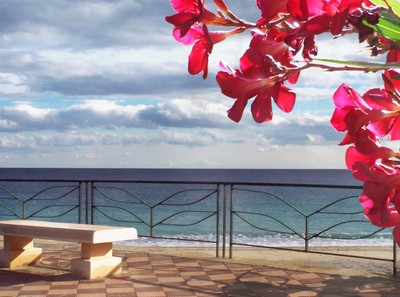
Image After Applying Lighter Color -
Step 5. Duplicate the layer (Layers -> Duplicate) and call the AKVIS Sketch plugin (Effects -> AKVIS -> Sketch).
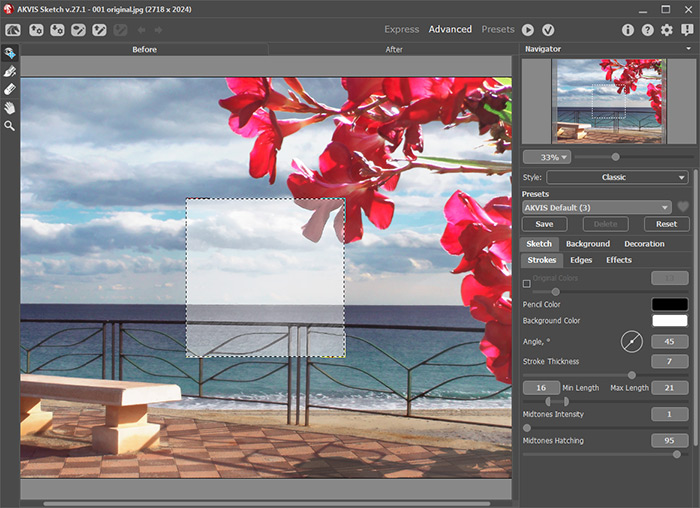
AKVIS Sketch WorkspacePress
 to process the image and
  to apply the result. You'll get this sketch:
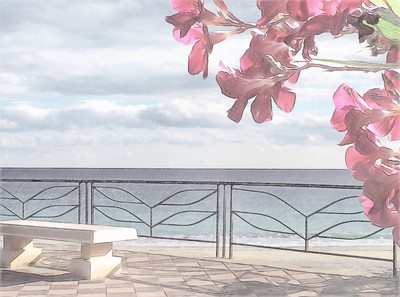
Pencil Drawing -
Step 6. Go to the Layers palette and change the top layer's blend mode to Soft Light but leave its opacity at 100%.
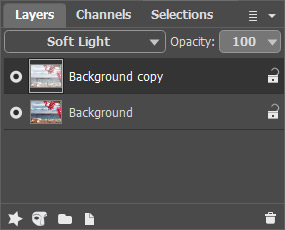
Merge the two layers.
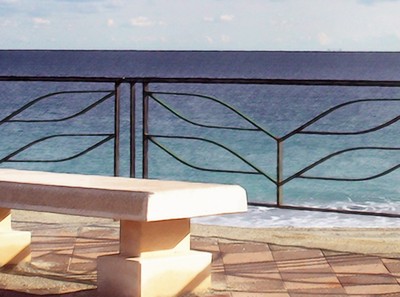
Fragment of the Image After Applying Soft Light -
Step 7. Emphasize the edges by repeating the procedure: copy the layer and call the AKVIS Sketch plugin. This time use the default settings (AKVIS Default preset).
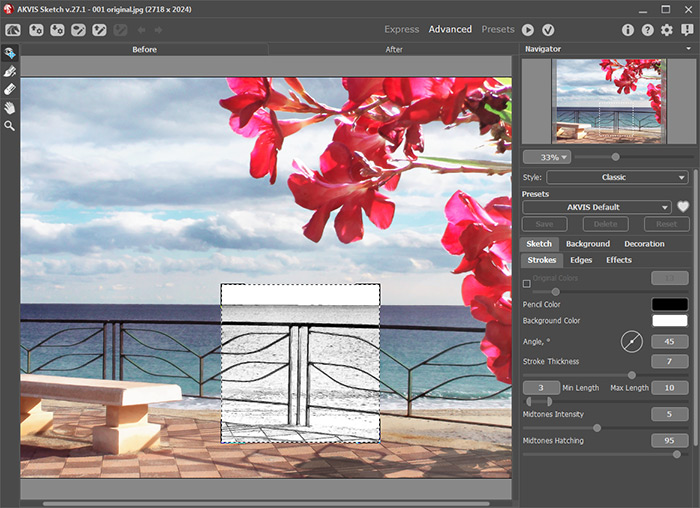
AKVIS Sketch Workspace With Default SettingsAfter processing you'll have this black and white drawing:
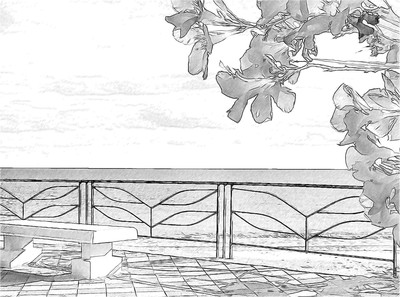
Black and White Drawing -
Step 8. Now, on the Layers palette, change the top layer's blend mode to Linear Burn, its opacity to 36%.
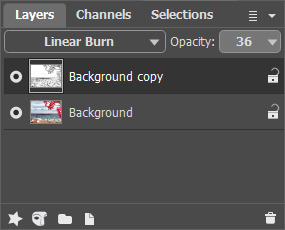
Merge the two layers.

Fragment of the Image After Applying Linear Burn -
Step 9. Open an image which has a texture similar to old paper.
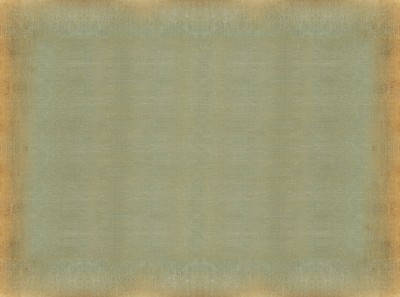
Texture 1Switch to the window containing the texture, activate the Move
 and drag the texture over the image. The texture will be copied over the image as layer.
In the Layers palette, change the blend mode of the texture's layer to Hard Light and change its opacity to 46%. This will make the picture look older.
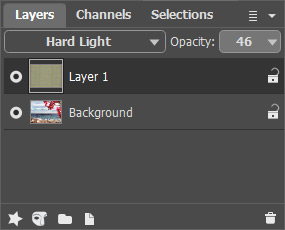
Merge the two layers.
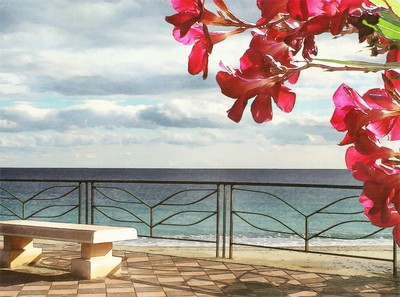
Image After Applying Hard Light -
Step 10. Do the same with this texture:
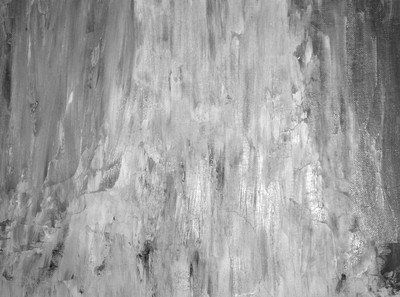
Texture 2Go to the texture's layer and change its blend mode to Soft Light and its opacity to 42%.
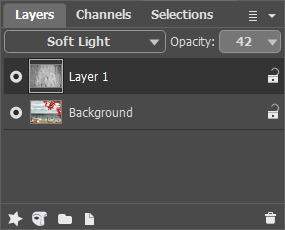
Merge the two layers. The texture has caused the image to fade a bit.
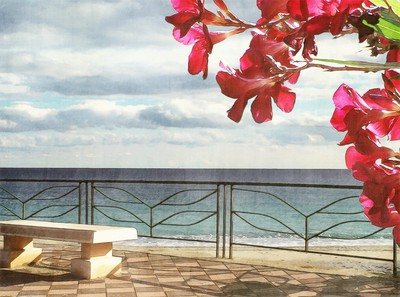
Image After Applying Soft Light -
Step 11. Open a frame which will add a shaded border to the image (the center of the frame is transparent).
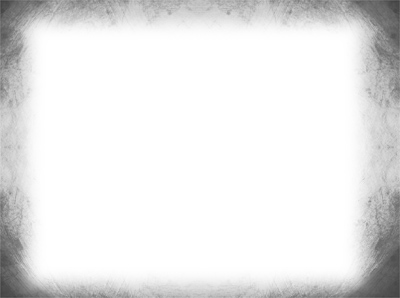
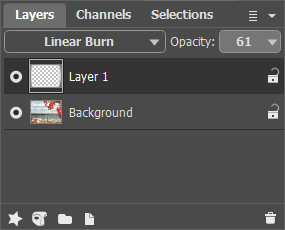
Frame for the ImageDrag the frame over the image's window. The frame will be added as a new layer. Choose the Linear Burn blend mode for this layer and change its opacity to 61%.
Merge the two layers.
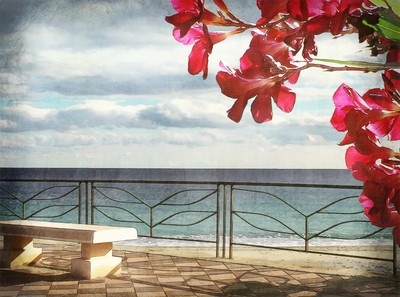
Image With Frame -
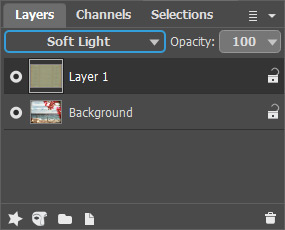
Step 12. Add the first texture again (see Step 9). This time, change the blend mode for the texture's layer to Soft Light but leave its opacity at 100%.
And here at last is the result:


