Sweet Couple: a Postcard from a Photo
It is not easy to choose a suitable present for the loved ones even when you know their tastes. A good present should be individual and original. What can be better than a hand-made greeting?!
We offer you to create an ideal greeting card - it is funny and exclusive. We used the program AliveColors with plugin AKVIS Sketch.
- Step 1. Open a photo in AliveColors.
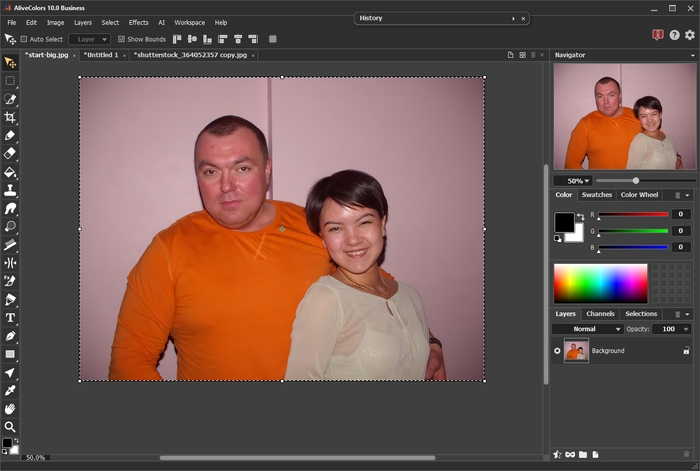
- Step 2. We should select the sweet couple using any selection tool. In the main menu of the photo editor choose Select -> Subject.
Here we get the selection:

- Step 3. Copy the selected image Edit -> Copy.
- Step 4. Now we open the image with the cats.
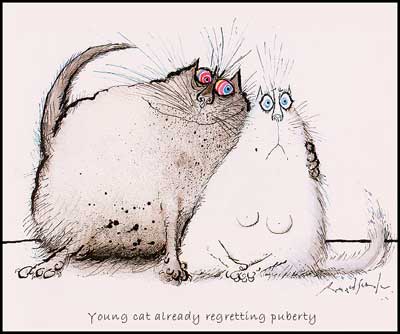
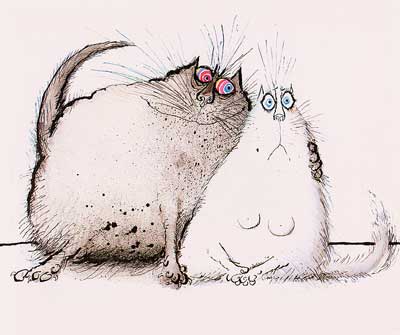
- Step 5. Erase the inscription: press Foreground Color and then choose Eyedropper
 and click on the area near the inscription to define the color. Remove the inscription using Color Brush
  .
.
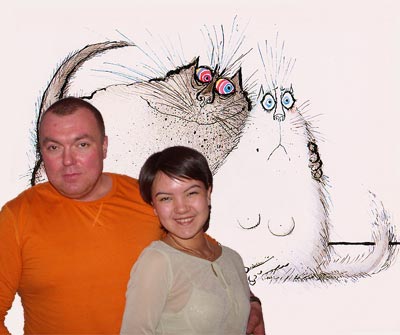
- Step 6. Paste the selected image Edit -> Paste. Then we adjust the position of the couple on the image using the command Edit -> Free Transform. Set the size of the picture by changing the value W (Set horizontal scale) and H (Set vertical scale) in the Settings panel. Use the same value of the parameters to keep the image proportions.
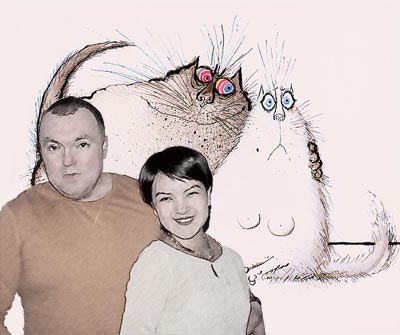
Place the pasted image to the appropriate place. The result should be like this one:
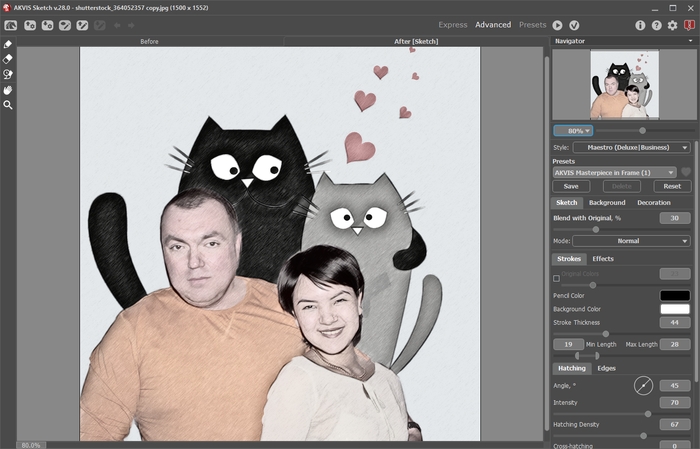
- Step 7. Now we'll make a sketch from the photo. Use Layers -> Merge Layers, then call AKVIS Sketch (Effects -> AKVIS -> Sketch).
Change the parameters.
Press
 to see the result and
  to apply the effect.
Here is our final result:
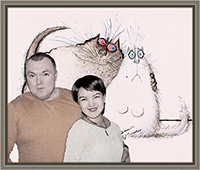
You can frame this image to give it the final touch.
Result

Follow the instructions below to create a postcard.
First we should choose suitable images. Let’s take this photo.

Photo of the sweet couple
We have found a cool image with two expressive-looking cats.

Cats
These lovely cats remind us of our sweet couple!
Let’s begin our work:
