Make a sketch from a photo
To make a sketch you need certain abilities. You either have to be capable of drawing by hand, or have a good knowledge of a graphical editor to change your photo into a drawing by a series of comands, filters, and layers with different merging modes.
But if you cannot draw and do not have time or desire to perform a long and tedious series of steps, you can use AKVIS Sketch. It is easy to use and allows you to get a realistically looking drawing in few seconds.
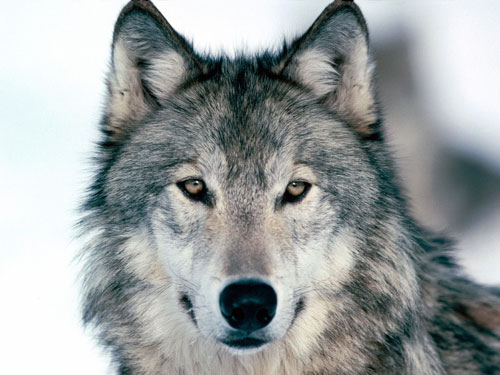
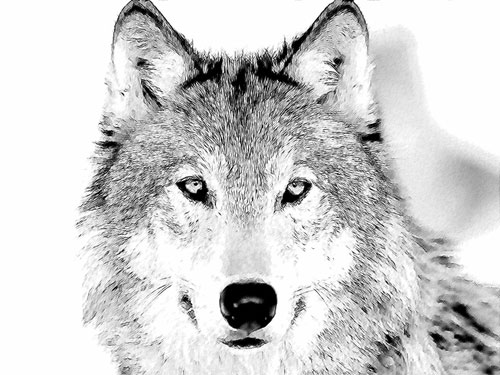
In this example we will show the procedure of changing a photo of a wolf into a pencil drawing.
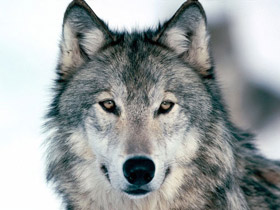
Source photo of a wolf
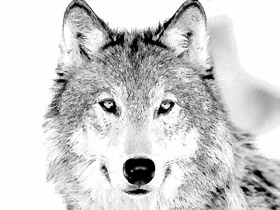
Pencil drawing of a wolf made out of photo
We use the Sketch plugin in this tutorial, but you can take the standalone edition and use the same parameters to achive this result.
So, open the photo in a photo editor and call the Sketch plug-in.
On opening AKVIS Sketch press in the plug-in window the  button. The photo will be converted into a drawing with default settings.
Let's analyse the resulted image and adjust the plug-in settings. You can see the settings we chose for this drawing in the image below.
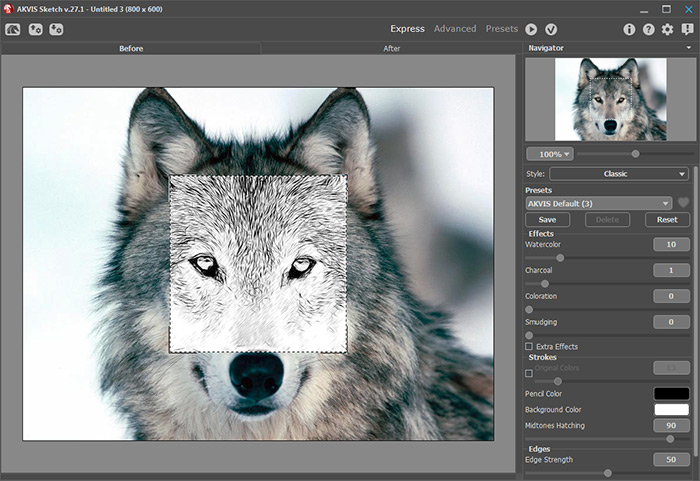
Let's have a closer look at some parameters:
- Parameter Watercolor. By increasing this parameter by only 10 points we blured the tiniest strokes that could give extra "dirt".
- Parameter Stroke Thickness. The less the value is, the finer our drawing strokes will be.
- Parameter Midtones Hatching. By decreasing this parameter you decrease the level of detail in the lighter regions of the image.
The parameters are adjusted and you are happy with the drawing.
All you have to do now is to apply the result by pressing  button in the plug-in window.
You will get the pencil sketch of a wolf in your image editor. Now you can save the picture.
