Radiant Girl: A Detailed Color Portrait
The author of this tutorial is Alvaro Salazar Chacon.
The tutorial was created using the AKVIS Sketch plugin in AliveColors.
With AKVIS Sketch you can create a wonderful color portrait with a lot of detail.


Follow these instructions:
- Step 1. Choose a photograph and open it in AliveColors.

Original Photo - Step 2. Make two layer copies, call Effects -> High Pass from the menu, and set Radius to 6.8 pixels.

Applying the High Pass Filter - Step 3. Change the blending mode from Normal to Overlay, to highlight the most important details of the portrait, and merge the top layer with the layer below it.
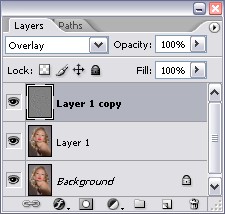
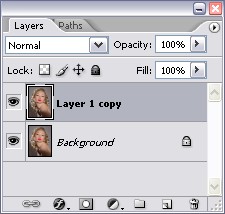
"Layers" Palette - Step 4. Call the AKVIS Sketch plug-in Effects –> AKVIS –> Sketch from the menu.
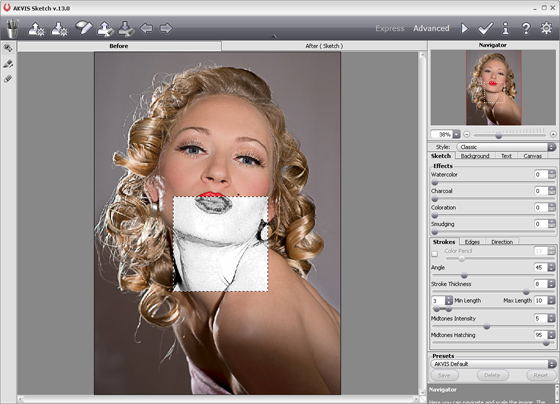
AKVIS Sketch WorkspaceMake the necessary adjustments to the settings and press the
 button to apply the result.
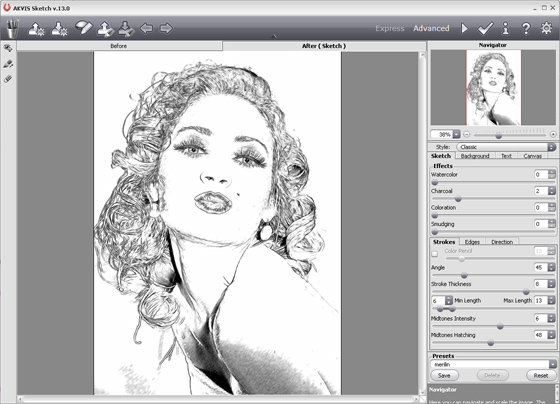
Result After Using AKVIS Sketch - Step 5. Use a white Brush
 to paint over extra strokes and defects, leaving only the important details of the image.

Using the White BrushAfter working on the face it will appear brighter:

After Using the Brush - Step 6. To equalize color brightness, apply a median noise filter Effects -> Noise -> Median with Radius set to 8 pixels.
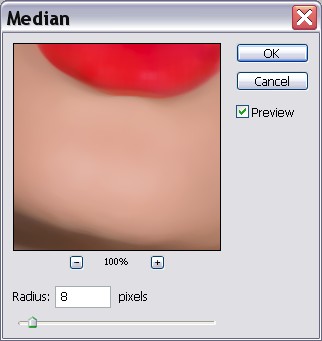
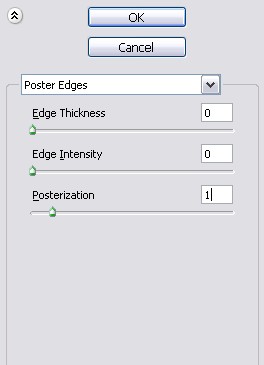
Applying the Median Filter - Step 7. Then to this same layer apply an artistic posterizing filter Effects -> Artistic -> Comics with the parameters set as shown:
Applying the Comics Filter - Step 8. Now repeat Step 6 with the same settings.
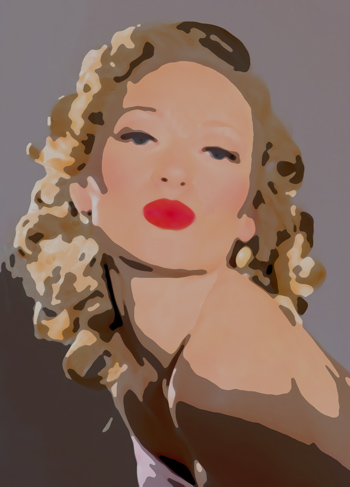
Applying the Median Filter to the Posterized Image - Step 9. Change the blending mode of the upper layer (drawing) from Normal to Color Burn and set Opacity to 80%.
Then combine the layers, and if desired, increase the saturation of the image using Image -> Adjustment -> Hue/Saturation.
We end up with a bright, stylized portrait:

Portait of a Girl
