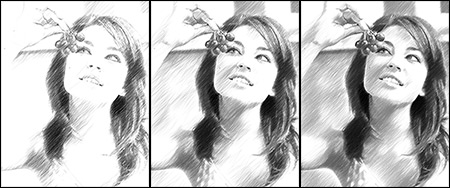
Timeline: Stop the moment!
The author of this tutorial is Irina Vesnina (Russia).
Would you like to get several variants of your resulting image with just a single mouse click? In the latest versions of Sketch it’s possible to use the Timeline feature to create a list of intermediate shots which represent different stages of image processing - from a semi-processed drawing to a practically finished work, from a quick rough sketch to a realistic high-detail painting. Using the same parameters, you can get a variety of art styles to choose from!
Note: The Timeline is available for the advanced types of the licenses (Home Deluxe and Business).
- Step 1. Open the image you want to turn into a sketch drawing: it can be a portrait, landscape, still life or any other image you like.

Original Image - Step 2. The Timeline is displayed at the bottom of the main window. The number of the shots you’ll get can vary from 1 to 20. By default, there will be 10 intermediate images. If you want to get more or fewer shots, change this parameter in the program’s Preferences.
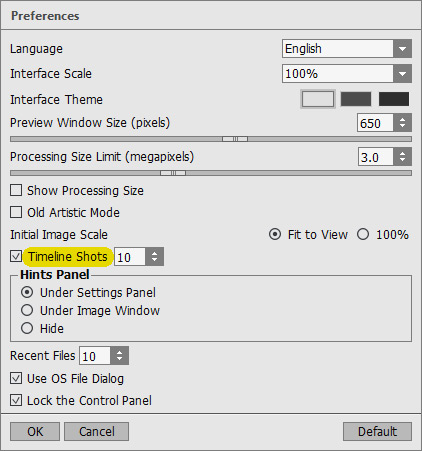
Preferences - Step 3. Using the preview window, choose a suitable preset or adjust the parameters to your liking.
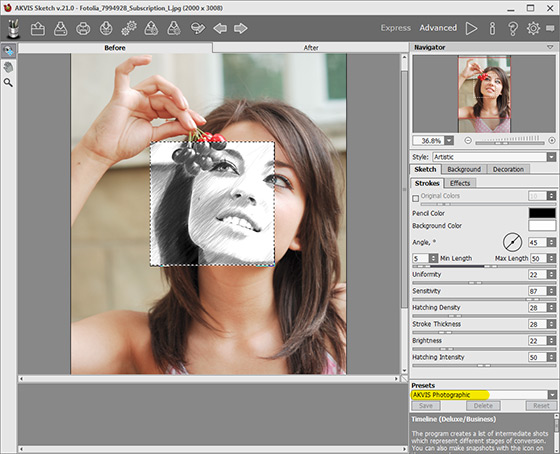
AKVIS Sketch Window - Step 4. Press the button
 to launch image processing. You will see the windows appearing at the bottom of the Image Window in the course of processing.
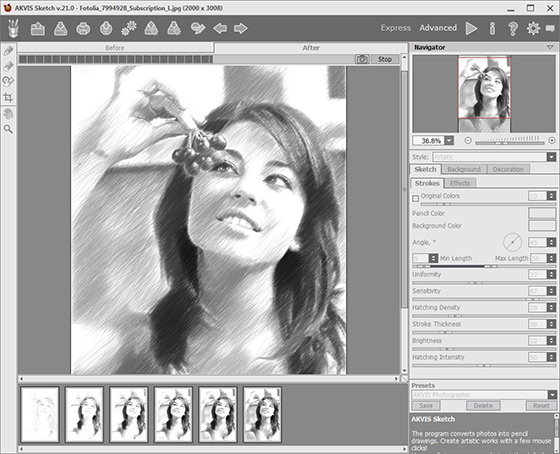
Image Processing - Step 5. When the processing is completed, you will see a list of the intermediate results:
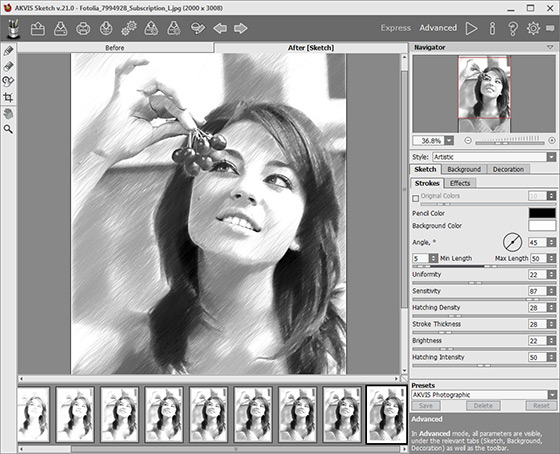
List of results - Step 6. Browse the shots to find the image you like most. If you want to get back to your final result, click on the last shot in the list.
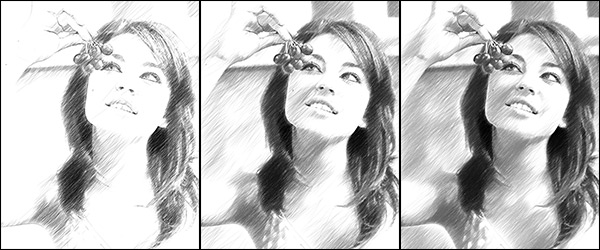
Most liked imagesYou can use different presets, parameters and color options to get a stunning digital art. The Timeline feature will multiply your possible results providing you the opportunity to choose the best result for your requirements!
Maestro mode:

Original Photo
ResultsClassic mode:

Original Photo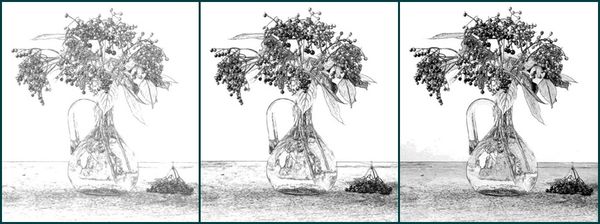
ResultsGet creative and feel free to experiment!

