Timeline
AKVIS Sketch lets you observe the conversion of your photo into a pencil drawing in real time. During the process, the program creates a list of intermediate shots which represent different stages of conversion — from a semi-processed sketch to practically finished work. Without changing the settings you can create variations of drawings! You can also quickly compare the results achieved in different styles.
To display the Timeline at the bottom of the main window, enable the option in the Preferences.
Attention! Using the Timeline significantly slows down the calculation speed. To speed up processing, turn off the Timeline Shots in the program's preferences.
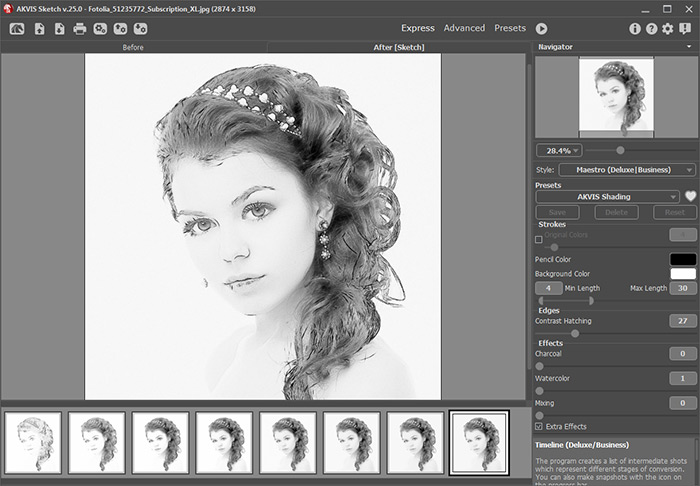
AKVIS Sketch
Note: Selecting a frame in the Timeline is only available in the Home Deluxe and Business versions. Note that everyone, even with a Home license, can get a semi-processed image using the Stop button in the progress bar.
Start conversion of your photo into a drawing by pressing the button  . You will see shots appearing at the bottom of the window in the course of processing.
You can also take snapshots of your favorite moments with the button ![]() right of the progress bar. When you press it the drawing in its current state will be added to the list; such manual shots are selected with the blue frame.
right of the progress bar. When you press it the drawing in its current state will be added to the list; such manual shots are selected with the blue frame.
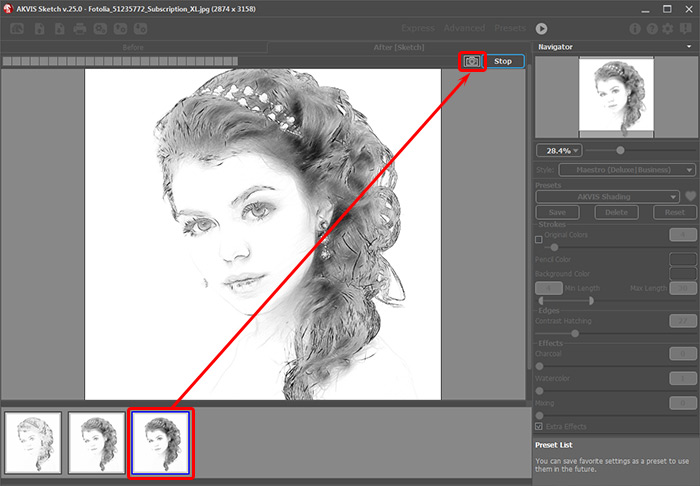
Image Processing
If you press the Stop button in the progress bar, image processing will be interrupted.
Browse the shots in the Timeline to find the image you like most. If you want to get back to your final result, select the last shot in the list.
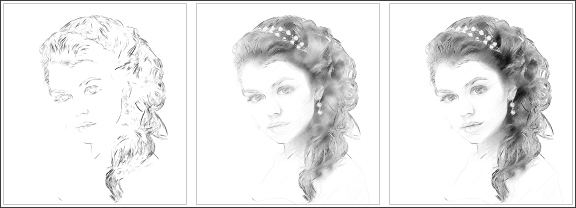
Variants of Drawing
When you change the parameters and re-run image processing, the Timeline will be cleaned up and will start being filled up with new shots. You can save some of the variants by pinning them with a double click. In the upper corner of the selected shot appears the icon ![]() .
.
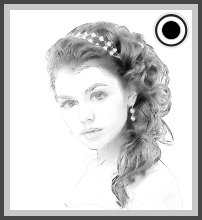
You can switch between the shots, change the settings and re-start processing - the pinned result will remain in the list. It's possible to unpin it with a double click.
To delete a snapshot, select it in the Timeline and click ![]() .
.
Attention! Pinned shots can't be removed with this button!
Loading a new image into the program removes all shots, including pinned ones.
The selected result will be shown in the Image Window under the After tab.
You can modify it with the post-processing tools: ![]() ,
, ![]() ,
, ![]() .
.
Attention! After using the post-processing tools, switching to another image in the Timeline will result in the loss of changes made with the tools. You can save the result under a new name and continue working.
You can hide/show the Timeline in the program's preferences  . If the Timeline Shots option is enabled, you can set the number of the shots created during image processing.
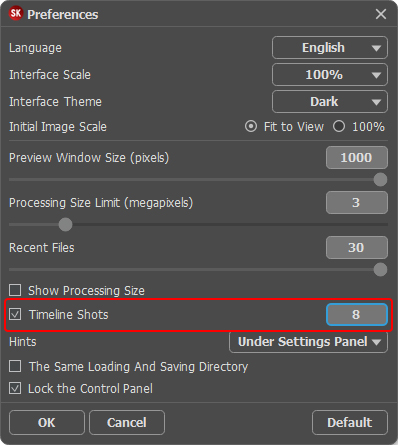
Program's Preferences
