Typography Effect
By following this tutorial, you'll learn how to create an impressive yet easy typography effect using AKVIS Sketch and AliveColors image editor. Experiment with AKVIS programs and create truly unique effects!
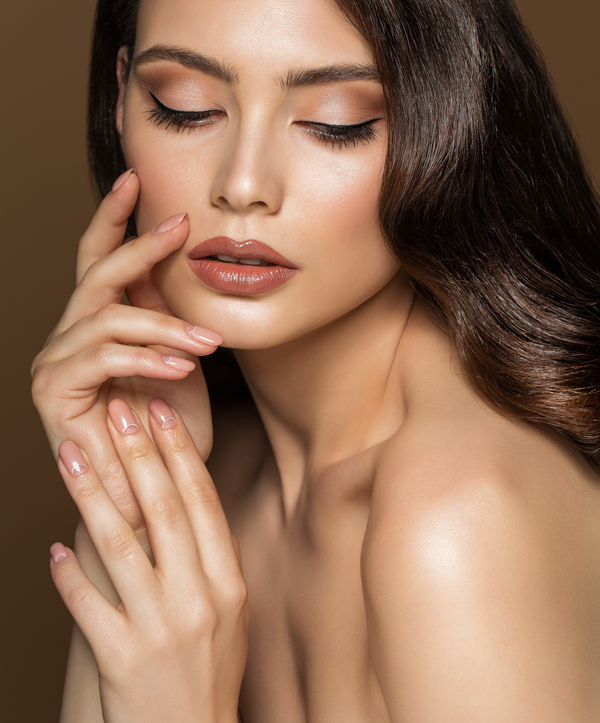
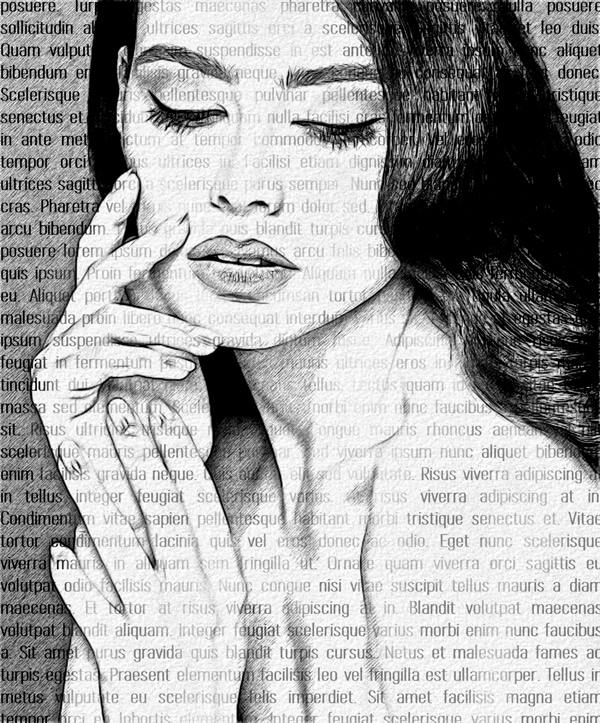
(open a larger version)
- Step 1. Create a new 3719 x 1600 px image in AliveColors image editor (File -> New...). You can use the free version of the software.
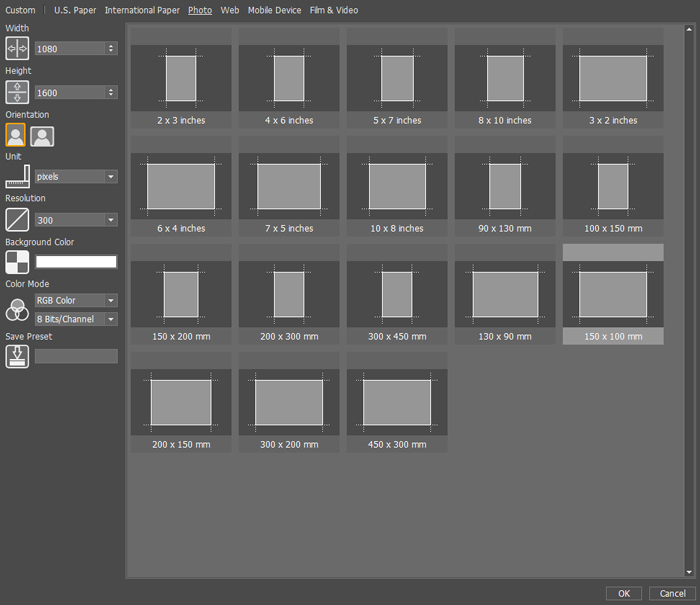
Creating New Image in AliveColors - Step 2. Select the Text tool
 . Click and drag to create a text frame. A new text layer will be added to the image. Drag the text layer's corners so that the text frame fits the image size. Type in the text you want the image to show through. Adjust the font style and its size in the Tool Options panel.
Rename the layer by double-clicking its name and then entering Text.
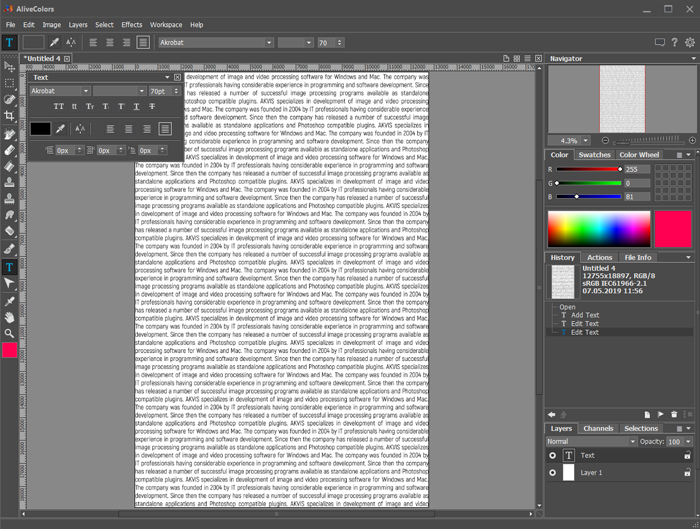
Creating a Text Layer - Step 3. Open the photo in AliveColors image editor (File -> Open...).
Transform it to the drawing using AKVIS Sketch (Effects -> AKVIS -> Sketch).
You can choose any preset or adjust the settings manually. We've chosen AKVIS Charcoal Low and enabled the Extra Effects on the Effects tab.
Run the processing by clicking on
 . Click
  to apply the changes.
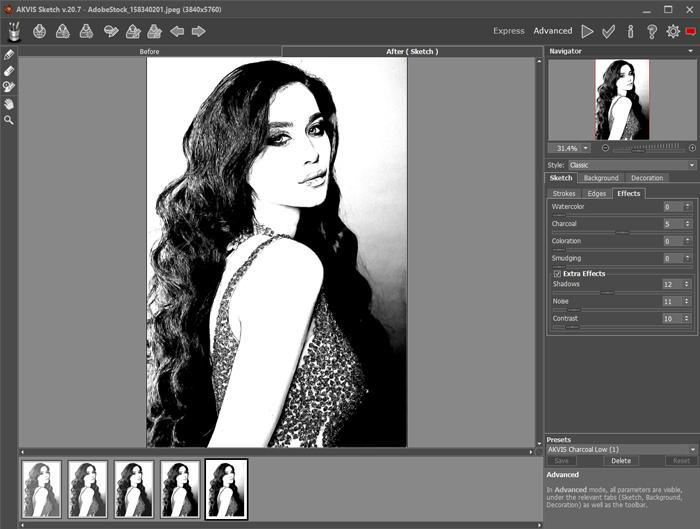
Program Window of AKVIS Sketch - Step 4. Copy the drawing to the Text layer. To do this, select the layer processed with AKVIS Sketch, press ctrl + A, ctrl + C, select the text layer in the previously created image, and press ctrl + V.
- Step 5. Rasterize the Text layer by right-clicking on it and choosing Rasterize Layer.
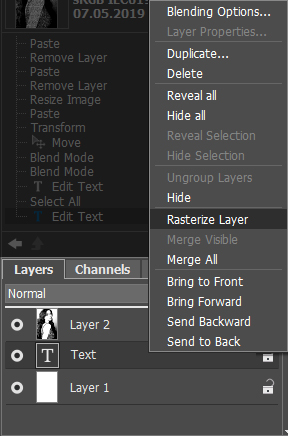
Rasterizing Text LayerThe layers should be placed as follows (Text layer above the drawing). You can change the order of layers by dragging.

Layers - Step 6. Reduce the opacity of text in certain areas of the image using the layer mask. Select the Text layer and press the button New Mask
 . After pressing the button, an extra thumbnail appears to the right of the layer thumbnail.
Select the mask thumbnail. Paint with black over the mask to hide parts of the layer. Paint with white to display parts of the layer. You can also adjust the opacity of the brush to make areas partially visible.
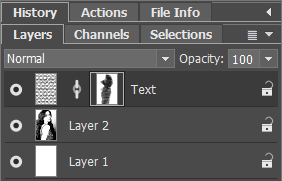
Layer Mask - Step 7. Merge the layers (Layers -> Merge All) and save the result (File -> Save As...).
