Wild Beast of Prey: Creating a Watercolor of a Wolf
The author of the tutorial is Alexey Pasko. The example is created in AliveColors.
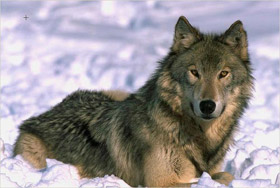 |
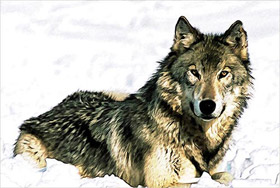 |
| Source image | Result |
The description is given by the author himself.
I wanted to know how the AKVIS Sketch plug-in would handle fur, that is why I chose a photo of a wolf.
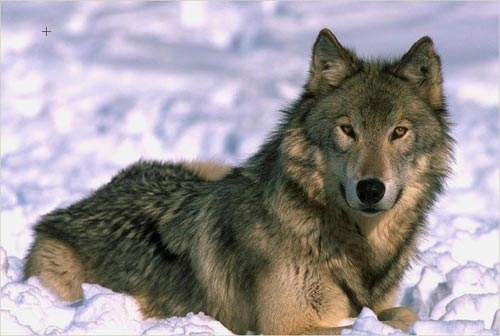
-
Step 1. I blurred the copy of the original layer with Gaussian Blur effect at Radius = 1.
Then I applied AKVIS Sketch with the following settings:
Angle = 45,
Stroke Thickness = 9,
Minimum/Maximum Length = 3/10,
Midtones Intensity = 3,
Midtones Hatching = 100,
Watercolor = 0,
Charcoal = 0,
Coloration = 0.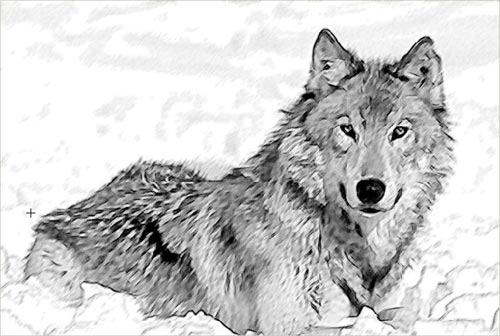
If I hadn't blurred the wolf before applying AKVIS Sketch, it would have looked like a hedgehog.
-
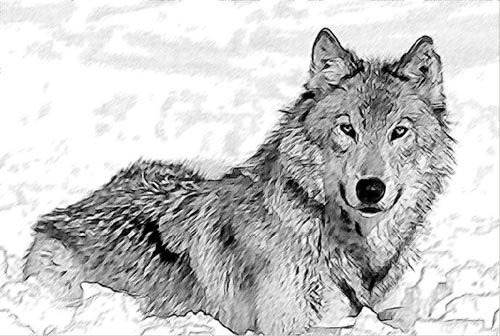
Step 2. Then I copied the original layer again and blurred it at radius 0.7 px. Then I applied AKVIS Sketch plug-in with default settings. This time I got sharper strokes.
-
Step 3. Then I used Clone Stamp to clone some parts from the image I got in Step 2 into the image I got in Step1. In the process I used a 10-30 px soft brush with transparency ranging from 90 to 100%.
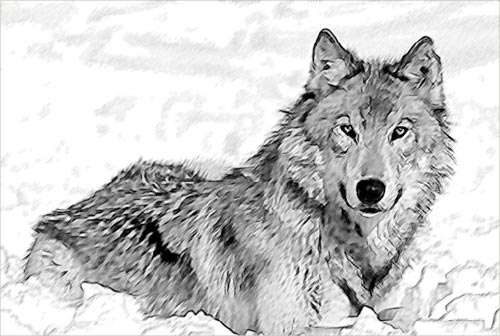
- Step 4. I added a Curves Adjustment layer to the very top of the Layers palette to lighten the image and slightly increase the contrast.
-
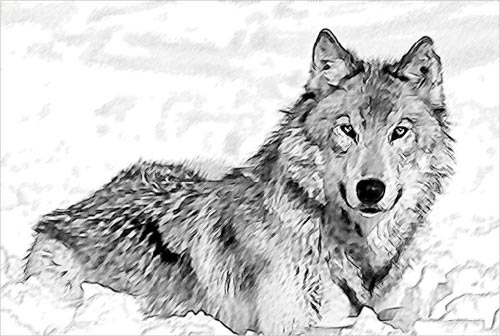
Step 5. Using Sharpen Tool I increased sharpness in certain areas of the image (eyes, nose etc.).
-
Step 6. Then I changed the blend mode of this layer onto the original layer to Overlay.
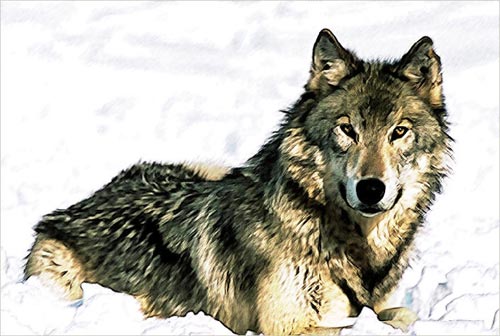
Click the image to open its larger copy in a new window This example is rather simple but there is an infinite number of variants. I liked this one - it reminds me of watercolor.
