Variations On A Rose
The author of this tutorial is Joaquín Sánchez Navarro:
"A few days ago a colleague sent me a link to the program AKVIS Sketch, which can be used as as standalone program or plug-in to Photoshop to convert drawings into photos. I tested the program and encourage anyone else interested to try it too. Now I will describe how to use AKVIS Sketch, and the results you can achieve with it."

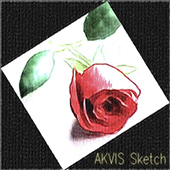
First open AKVIS Sketch’s workspace. If you are working with the plug-in, it will open in a new window from Adobe Photoshop.
The workspace contains an image window and a settings panel. Hints for any selected item are displayed at the bottom.
You can quickly and easily adjust parameters in the Settings Panel. In the Navigator Window you can zoom in to take a closer look at part of the image. A Preview Window within the Image Window lets you see how the image will appear after processing.
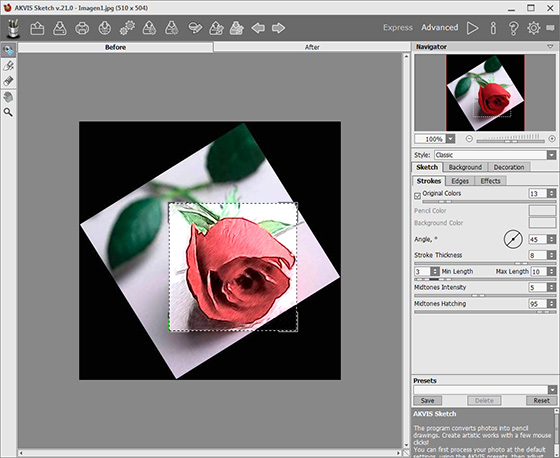
Image in AKVIS Sketch
Settings Panel:
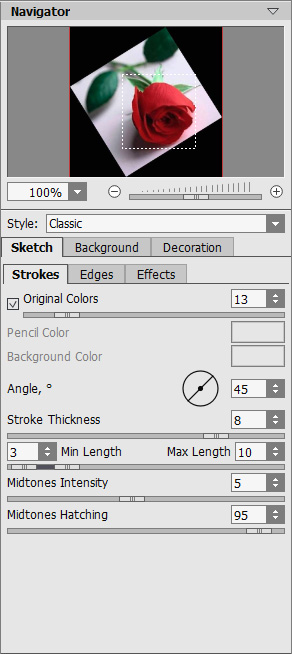
In the Sketch tab you can adjust the settings for photo-to-sketch conversion
(Classic style)
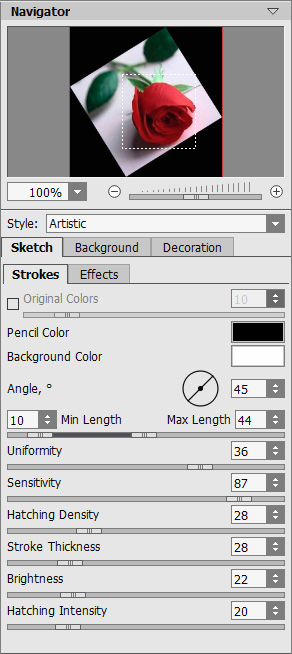
In the Sketch tab you can adjust the settings for photo-to-sketch conversion
(Artistic style)
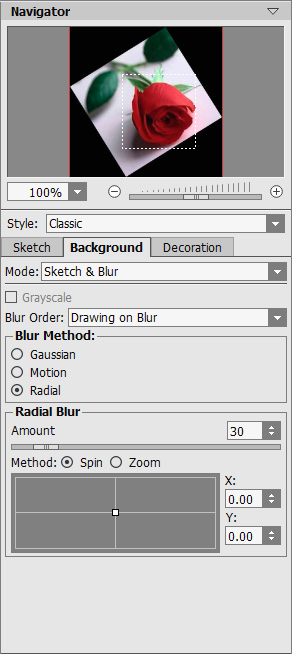
In the Background tab
you can choose how the image is processed,
to process the entire image or an area of it, or to apply blur
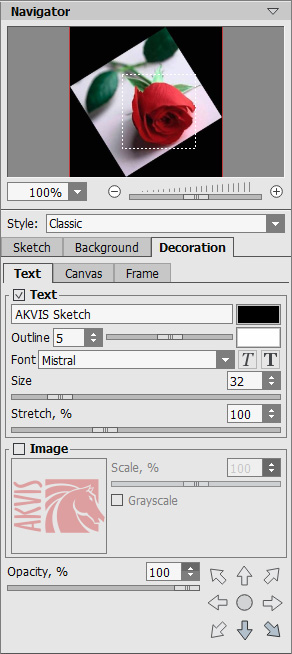
In the Text tab
you can add an inscription to the image
and change the text's size, font,
color and position
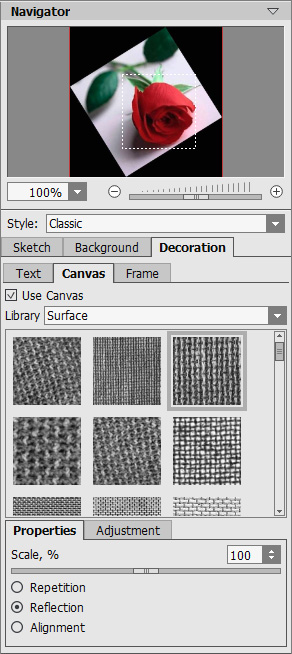
You can use the Canvas tab
to imitate drawing on a canvas
You can choose a texture and adjust how it will appear
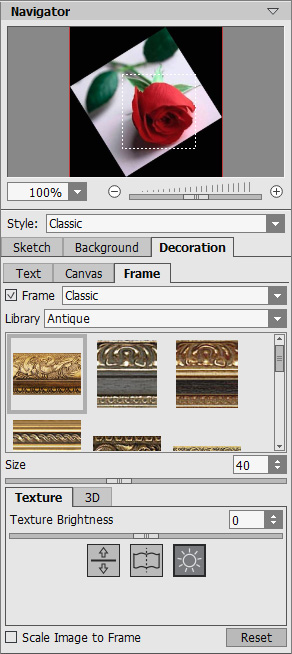
In the Frame tab
you can add a frame to your sketch drawing
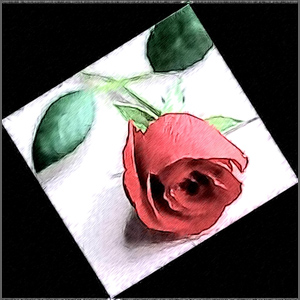
Here are some results obtained from the program:

Watercolor Drawing
Color Pencil Drawing
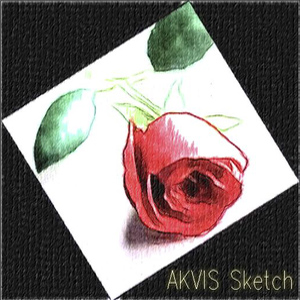
Color Pencil Drawing On Canvas
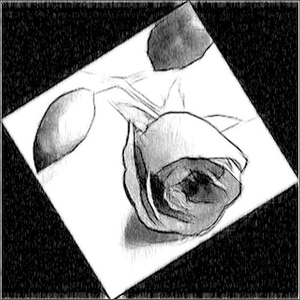
Charcoal Drawing
