Sketch from Photo: Classic Style
The Classic style in AKVIS Sketch lets you create color and B&W drawings with well-defined contour lines.
A characteristic feature of this style is its accuracy: the image looks as if it was primarily created by contour lines with the addition of hatching. Though this mode is versatile and good for many purposes, it is the most suitable for technical illustration, architectural images, and other pictures where you would like to attain good detail.
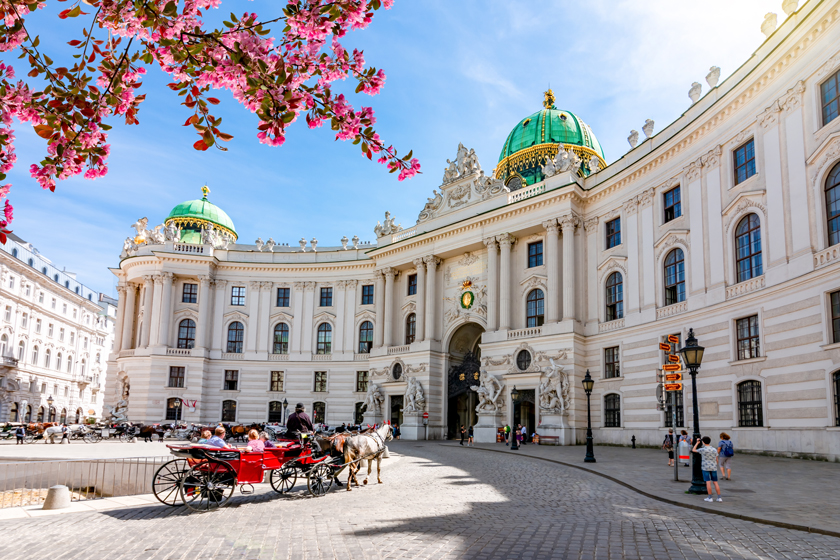
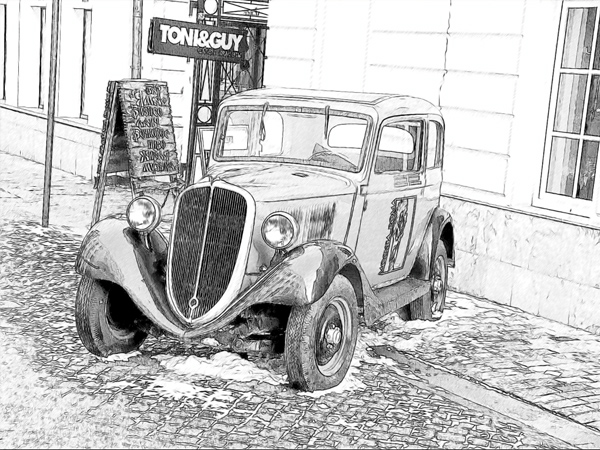
Blend with Original (0-100). The effect can be merged with the original image by changing the transparency of the result. With a value of 0, no blending occurs. The higher the parameter, the more the original colors are mixed with the result.
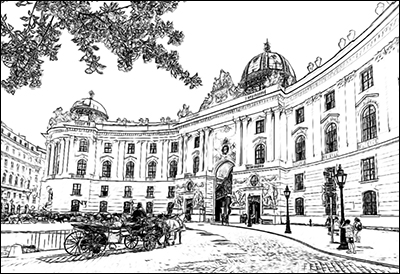
Blend with Original = 0
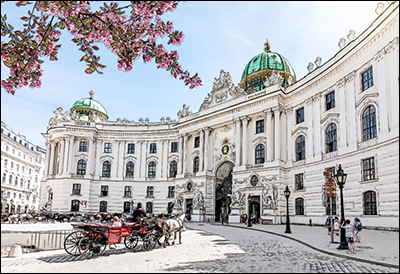
Blend with Original = 50
In the Mode drop-down list, you can set the blending method.
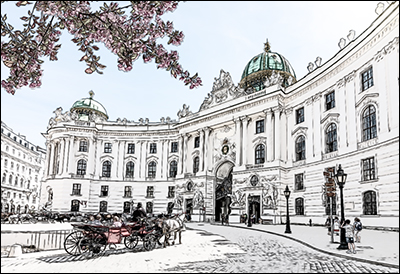
Normal
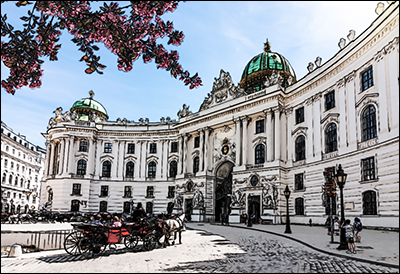
Linear Burn
In the Classic style, the photo-to-drawing conversion parameters are available in the tabs: Strokes, Edges, and Effects.
Note: You can see the conversion result immediately, as you move the slider, only in the Preview Window. To convert the whole image, press the button  or click the After tab.
Strokes tab (hatching parameters):
Original Colors. When the check-box is enabled, the program imitates a color pencil drawing using the color range from the original image. When the check-box is disabled, the program uses the colors selected with the color plates below (by default black and white).
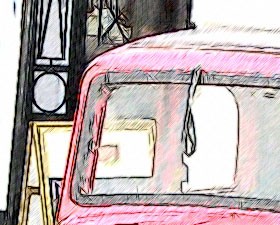
Original Colors Check-Box Enabled
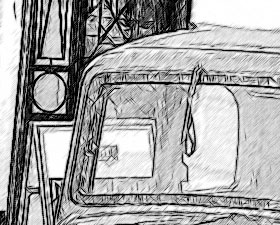
Original Colors Check-Box Disabled
You can change the saturation of the colors by moving the slider to the right of the check-box. As the value of this parameter is increased, the colors in the image become more intense and bright.
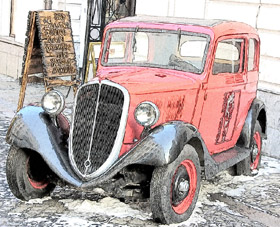
Saturation = 0
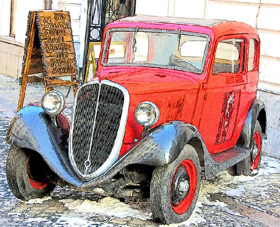
Saturation = 100
Pencil Color and Background Color. If the Original Colors check-box is disabled, you can use two color plates to set colors for the pencil strokes and background. Click the plate and select a color from the standard dialog. Right mouse click the plates to reset the colors to their default values (black and white).
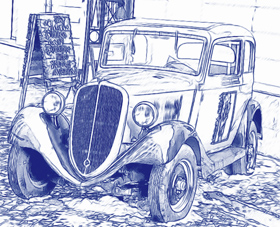
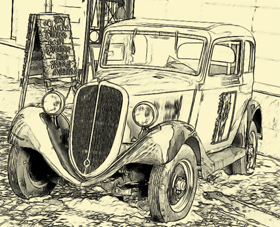
Changing Colors
Angle. The parameter sets the pitch angle of the strokes when hatching a uniform area (an area that does not contain edges and intensity swings). By default, the strokes in such areas are drawn at a 45 degree angle.
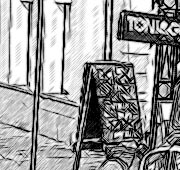
Angle = 45
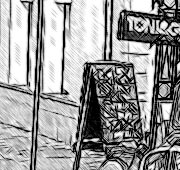
Angle = 135
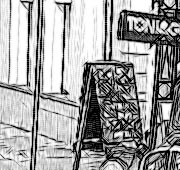
Angle = 90
Stroke Thickness. This parameter sets the stroke size. If you reduce the value, the strokes on the picture get thinner and harder, if you increase the value, the strokes get wider and blurred on their edges.
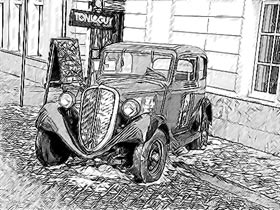
Stroke Thickness = 5
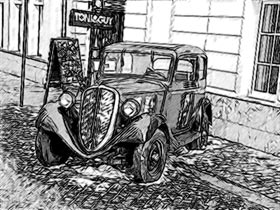
Stroke Thickness = 9
Min Length/Max Length. This parameter sets a range within which the stroke length can vary. There are two sliders to define the range borders: the left slider sets the minimum length, the right slider sets the maximum length. The resulting sketch will be made up of strokes that fall within this range.
If you reduce the minimum length, the number of strokes and the detail of the image increase. Visually the drawing becomes darker. If you increase the value of the minimum length, the number of strokes is reduced (strokes shorter than the set minimum do not get drawn). Visually the image becomes lighter and neater.
If you increase the maximum length, the hatching becomes less uniform. The higher the value of this parameter, the longer strokes can be drawn on the picture. However, if the value is too high it may worsen the precision of the hatching.
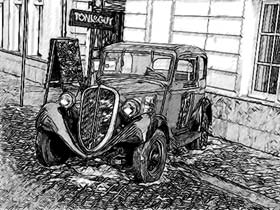
Min Length/Max Length = 1/4
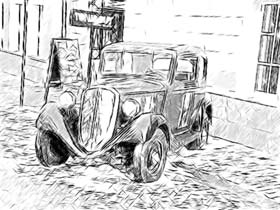
Min Length/Max Length = 8/16
Midtones Intensity. This parameter defines the intensity of the midtone strokes, as if drawn with different pressure. As you move the slider to the left, the midtone strokes fade - becoming dim and blurred. As you move the slider to the right the midtone strokes become thicker and more intensive.
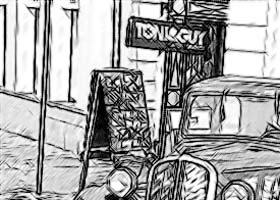
Midtones Intensity = 1
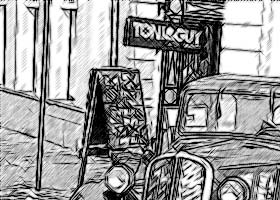
Midtones Intensity = 10
Midtones Hatching. This parameter changes the level of hatching in the midtone areas. If you want to reduce hatching move the slider to the left.
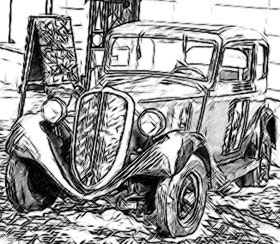
Midtones Hatching = 1
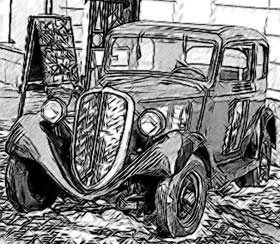
Midtones Hatching = 100
Edges tab (parameters that affect how edges are drawn):
Edge Strength. This is the main parameter used to control edges, by adjusting the intensity of lines and details. At lower levels there are fewer edges and the level of detail decreases, while at higher values more edges are drawn and more detail is present.
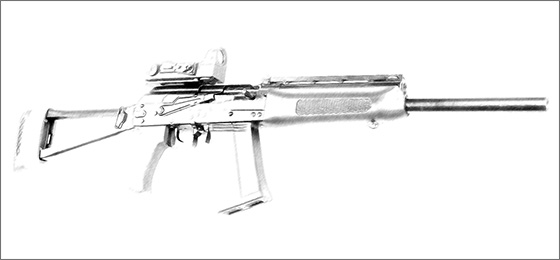
Edge Strength = 0
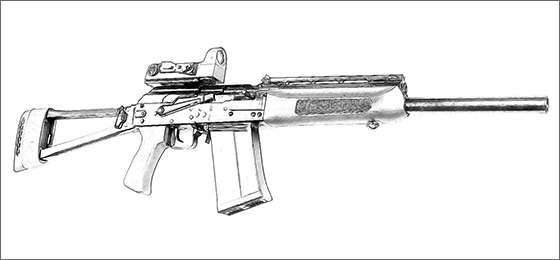
Edge Strength = 50
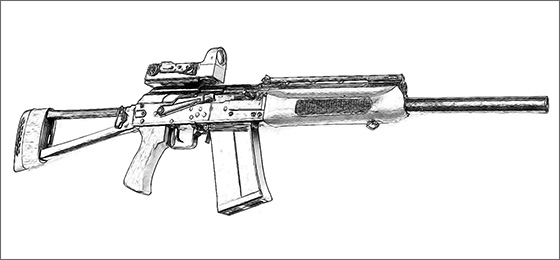
Edge Strength = 100
Edge Tracing. This check-box is used to detect the additional edges between areas that don't have well-defined transitions in brightness. Its affect can be adjusted further by these two parameters:
Sensitivity. The higher the value of this parameter the more transitions between colors will be retrieved and the more edges will be defined by lines instead of hatching. If you want to emphasize the edges, increase the value of this parameter.
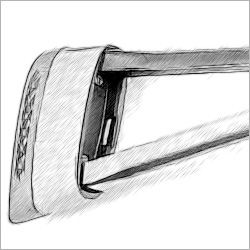
Sensitivity = 10
(Edge Width = 15)
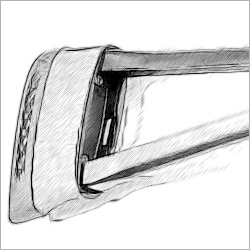
Sensitivity = 80
(Edge Width = 15)
Edge Width. This parameter defines the thickness of the outliness. At higher values of this parameter the edges will be drawn by thicker lines.
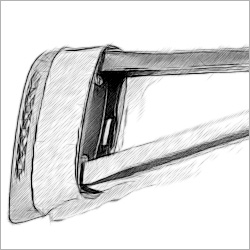
Edge Width = 10
(Sensitivity = 70)
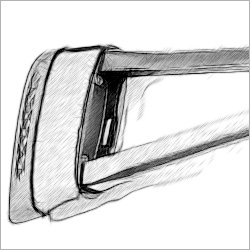
Edge Width = 60
(Sensitivity = 70)
Watercolor (0-50). The parameter lets you add the watercolor effect to your drawing. By default it is set to 0 which corresponds to a pencil drawing. As you move the slider to the right (that is, increase the value of the parameter) the strokes get blurred, contrast and detail get weaker, as if the strokes were drawn on wet paper. The higher the value of the parameter, the stronger the effect. We recommend to use this parameter together with Coloration to get a watercolor drawing.
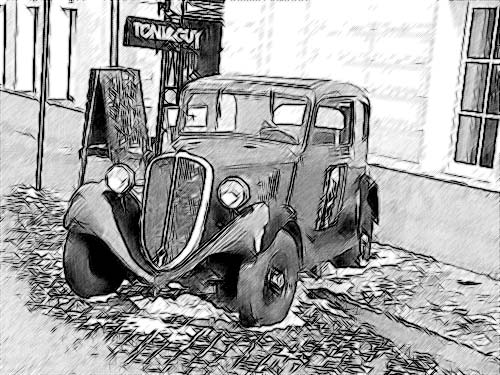
Watercolor = 10
Charcoal (0-10). The parameter changes the drawing technique from a fine pencil drawing to charcoal. The higher the value of the parameter, the more the result looks like a charcoal drawing.
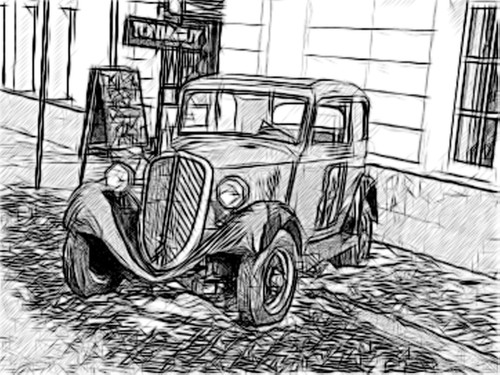
Charcoal = 7
Coloration (0-100). The effect adds color to a drawing provided that the original image contained color information (if the image is not grayscale). By default the value is set to 0. When you increase the value, the drawing is mixed with the original picture.
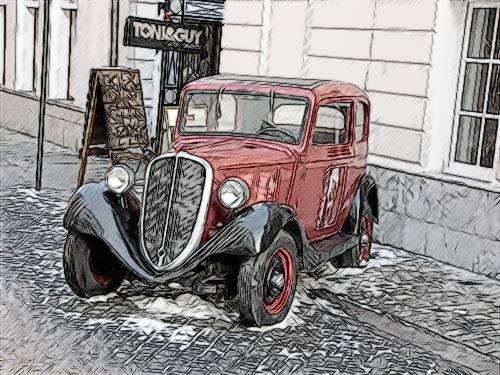
Coloration = 40
Smudging (0-30). The parameter creates the effect of smearing hatching in midtone areas without affecting the contour lines of the drawing. This technique looks like a result of rubbing across a drawing with a stump tool, smooth paper, or a finger. By default it is set to 0 at which there is no smudging effect. At higher values the appearance of shaded areas changes. Shading becomes similar to soft graphite. It is a fast and simple way to add a soft and blurred texture to a sketch.
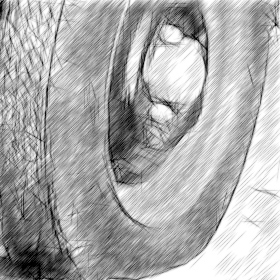
Smudging = 0
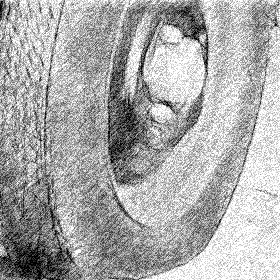
Smudging = 30
Extra Effects check-box:
Shadows (1-30). The parameter enhances shadows giving your drawing more volume and depth.
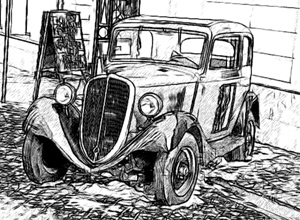
Shadows = 1
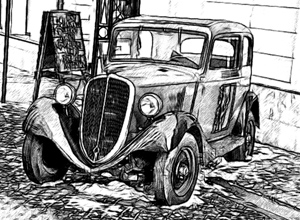
Shadows = 30
Noise (0-100). The parameter adds noise to the image increasing the shading effect.
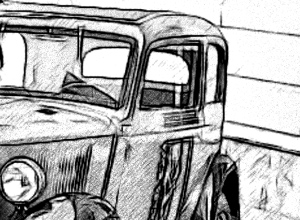
Noise = 10
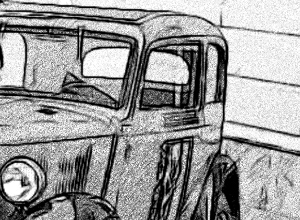
Noise = 100
Contrast (0-100). The parameter increases the difference between highlights and shadows. Using this setting, you can get rid of unnecessary details and make the drawing look "cleaner".
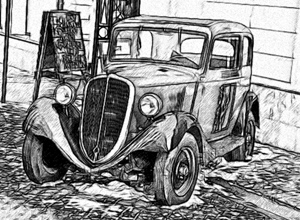
Contrast = 0
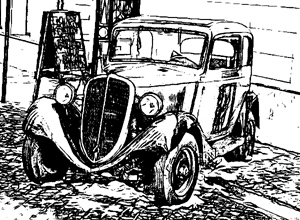
Contrast = 100
