Watercolor Drawing from Photo
To imitate a watercolor drawing with AKVIS Sketch we have chosen a portrait.

Source image: portrait of a girl

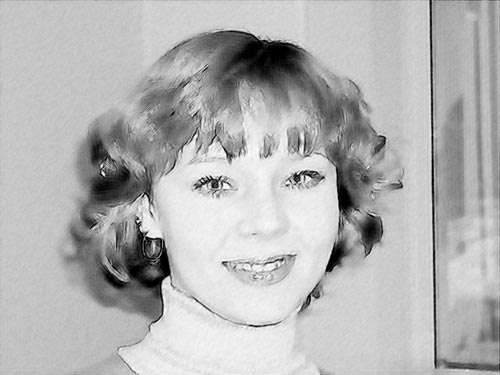
Result: watercolor drawing
We use the Sketch plugin in this tutorial, but you can take the standalone edition and use the same parameters to achive this result.
-
Step 1. Open the photo with a photo editor and call the AKVIS Sketch plug-in.
Press the button
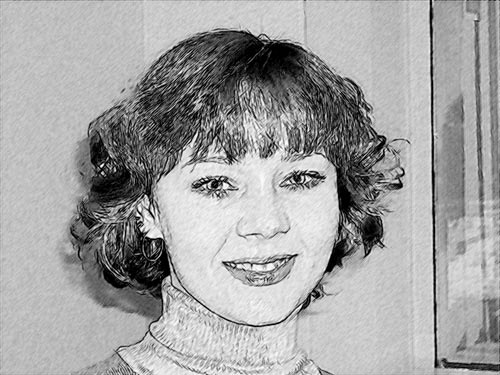
 to convert the original photo into a pencil drawing. The conversion will be made with the default settings.

-
Step 2. Reduce the value of the parameters Stroke Thickness and Midtones Intensity, then press the button
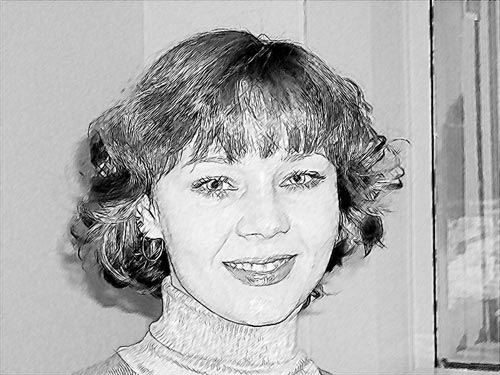
 . As a result the details will be drawn in finer strokes (which is especially apparent on the hair), the face and the background get neater.

-
Step 3. What we have now is a pencil sketch. But our task is to create a watercolor drawing.
Watercolor painting is characterized by light strokes, blurred edges and transparent colors. It can be done by adjusting the parameter Watercolor in the Effects field. By default it has the value of 0. The more you increase the value of the parameter, the more blurred are the strokes and the less is the detail. In this case we set the parameter to 10.
Increase the value of Stroke Thickness.

-
Step 4. To add the original colors we move the slider of the Coloration effect to the right, approximately to 80.

-
Step 5. Press the button
 to apply the result and close the plugin's window.

