Background Effects
Use the Background tab to process the converted image further. It is possible to imitate a blend of the original photo and the drawing or to blur some parts of the image.
This tab can be used to put an accent on a certain fragment of the image or to enliven a picture by adding motion. For example, it is possible to separate the background from the object (a plane or a bird in the sky; a soft toy on a sofa; a vase with fruit, etc.) or to single out one object among several equivalent objects (one person in a group photo, the most beautiful flower in a garden image, etc.) and many other things.
The Background tab offers three modes: Sketch, Sketch & Photo, Sketch & Blur.
Sketch
In this mode, the Background tab has no influence on the image. In other words, the additional background effects are disabled. It is the default mode in which the first tab's settings, controlling the photo-to-sketch conversion, only work.
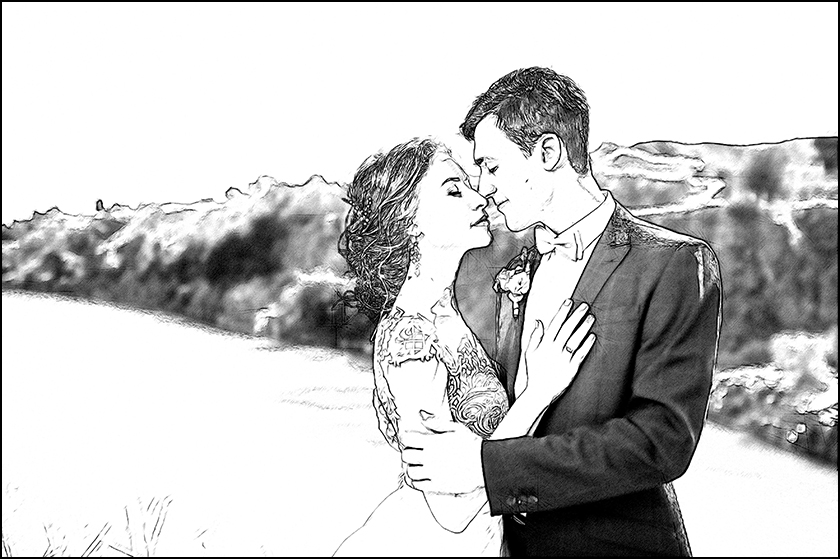
Sketch Mode
To use the other two modes you need to specify areas with the special tools.
Sketch & Photo
In this mode, you can get a blend of a drawing and a picture - only the defined parts of the image will be converted into a drawing.
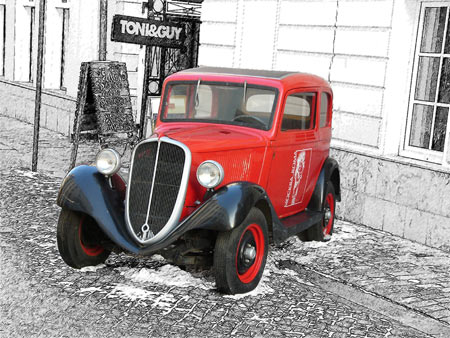
Sketch & Photo Mode
When this mode is enabled, the special tools appear in the Toolbar, that will help you to define, which areas will be converted to a drawing, and which not.
- Effect Area
 . Use the blue pencil to draw an outline within the areas that will be converted to a drawing in accordance with the parameters of the Sketch tab.
- No Effect Area
 . Use the red pencil to outline the parts of the image that will remain in their original state.
- Eraser
 . Use this tool to edit the outlines drawn by the pencils. When Sketch & Photo (or Sketch & Blur) is active, the tool can operate in three different modes:
- Erase all lines (both guiding lines and zone lines of the background effects);
- Erase only guiding lines (direction of the strokes);
- Erase only zone lines (background effects).Adjust the Size of the tools in a pop-up box that appears when right-clicking in the image.
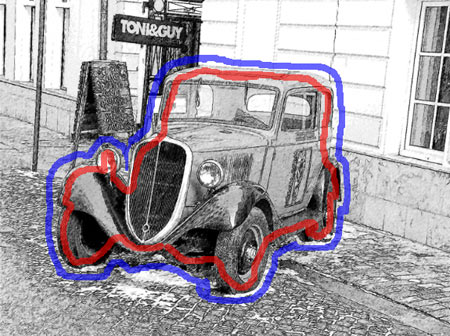
Effect Area (blue): Pencil Drawing
No Effect Area (red): Original Photo
Note: |
If only blue lines or no outlines are drawn, the entire image will be a drawing. If only red lines are used, the image will be restored to its original state. |
Attention! |
During processing you will see that the whole image (regardless of the drawn lines) will be converting into a drawing. Don't worry. It's only one of the processing steps, not an error. In the next step the program will take into consideration the background effects lines and settings. |
Grayscale. This option works only for black and white drawings. When the check-box is enabled, the areas marked with red (or green, in the 3rd mode) are converted to grayscale. Use this option to get the entire image in black and white, not only the "drawing" part.
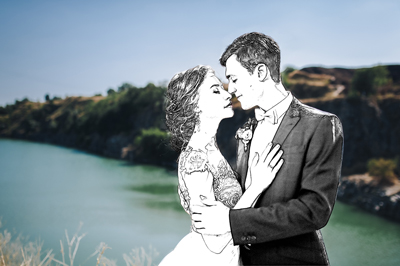
Grayscale is disabled: Original Image
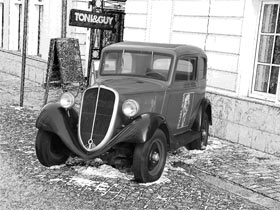
Grayscale is enabled: B&W Image
Sketch & Blur
In this mode, it is possible to blur the selected parts of the image. In the Toolbar you will find these tools: Effect Area ![]() , Eraser
, Eraser ![]() , and the Blur Area
, and the Blur Area ![]() . The latter is used to define the areas that must be blurred.
. The latter is used to define the areas that must be blurred.
Select a Blur Method that will be used in image processing and adjust the parameters.
- Gaussian Blur. When this method is selected, the program recalculates the color components (red, blue, and green) for every point of the image, taking into account the corresponding values of the neighbouring points; as a result the points change their colors. The calculation is based on the Gaussian distribution and is named after it. In this way the values of the color components are averaged and the contrast between them weakens. The sharp borders are blurred without general lightening or darkening. The image gets dim, "cloudy".
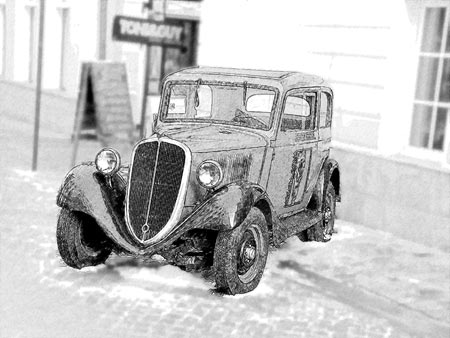
Gaussian BlurThe Radius parameter adjusts the strength of the effect application. It defines to what extent a point influences on the neighbouring points when its color components are being recalculated. At low values only the adjacent points will be changed. Every point will undergo a slight change, but the blurring will be visible. The higher the value of the parameter, the wider is the influence area of every point. The image will get more blurred till it becomes completely indiscernible and looks like one stain (at high values of the parameter).
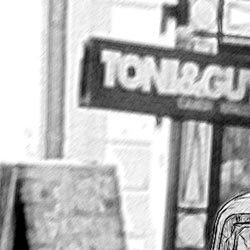
Radius = 3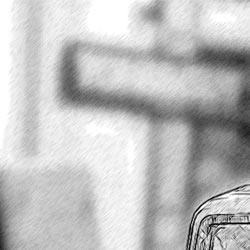
Radius = 8 - Motion Blur. This blur method imitates the straight line motion of a camera.
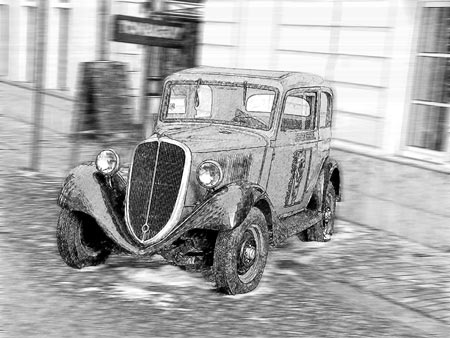
Motion BlurParameters:
Angle. This parameter sets the inclination angle of the line, along which the effect will expand to the image. The values of the parameter vary between 0 and 180 degrees. At exactly these values the blurring will be horizontal. At value = 90 the blurring will be vertical.
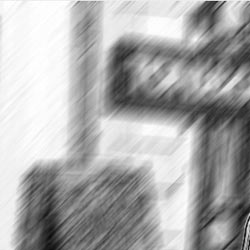
Angle = 45, Reach = 20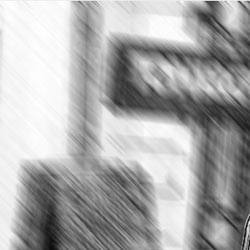
Angle = 135, Reach = 20Reach. This parameter defines the zone of effect application in pixels (relative to every point of the image).
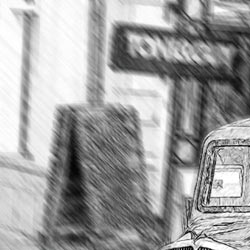
Reach = 10, Angle = 135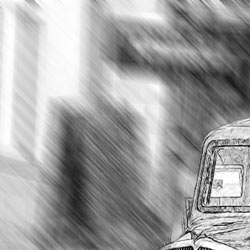
Reach = 30, Angle = 135 - Radial Blur. This method imitates motion, too. There are two kinds of motion:
Spin. This mode imitates the effect of a camera rotating around the central point of the image, which results in circular blurring.
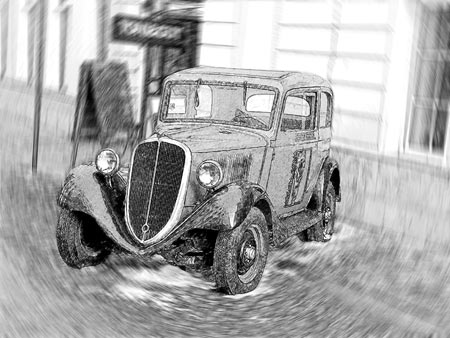
Radial Spin BlurZoom. This mode creates blurring directed away from the center.
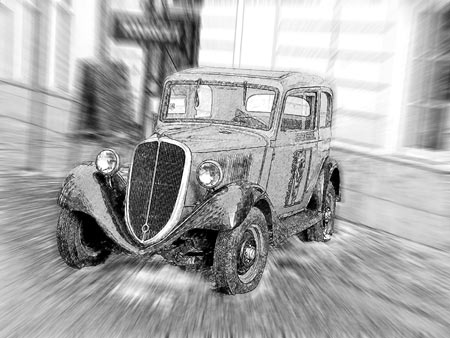
Radial Zoom BlurIn the Blur Center section, you can determine the position of the central blur point. To set the position move the white marker. The current coordinates are shown in the fields X and Y.
The rotation angle in Spin mode and the effect application area in Zoom mode are adjusted with the Amount parameter.
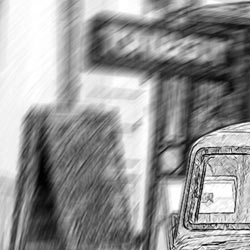
Amount = 20, Spin Blur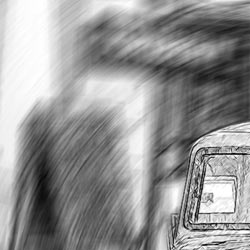
Amount = 40, Spin Blur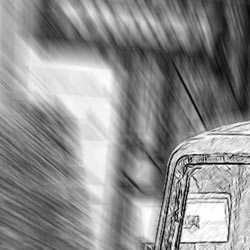
Amount = 20, Zoom Blur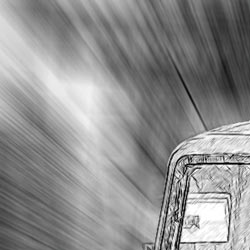
Amount = 50, Zoom Blur
In the Sketch & Blur mode, you can also choose one of the following methods of the result image generation - Blur Order:
- Drawing on Blur. In this case the blue areas are converted to a drawing, while the green areas are first blurred with the settings of the selected Blur Method, and only than are converted to a drawing in accordance with the settings of the Sketch tab.
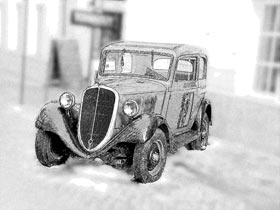
Gaussian Blur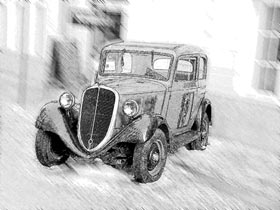
Motion Blur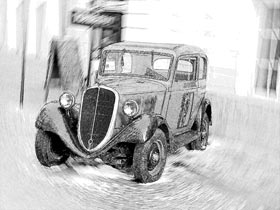
Radial Spin Blur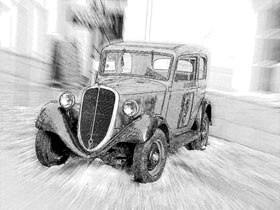
Radial Zoom Blur - Blur Photo. In this mode the blue areas are converted to a drawing, while the green areas are only blurred, not converted. The result image is a blend of the blurred photo and the sketch.
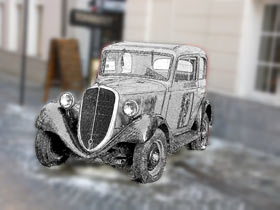
Gaussian Blur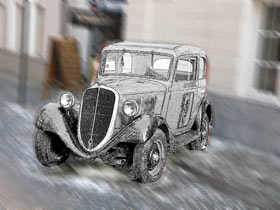
Motion Blur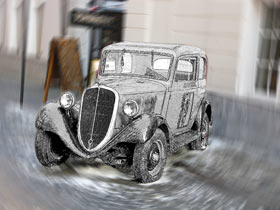
Radial Spin Blur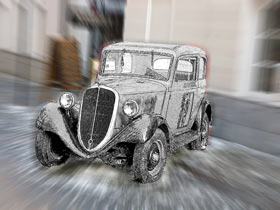
Radial Zoom BlurIn this mode the Grayscale check-box can be applied.
- Blur Sketch. In this mode the whole image is transformed into a drawing, but the green areas are also blurred.
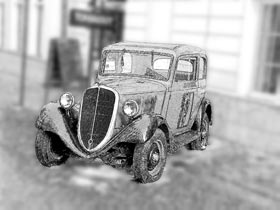
Gaussian Blur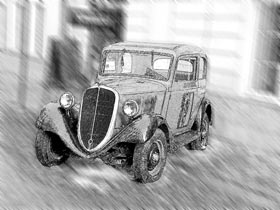
Motion Blur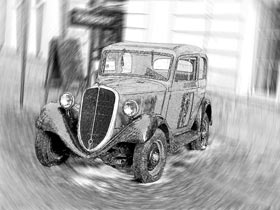
Radial Spin Blur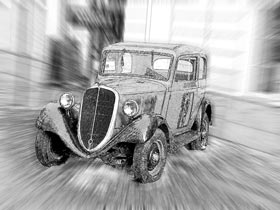
Radial Zoom Blur
