Classic Frame
The Classic Frame offers a wide range of frame patterns - from classic wooden frames to festive Christmas decorations, fabric, brick and even animal world patterns (peacock feather, leopard skin, etc). These patterns are available in both editions (plugin and standalone) and let you generate various frames. You can also load your own texture to create an unique frame.
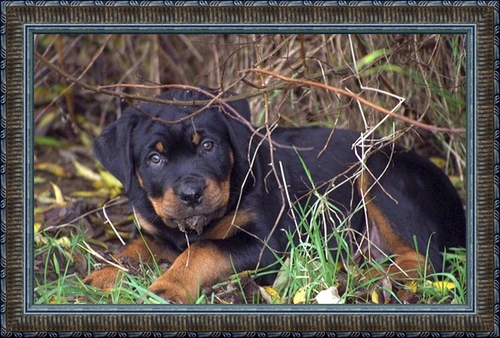
The Settings Panel lets choosing a texture to generate a frame and adjust the parameters for the selected frame.
Texture. Select a group from the list and a texture (pattern) from the Library.
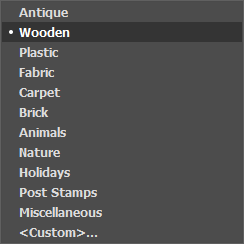
AKVIS ArtSuite comes with a rich collection of textures. Textures for the Classic Frame and are grouped in several sets. Here you can see a group with classic wooden frames, as well as groups with animal textures (peacock feather, leopard skin, etc.), bricks, festive elements and so on.
The selected (current) texture is displayed in a square button which also lets opening the Library.
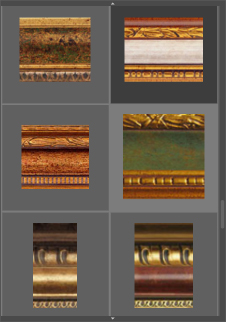
Click the square to see all textures in the selected group (for example, Wooden). Now you can select a texture.
Hint: It is possible to apply your own textures. It can be any image in these formats: JPEG, BMP, TIFF, or PNG.
To load your own texture into AKVIS ArtSuite, select <Custom>… in the list.
Adjust the following parameters for this digital picture frame:
Frame Width (0-100%). This parameter sets the width of the frame. At 0% there is no frame, at 100% the width of the frame makes a quarter of the minimum image size (as to its width or height). For example, for an image 600 x 800 pixels the 100% width of the frame is calculated as follows: 1/4 from the minimum size (600 px) is 150 pixels.
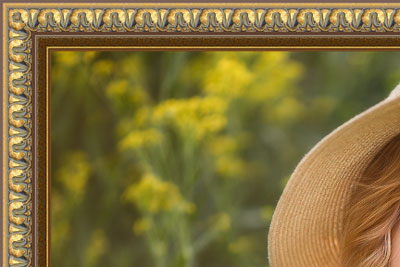
Frame Width = 30%
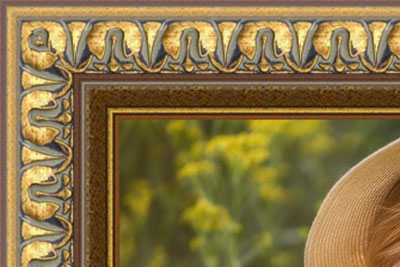
Frame Width = 70%
Outer Frame (only in the standalone program). Enable the check-box to add the frame to an image without covering the photo and hiding its borders. Disable the check-box to place the frame over the image.
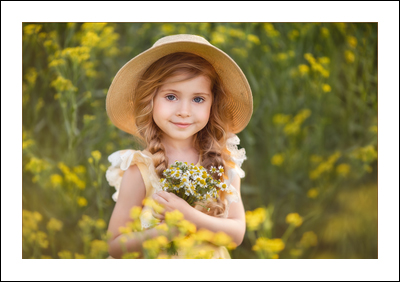
Original Image
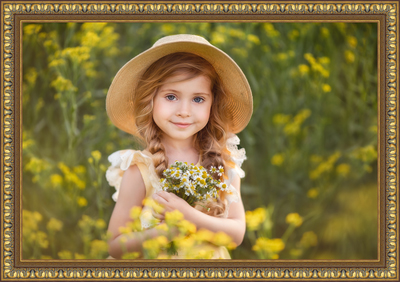
Outer Frame Check-Box Enabled
Scale Image to Frame. When the check-box is enabled, the image is scaled to fit the frame. When the check-box is disabled, the frame overlays the image on it borders.
Attention! A part of the image will be cropped to keep the aspect ratio.
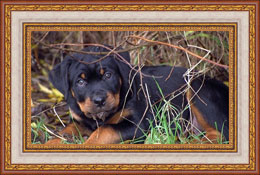
Scale Image to Frame Check-Box Disabled
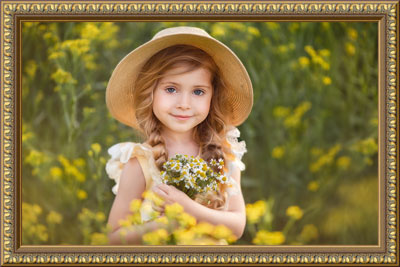
Scale Image to Frame Check-Box Enabled
Texture Brightness (0-200%). This parameter changes the brightness of the original texture. The brightness of the original texture equals 100%. To darken the frame, set the value of the parameter less than 100%; to brighten the frame, set a value higher than 100%.
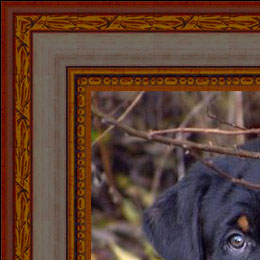
Texture Brightness = 50%
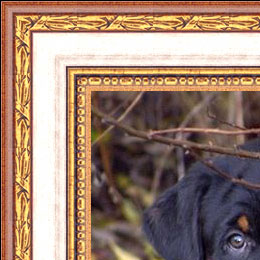
Texture Brightness = 130%
Flip Texture Vertically ![]() . When the button is activated, the texture is oriented to the horizontal line, that is top-down. As a result the outer and the inner border of the frame swap over.
. When the button is activated, the texture is oriented to the horizontal line, that is top-down. As a result the outer and the inner border of the frame swap over.
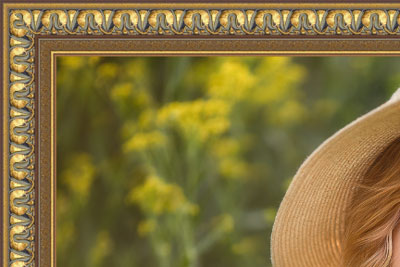
Flip Texture Vertically Button Disabled
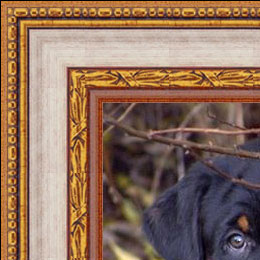
Flip Texture Vertically Button Enabled
If the original texture is not perfect, the joins are visible and the frame is uneven. To smooth the joints, use the buttons: Mirror Texture to Align ![]() and Average Brightness
and Average Brightness ![]() . These buttons can be used separately or together.
. These buttons can be used separately or together.
- The Mirror Texture to Align button
 joins textures taking into account their brightness - the bright end of the texture joins the bright end, the dark end joins the dark end. The textures are mirrored in this way to achieve a smooth transition.
- The Average Brightness button
 smoothes the visible texture joints by averaging their brightness.
Attention! Use the Average Brightness option for horizontal textures without objects to equalize brightness of the frame. If the texture has obvious patterns and ornaments, they may be lost or blurred when the option is enabled.
For an example, let's take a texture having uneven brightness - the left part of the texture is brighter than the right.
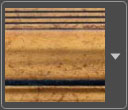
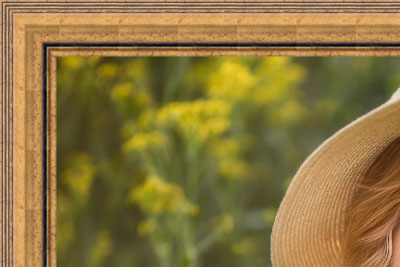
If you generate a frame using this texture with both buttons (Mirror Texture to Align and Average Brightness) disabled, you will have the following picture:
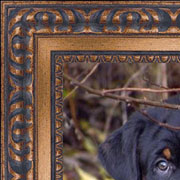
Mirror Texture to Align
Button Enabled
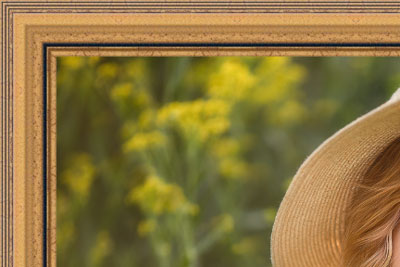
Average Brightness and
Mirror Texture to Align
Buttons Enabled
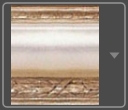
Let's take one more example to show how the parameters Average Brightness and Mirror Texture to Align work. We take the following texture:
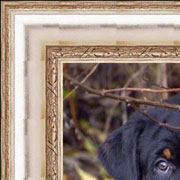
Buttons Disabled
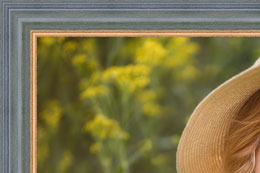
Mirror Texture to Align
Button Enabled
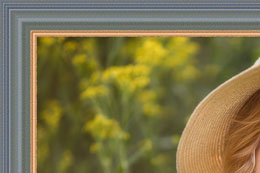
Average Brightness
Button Enabled
In this case it is enough to enable the Average Brightness button to achieve a good result.
3D Effect
Enable the check-box to give the frame a 3D look.
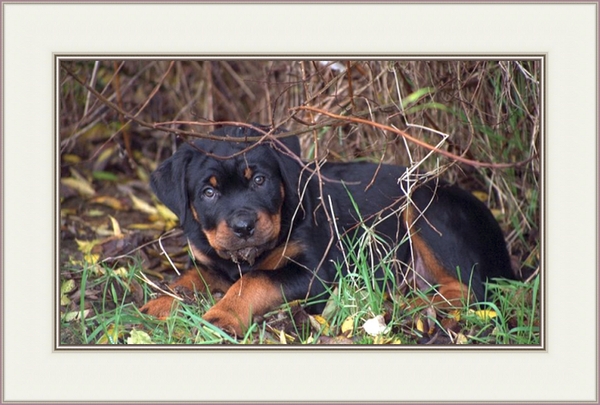
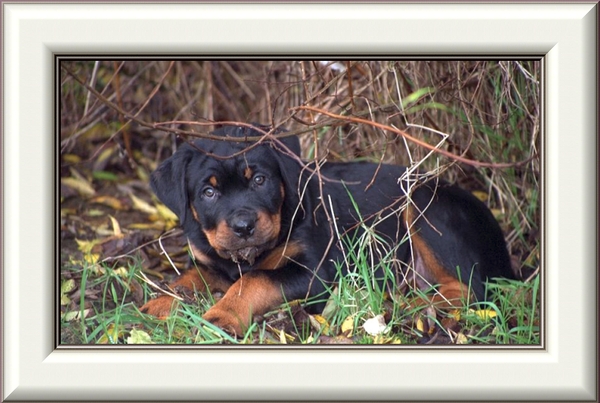
(Compare OFF/ON check-box.)
Effect parameters:
Light Source. Use the dagger on the ball to set the probable light source that affects the appearance of the shadow.

Volume (0-100). This parameter affects the depth of the picture frame. At 0, the texture is flat.
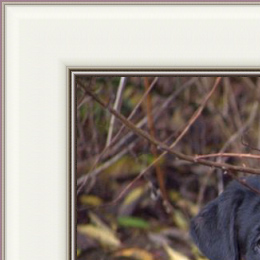
Volume = 20
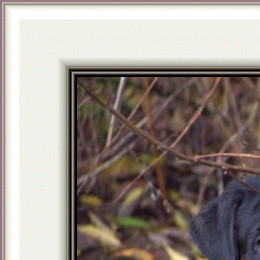
Volume = 100
Smooth Transition (-50..50). The parameter adjusts the smoothness of the border between the convex part and the bevel.
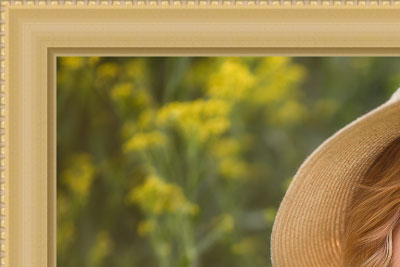
Smooth Transition = -50
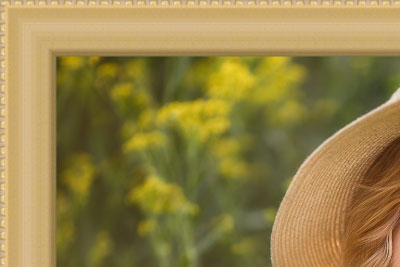
Smooth Transition = 50
Bevel Width (0-100). This parameter sets the size of the bevel.
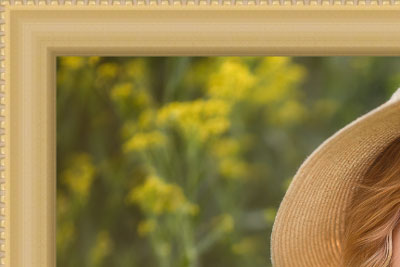
Bevel Width = 35
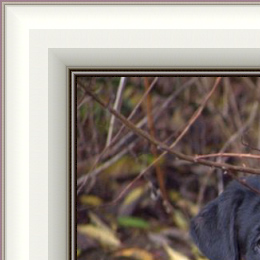
Bevel Width = 75
