Magic Winter: Make a Calendar
Would you like to make an original photo calendar? Just take any digital photo and follow this tutorial to create a calendar using AKVIS ArtSuite.

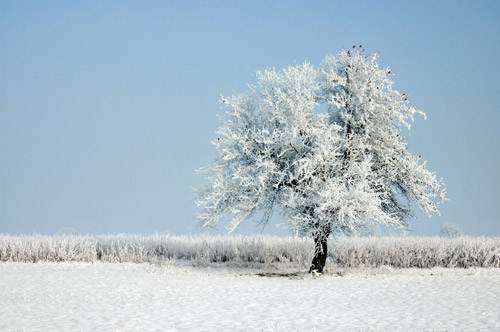
Original Image
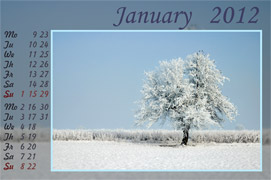
Result
The program is available as an independent program (standalone) and as a plug-in to a photo editor.
We’ll work with the plug-in version of ArtSuite in AliveColors. If you do not have AliveColors you can use the standalone versions of ArtSuite (to frame a photo) and MultiBrush (to add text).
- Step 1. Open an image in AliveColors.
- Step 2. Call AKVIS ArtSuite plugin from the main menu of the photo editor Effects -> AKVIS -> ArtSuite.
- Step 3. Choose the Artistic Crop effect from the drop-down menu Frames in the Settings Panel.
- Step 4. Here is the image processed with the default settings.
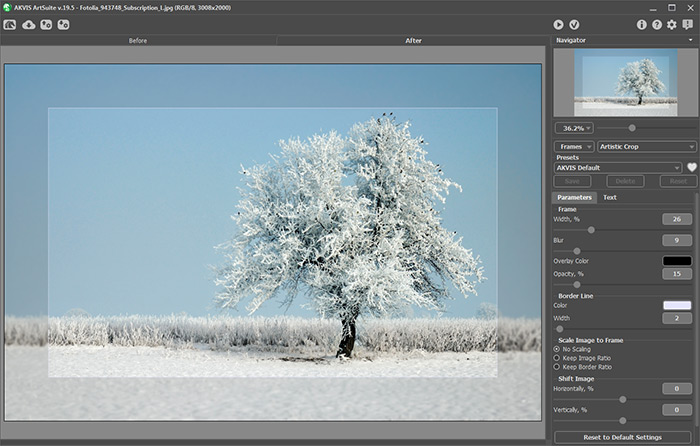
- Step 5. Adjust the settings for the frame:
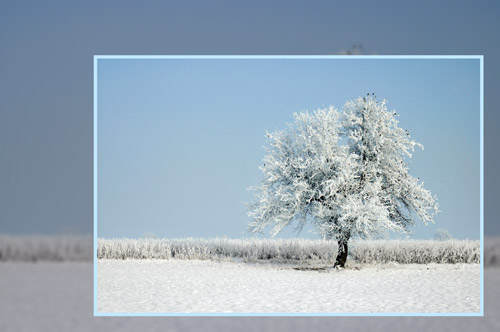
Increase the value of the Frame Width parameter from 26% to 37% and move the image right and downwards using the parameters in the Shift Image group: Horizontally = 70%, Vertically = -55%. Now we have a free space for the inscription.
Set the value of the Blur parameter to 20 and choose an appropriate Overlay Color for the frame. Increase the value of the Opacity parameter.
Adjust the Border Line parameters: choose an appropriate Color and reduce the value of Width to 20. Select the Keep Image Ratio option.
The result is shown on the picture below.
- Step 6. Press the button
 to accept the result and close the plugin window.
- Step 7. Now we'll add the inscription. It's an winter scenery, therefore the calendar will be for January.
Here we have a new photo calendar:
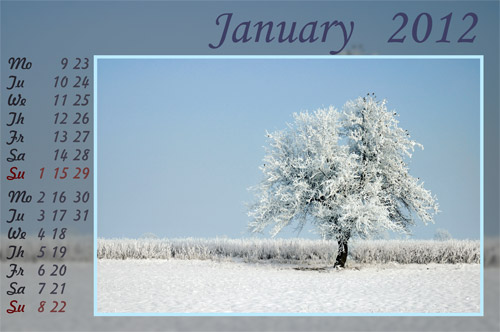
You can use your family photos to make a personalized calendar.
