Relaxing at the River: Make a Framed Sketch
The author of this tutorial is Richard Turner.
This tutorial was created in AKVIS Sketch and AKVIS ArtSuite.
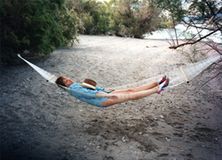 |
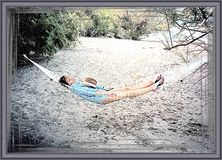 |
| Original image | Result |
- Step 1. Open the standalone version of AKVIS Sketch and open the original image.

Photo of a woman relaxing at the river - Step 2. Set the parameters of the strokes and your photo will be converted into the color sketch.
In the Classic style adjust the parameters:
Enable the Color Strokes check-box;
Angle = 45;
Size = 8;
Min length = 5;
Max length = 20;
Midtones Intensity = 8;
Midtones Hatching = 100.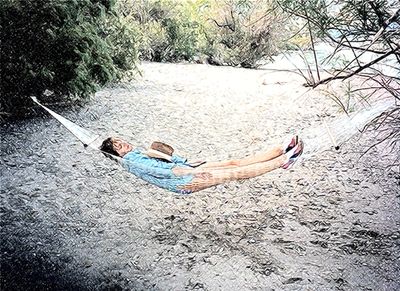
Result of the conversion into the color sketch - Step 3. Save you result and close AKVIS Sketch.
- Step 4. Open AKVIS ArtSuite (standalone edition) and open the saved sketch to add a frame. It's easier to work in Autorun mode (this option can be selected in the Preferences). In this mode the changes (effect adjustments) take effect in real time.
- Step 5. Choose Frame from the drop menu in the Settings Panel. In the neighbouring drop menu you can see the types of frames. The parameters of these frames will be shown later.
We use the Strokes frame.
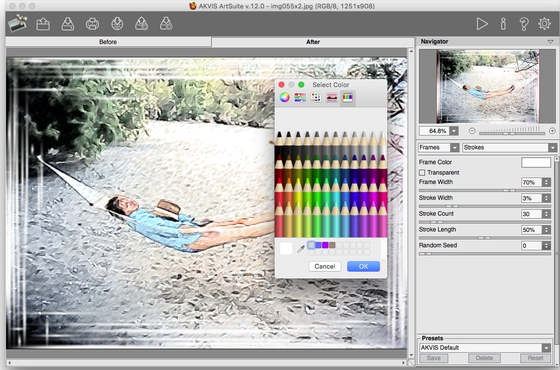
Choose a frame in AKVIS ArtSuite - Step 6. Set the values of the parameters as Richard did:
Frame Color - gray;
Frame Width = 47%;
Stroke Width = 3;
Stroke Count = 30. - Step 7. Save the framed image. ArtSuite will ask if you want to use the result as a source image. Choose yes.
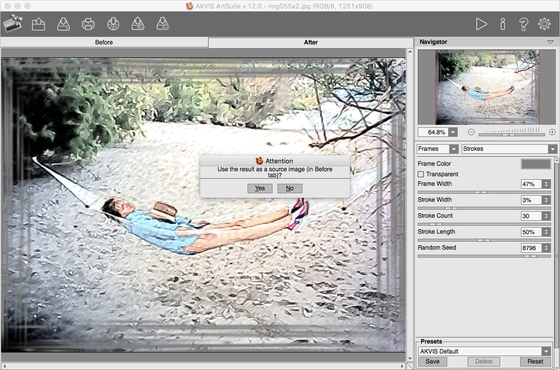
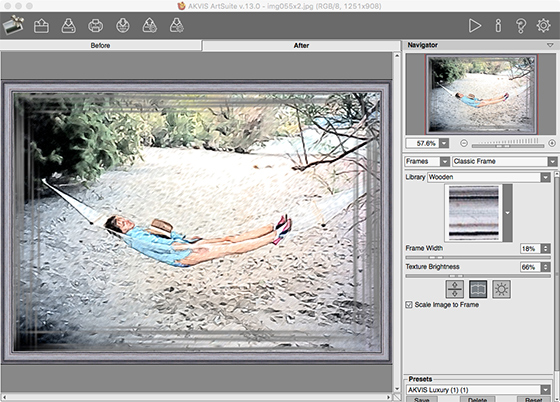
Framed image - Step 8. Choose an outer frame from the drop menu of frames. Let's choose the Classic Frame. Select a pattern from the Texture Library. Also you can change the brightness and width of the selected frame. Here are the variants of the frames:
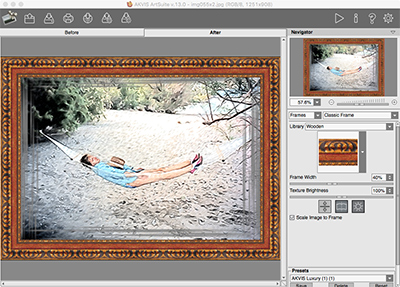
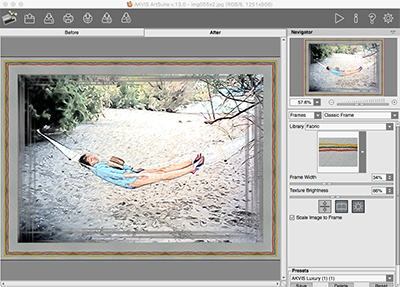
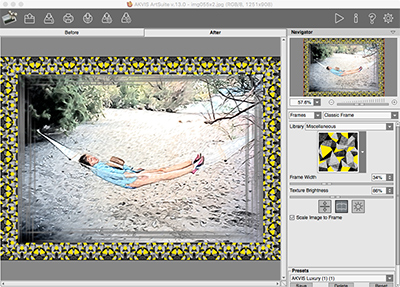
The variantes of the frames Finally the author chose this frame:
Result - Step 9. Save the result and close AKVIS ArtSuite.
