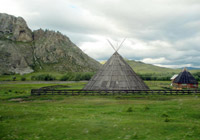
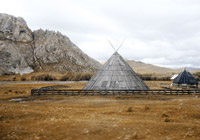
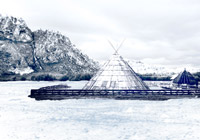
Change Seasons
This tutorial was based on the methods used by Andrew Blazhin, who was a winner in our New Year 2009 photo-editing competion, for his photo in the Category "4 Seasons".
All work was done in AliveColors using the AKVIS ArtSuite and AKVIS Decorator plugins.
-
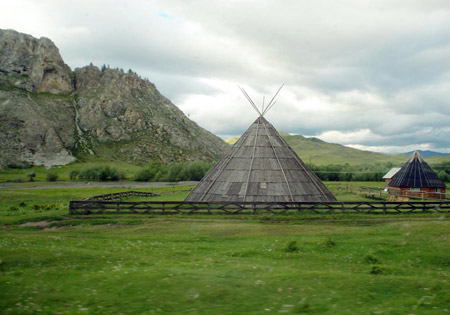
Step 1. Open the image in the photo editor.
-
Step 2. Here is a picture of summer. We will use it to represent the other seasons too. Let's start with autumn. A characteristic of autumn is yellowed vegetation, so let's begin the change there. To begin call the AKVIS ArtSuite plug-in (in the menu select Effects -> AKVIS -> ArtSuite).
On the Settings Panel we will choose the effect Channel Mixer and adjust its settings.
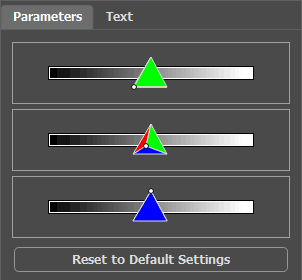
Click
 to make the changes.
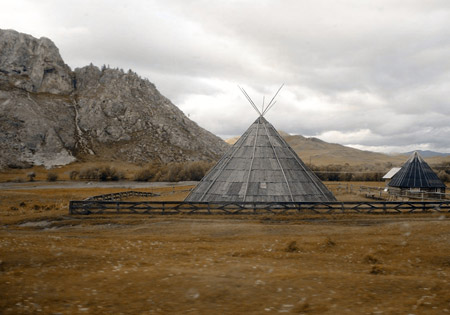
Here is the result:
-
Step 3. The image looks gloomy. We will brighten it up with one of the standard features of AliveColors. In the main menu select Image -> Adjustment -> Brightness/Contrast and increase the amount of Brightness.
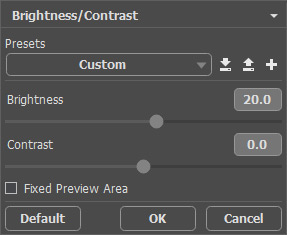
Click OK to apply the change.
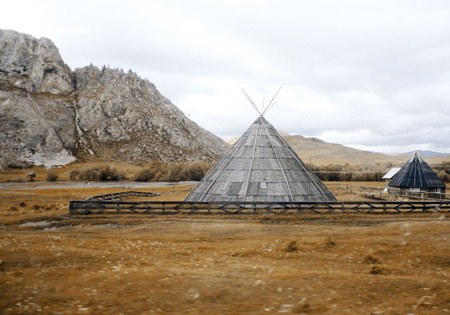
Here is autumn:
-
Step 4. After fall, of course, is winter. But what is missing here? Snow. We will give the mountains a frosty appearance by applying an ice texture with the AKVIS Decorator plug-in.
First use the Quick Selection
 to select the mountains.
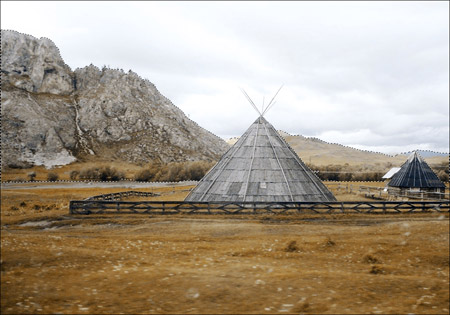
Call the AKVIS Decorator plug-in (Effects -> AKVIS -> Decorator). In the texture Library we will find a suitable texture and adjust it to our liking. For example:
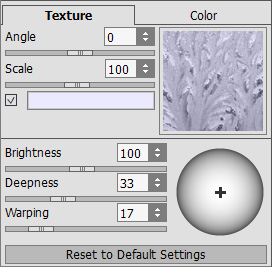
Start the process of applying the texture by pressing the
 button. The result will be shown in the After tab.
To accept the result and return to the photo editor, press the
 button.
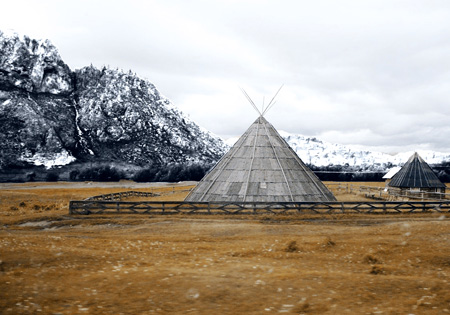
The mountains are encased in frost.
-
Step 5. Let’s continue. Now select the ground and the house.
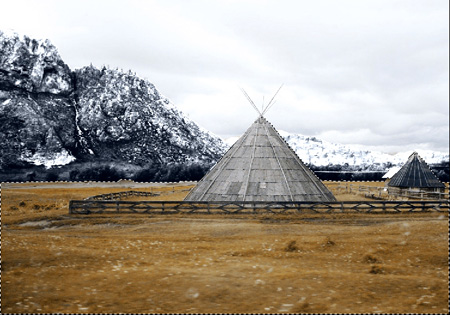
Once again we will call the AKVIS Decorator plug-in. This time we choose a different texture and adjust the parameters.
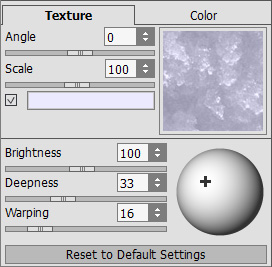
Start the texture application process. Apply the result and return to the photo editor.
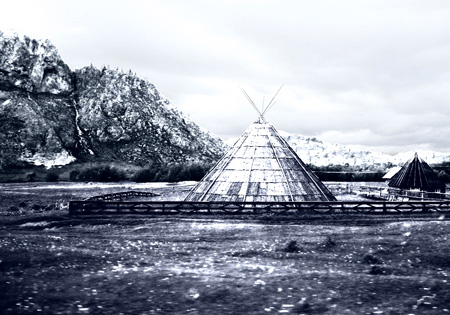
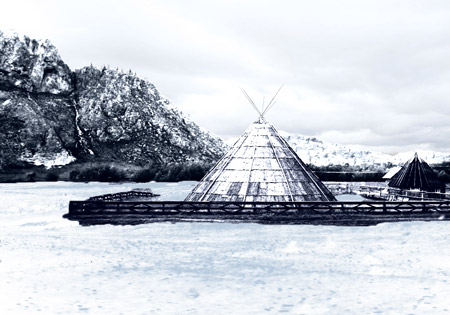
- Step 6. We will try to cover the grass with snow. We select the desired area with the Quick Selection
 as before. Then in the editor’s main menu we click Image -> Adjustment -> Curves and in the window that appears, we choose High Key preset.
Click OK to apply the effect.
-
Step 7. Let’s return to the mountains. We will brighten them, as well as the home and fence, thereby reducing contrast and making a great realistic portrait. To do this we used the Lighten tool
 in AliveColors.
A few simple steps and we have winter:

