Summer Dreams (Advanced Tutorial)
Do you have a wonderful photograph that you would gladly put in a frame to admire it any time? If you do not find a suitable photo at home you can frame it on your computer using AKVIS ArtSuite! The program is available in both standalone and plug-in version.
Here is our photo and the image with an interior:


Original Images

Result
We are going to work with the plug-in version of AKVIS ArtSuite in AliveColors.
- Step 1. Open a photo that we want to frame in AliveColors.

- Step 2. Call the plugin from the main menu of the photo editor Effects -> AKVIS -> ArtSuite.
- Step 3. We choose Classic frame for this tutorial.
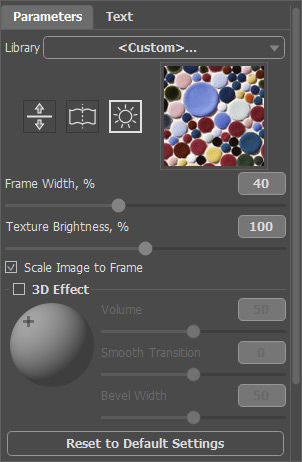
- Step 4. Activate the check box Scale Image to Frame. Other parameters stay the same.
- Step 5. The result will be shown in the After tab. If you like it, press the button
 to apply the result and close the plugin window.
Here we have the framed photo:
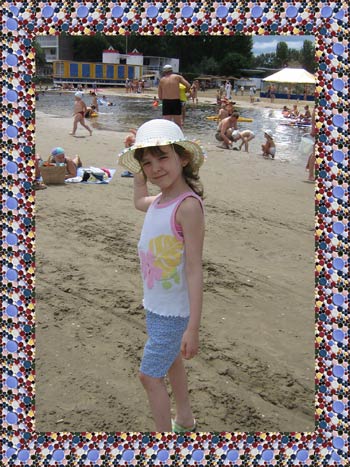
- Step 6. Now select the whole image. In the main menu choose Select -> Select All. Copy this image Edit -> Copy.
- Step 7. Create a new file File -> New from Clipboard. Set the size of the image as you like but larger than the framed photo.
- Step 8. Press Edit -> Free Transform to adjust the position of the photo. You can change the parameters of transformation. Click on the parameter to change its value.
You should get the same result:
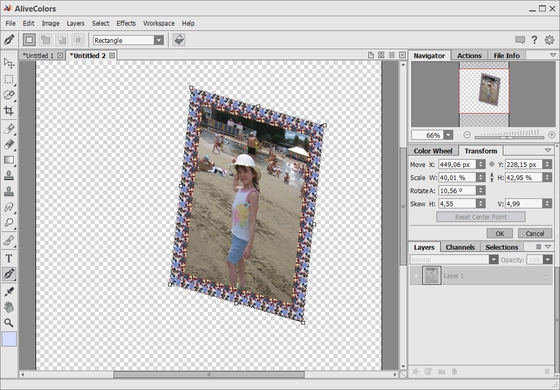
- Step 9. Let’s make a stand for our frame. We should create a new layer Layers -> New -> Raster Layer.
- Step 10. Choose the Color Pencil
 . Now we choose a color for our stand.
- Step 11. Let’s draw a triangle. Draw horizontal or vertical lines keeping Shift + left button pressed. If you need a line drawn at an angle press Shift + mouse button at the beginning and at the end of your line. Here is our result:
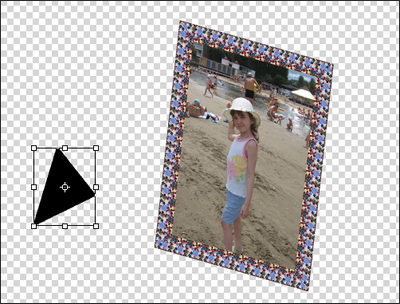
- Step 12. Now change the layers' order. Drag the second layer (with the frame) to the top in the Layers palette.
- Step 13. Move the stand to the frame. Choose the third layer (with the stand) in the Layers palette and press the button Move
 in the Toolbar. On the image with the frame press the left mouse button and move our stand to the appropriate place.
- Step 14. In the main menu of your photo editor choose Layers -> Merge All.

Our frame is ready.
- Step 15. Open an image with the interior in the photo editor. We will use only a part of the image.

- Step 16. Choose the Rectangual Marquee tool
 .
.
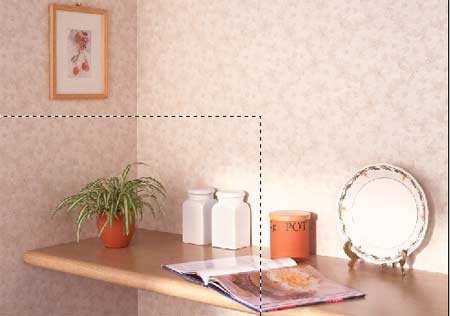
- Step 17. Copy the selected image Edit -> Copy.
- Step 18. Open the image with the frame.
- Step 19. Paste the selected image Edit -> Paste.
- Step 20. The image with the interior overlays the image with the frame. Change the order of the layers in the Layers palette so that the frame becomes visible.

Some objects are irrelevant so we will remove them.
- Step 21. Deactivate the visibility of the second layer with a double-click on the icon in the Layers palette. Now we can start working with the interior.
- Step 22. Choose the Clone Stamp tool
 . Deactivate the Aligned check-box. We want to remove these two bottles, so we should adjust the stamp size and point out the area for cloning on the wallpaper.

- Step 23. Keeping the Alt-key pressed, click the area you want to clone. Apply the strokes to remove the bottles.
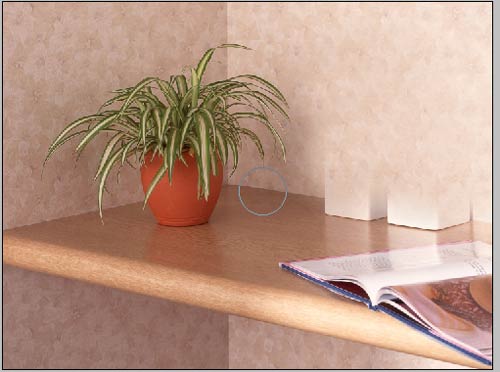
- Step 24. Do the same with the magazine.
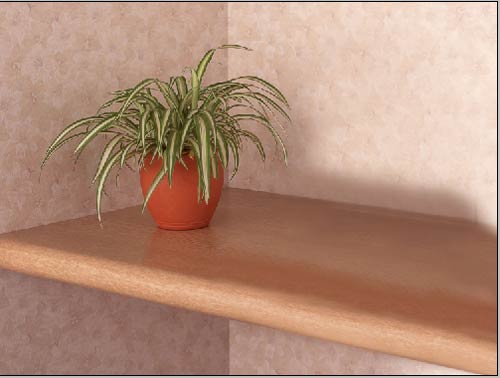
Now our shelf is empty and we can put the photo frame on it.
- Step 25. In the Layers palette activate the visibility of the second layer (with the photo frame).
- Step 26. Choose the Move tool
 to place the frame.
- Step 27. Now we should combine all layers Layers -> Merge All.
Here we get the photo with the frame.

Hint: For more realistic effect you can add a shadow to the shelf.
