Creating a Custom Frame Pack
In addition to the hand painted frames available in the ArtSuite Library and downloadable themed frame packs, you can design your own picture frame collection.
Learn how to make custom frames for AKVIS ArtSuite using the AliveColors image editor. You can use any program that supports selections and transparency.

Custom Frame
Creating Frames
-
Step 1. In the AliveColors graphics editor, open an image you want to transform into a frame (File -> Open).
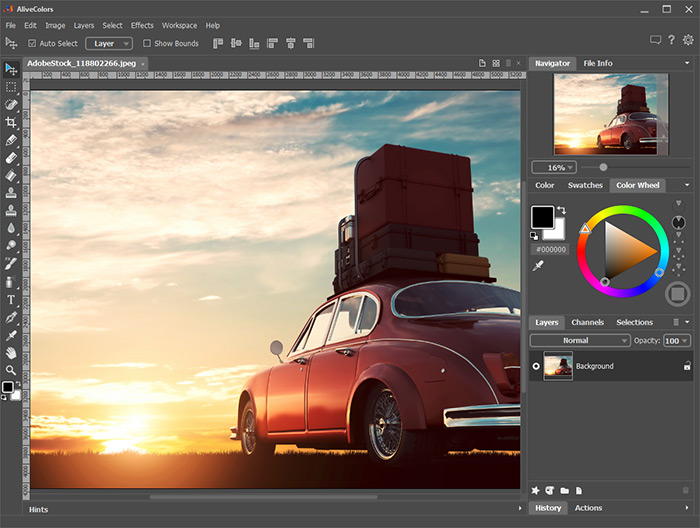
Image in AliveColors - Step 2. Create a hole for a photo in the frame.
Choose one of the selection tools, for example, Rectangular Selection
 , create a selection on the image, and delete the selected area with the Delete key or Edit -> Erase command.
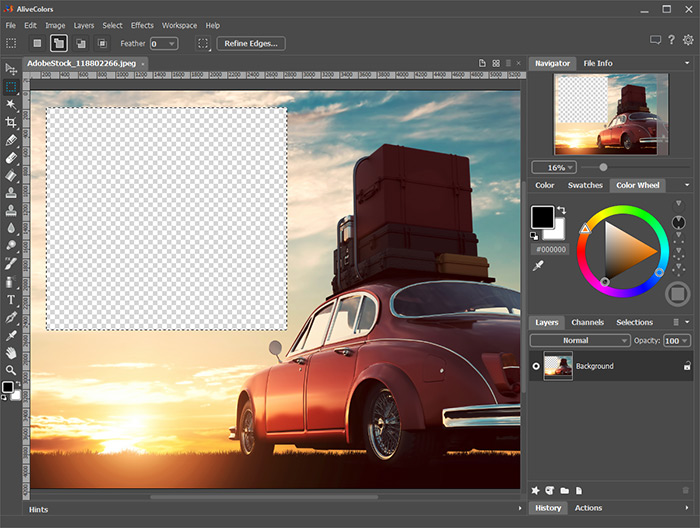
Hole for a PhotoNote: To make multiple holes for several photos in the frame, create new selections in the Add mode
 and delete all of the fragments.
Remove the selection with the command Select -> Deselect or by pressing Ctrl+D.
- Step 3. Draw a colored frame around the hole. To do this, add the Stroke layer effect (Layers -> Layer Effects) with the following settings:
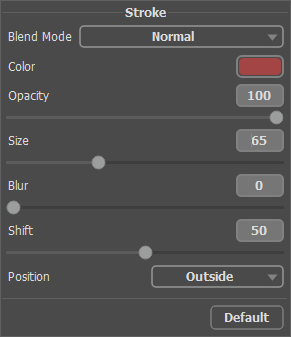
Stroke Layer EffectTo add a volume, apply the Outer Shadow layer effect and adjust its parameters:
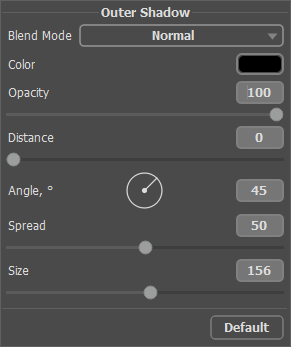
Outer Shadow Layer Effect - Step 4. Complement the frame with a suitable inscription using the Text tool
 and arrange it using the layer effects.

Ready-to-Use FrameSave the frame into a specially created folder. Select the PNG format and make sure that transparency is enabled!
In the same way, design the other frames and save as PNG files in that folder.
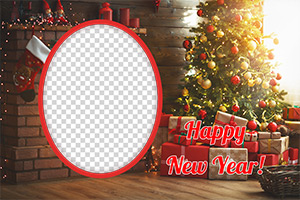
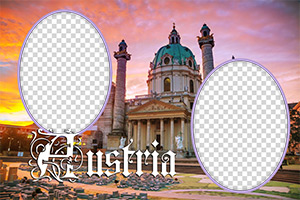
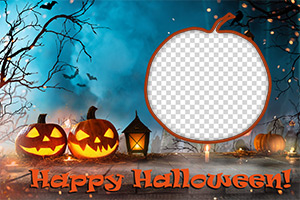
Creating a Pack
Creating and using frame packs is only available in the standalone version of AKVIS ArtSuite or in the AKVIS Frames freeware.
- Step 5. Run AKVIS ArtSuite.
Choose Frames -> Hand Painted Frame and click the Frame Packs Manager button. In the window that appears, click the Custom Pack button.
In the first field of the dialog box, enter a name for the group of frames, for example, My Frames. Then click Browse... and choose your new frames folder. Click OK.
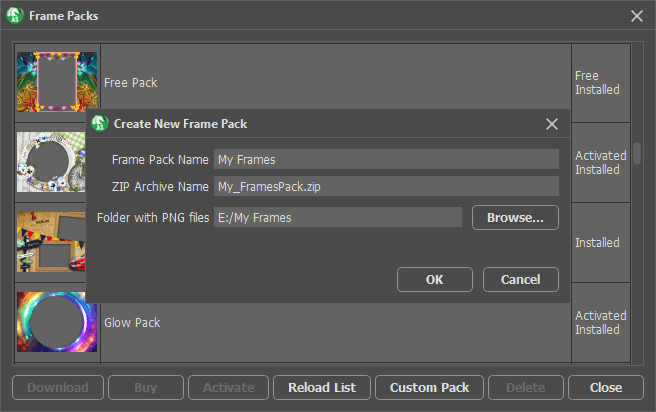
Creating a Frame PackNow you have your own frame collection that is always available for use in the ArtSuite program!
Decorating Photos
- Step 6. In the list of the packs, select My Frames. One of your new frames will be displayed in the square preview window at the bottom of the Settings Panel. Click to open a list with all the frames in the set. Select the desired frame with a mouse click.
In the Control Panel, click
 and select photos to process.
The thumbnails of the images are displayed under the main window. The first image will be automatically placed into the frame. Double-click a thumbnail to choose another photo.
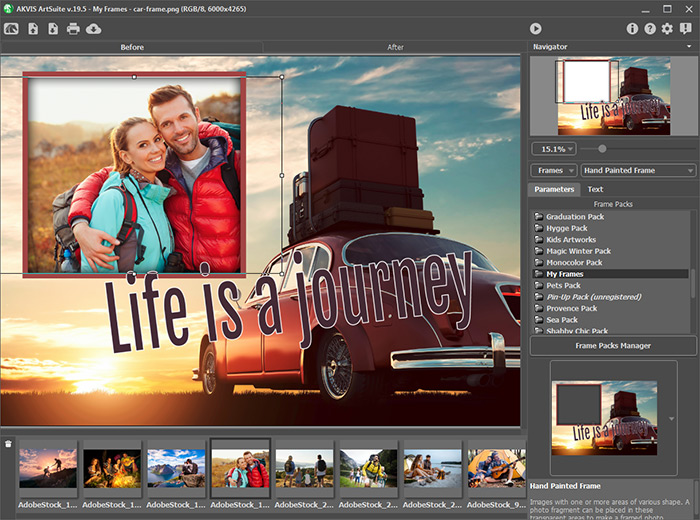
Adding Photos - Step 7. Adjust the position of the photo in the frame for the best result. Then start the image processing with
 .
.

Framed PhotoYou can save the result using
 and print with
  .
.
