Using the Program
AKVIS Coloriage AI creates natural-looking colorization in a quick and entertaining manner. Coloriage AI manipulates colors of an image: from colorizing old black and white photos from your family archive to replacing colors in your color photos. Coloriage AI can work independently as a standalone program and as a plug-in to a photo editor.
Follow the instructions to colorize a photo with the AKVIS Coloriage AI:
- Step 1. Open an image.
- If you work with the standalone version:
To load an image, you can double-click within the empty window, drag the image into the program workspace, or use
 . The software supports RAW, JPEG, PNG, BMP, TIFF, and WEBP file formats.
- If you work with the plugin:
Open an image in your graphics editor.
If the image in Grayscale mode, switch it to RGB. For example, in AliveColors use command: Image -> Mode -> RGB.
Call the AKVIS Coloriage AI plug-in from the Filter/Effects menu:
in AliveColors: Effects -> AKVIS -> Coloriage AI;
in Adobe Photoshop: Filter -> AKVIS -> Coloriage AI;
in Corel PaintShop Pro: Effects –> Plugins -> AKVIS –> Coloriage AI;
in Corel Photo-Paint: Effects -> AKVIS -> Coloriage AI.
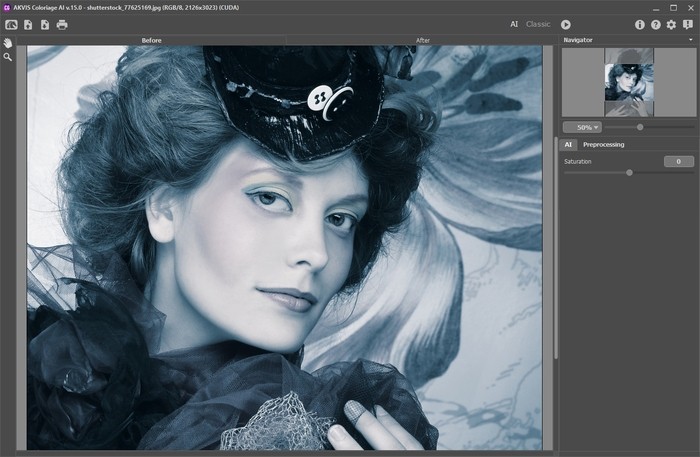
- Step 2 (optionally). You can adjust the brightness and contrast of the original image in the Preprocessing tab.
- Step 3. Select the colorization mode: AI or Classic.
In AI mode, the program uses trained neural networks that select the most suitable colors and apply them to your photo.
In Classic mode, it's possible to colorize the image using colored strokes. Indicate areas with strokes of the desired color. The program will recognize the object's borders and colorize the image with the selected colors.
- Step 4. Press the button
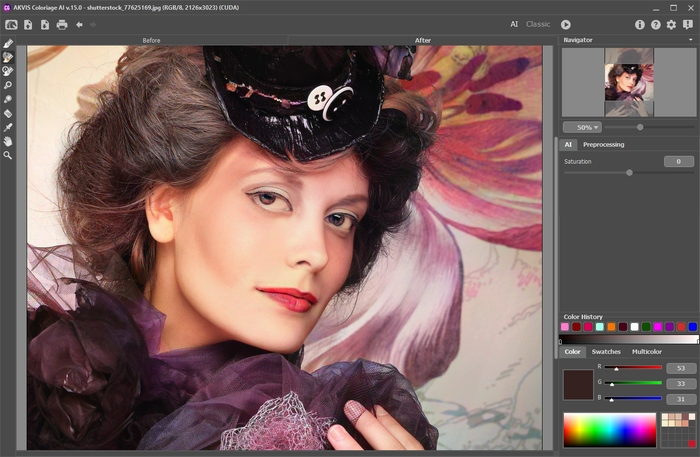
 to start the process. The colorized image will be shown in the After tab.
If you want to edit the colorization result (remove some strokes, add new strokes, change the color of the objects), activate the Before tab again and make the necessary corrections. Click the button
 again to re-start processing.
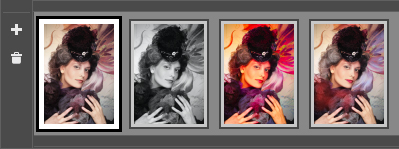
- Step 5. It is possible to add the result into the Variations section by clicking
 in the Toolbar. You can switch between the results to compare different versions of colorization. To remove a picture from the list, click
  .
.
Note: This feature is only available for the Home Deluxe and Business licenses.

Variations of ColorizationHints: Loading a new image into the program removes all images in the Variations. Save your favorite results under new names.
You can hide Variations in the program Preferences
 .
.
- Step 6. In the last stage of work you can manually edit the colorized image using the post-processing tools (in the After tab): Recolor Brush
 , Tuning Brush
  , History Brush
  , Darken
  , Lighten
  , Saturation
  .
.
Attention! Use these brushes at the final step! If you re-run processing
 or switch between the images in Variations, the changes made with the tools will be lost.
- Step 7. In the standalone version, you can also print your result using
 .
.
- Step 8. Save the processed image.
- If you work with the standalone edition:
Click
 to open the Save As dialog box. Enter a name for the file, choose the format (TIFF, BMP, JPEG, PNG, or WEBP) and indicate the target folder.
- If you work with the plugin:
Press the button
 to apply the colorization result to your picture and close the plugin window. The plugin will close and the colored image will appear in the workspace of the photo editor.
Call the Save As dialog box using the command File -> Save As, enter a name for the file, choose the format and indicate the target folder.

Colorized Image
