Colorization of a Black and White Photo
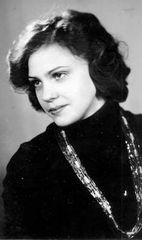
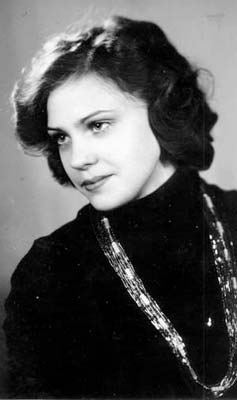
You can surely find some black and white images in your photo archive. They were taken at a time when color photos were rare even in photography studios.
You can colorize this photo yourself using the half-finished materials that we give you. Download an archive containing the original image and the file with the strokes (*.strokes). See the instructions.
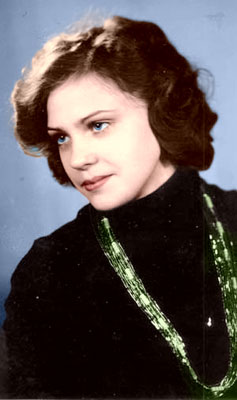
The example was made in the Classic mode of Coloriage AI.


Read how to add color to B&W photos using the Classic mode:
-
Step 1. Scan the photo at the 300 dpi resolution and open it in your photo editor.

- Step 2. Call the AKVIS Coloriage AI plug-in. For this purpose in AliveColors select the menu item Effects – AKVIS – Coloriage AI; in Adobe Photoshop select the menu item Filter – AKVIS – Coloriage AI; in Corel Photo-Paint - select the menu item Effects – AKVIS – Coloriage AI.
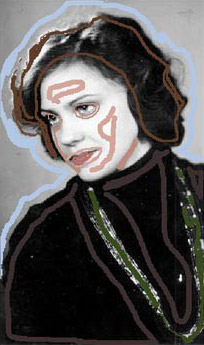
- Step 3. In the Classic mode of the plugin, select a dark color for the dress and draw an outline within the dress following its boundaries. It is necessary to draw lines along the boundary of the beads as well.
- Step 4. We select the blue color for the background and draw an outline along the shoulders and the head of the girl.
- Step 5. Apply green strokes to the beads.
- Step 6. Select colors for the hair, the lips and the skin from the Color Library. Outline the eyes and the lips with the color chosen for the skin, so that the colors chosen for the eyes and lips do not spread to the skin.
-
Step 7. Now we set the color for the eyes: apply blue strokes to the eye iris and white points to the white of the eye.

-
Step 8. Press the button
 and you will see the colorized photo in the After tab.
-
Step 9. Apply the result and close the plugin's window by pressing the button
 .
.

