Installing plug-ins in Xara Designer Pro X11
There are two methods of installation plugins into Xara Designer Pro X11:
Method 1. Copy the files with the ending .8bf into the Plugins folder of Xara Designer Pro X11.
To install AKVIS plug-ins just copy the 8bf files from the original folder C:\Program Files\AKVIS\ (for example, for Sketch it will be the folder Program Files\AKVIS\Sketch) into C:\Program Files\Хara\Хara Designer Pro X11\Хara Picture Editor\PSplug-ins\.
Method 2. Add plug-ins through the menu of the photo editor:
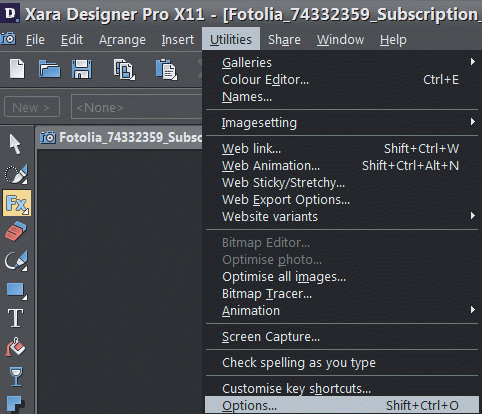
- Run Xara Designer Pro editor. Call Utilites -> Options from the main menu.
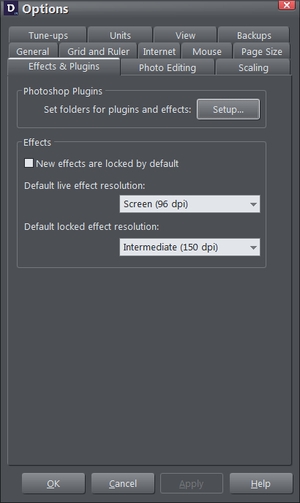
- In the Options window switch to the Effects & Plugins tab. Click the button Setup.
- The PS Plug-ins location setup window will open. In this window click the button Add Folder
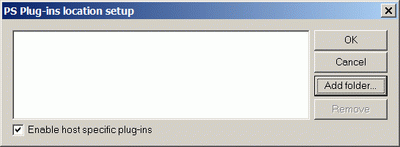
and choose AKVIS folder.
Enable check-box Enable host specific plug-ins.
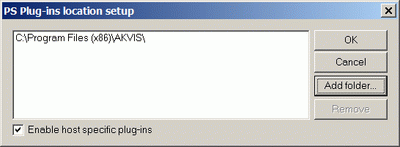
Click the button OK.
Plug-ins are installed now.
To call the plugin follow these steps:
- Select the Live Effect Tool on the Toolbar.

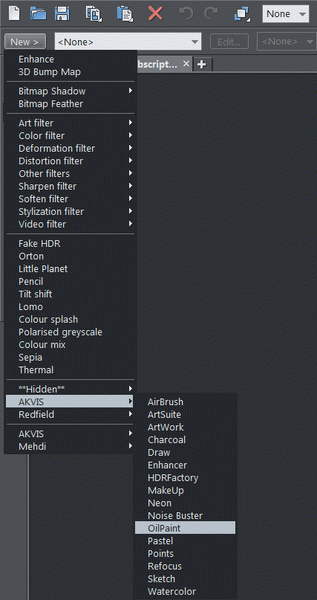
- Click the New button on the Infobar.
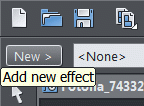
Select AKVIS from the list of the effects and call the plugin you want.
