Creating a Vacation Memory Collage From Multiple Images
With AKVIS Chameleon you can create a complex collage made up several images combined into one picture.
Take a look how to create a vacation memory collage using AKVIS Chameleon (we used the standalone version).

Original Images

Result
- Step 1. Pick a few photos you want to use to create a collage. The photos can be different but we suggest they should all have the same theme, for example, some photos of a southern sea. We want the collage to look like a complete image.
-
Step 2. Open the image which will become the background of the collage by pressing
 . It can be simply a blank white image or any photo of suitable size.
-
Step 3. Open the first image to be used for the collage by pressing
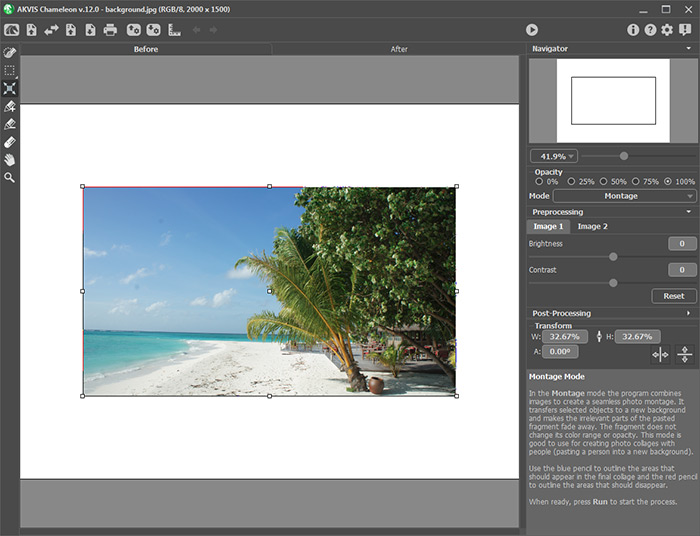
 . In the Before tab, you will see the background image with this photo above it.
The program is set to Montage mode by default. We will continue in this mode.
-
Step 4. Select the Transform tool
 and move the photo. This tool can also resize and rotate the image.
-
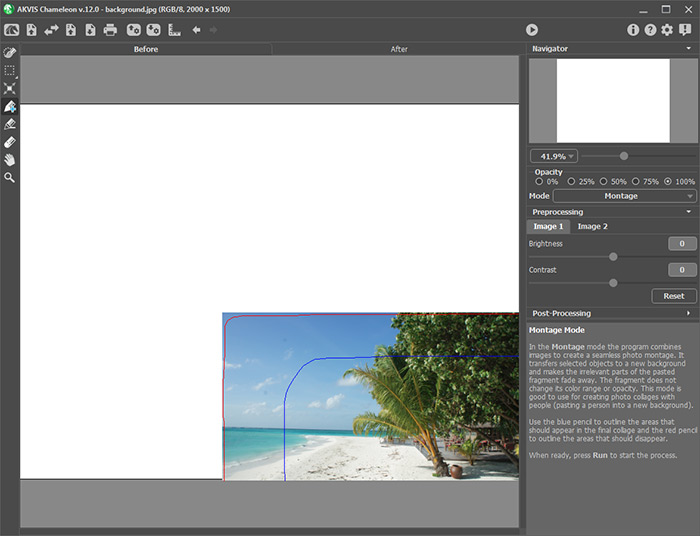
Step 5. Next, make the edges of the image fuzzy and blurry. Use
 and
and  to draw a red line around the part of the image you want to remove and a blue line around the part you want to keep. Bear in mind that the closer these two lines are to each other, the sharper the image's edges will be. Since we want the edges to be fuzzy these lines should be drawn far apart.
-
Step 6. Process the image by pressing
 . The result will be shown in the After tab.
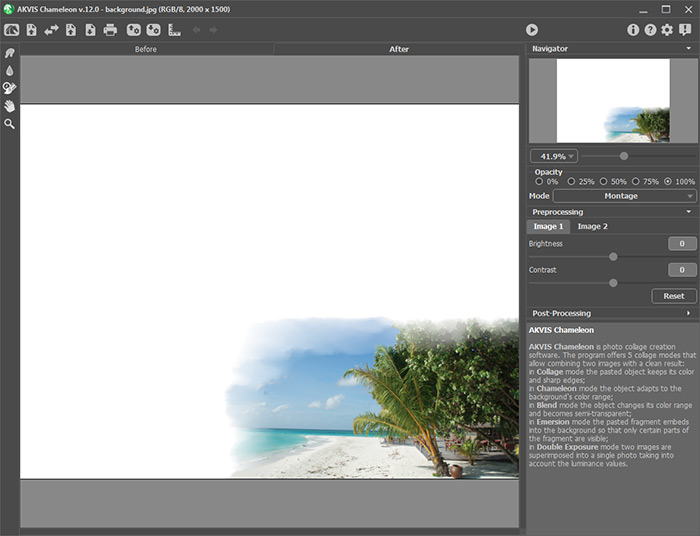
You can redraw the lines and process the image again if you want a different result.
-
Step 7. Save the first part of the collage by pressing
 . After the image is saved a dialog box will appear. Press Yes to use the resulting collage as a background image.

The result will be automatically "re-loaded" as the background image (#1).
Hint. You can save each new change under a different name, so that if there is some problem you won't have to start over from the beginning.
-
Step 8. Press
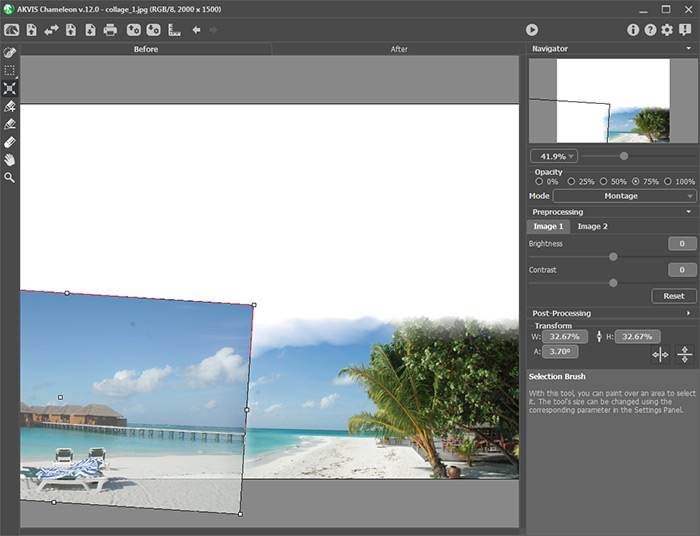
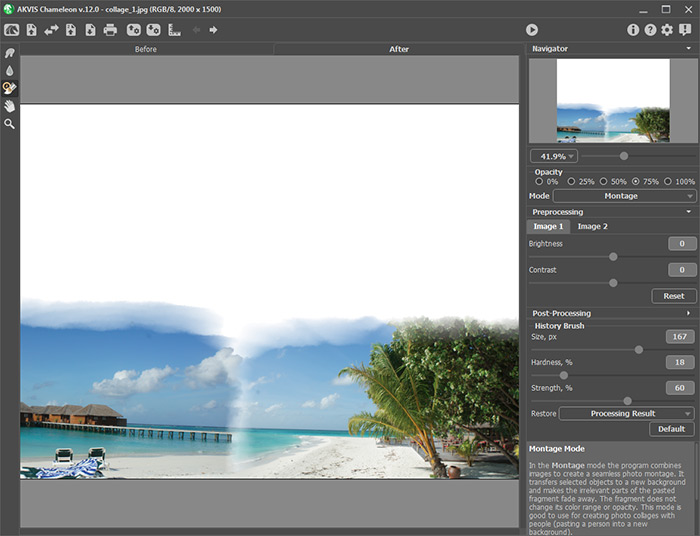
 and open the next photo. Place it on the background image, partially covering the previous photo. To make this easier reduce Opacity to 75%.
Note: This parameter is auxiliary and does not affect the final result. It helps to place the chosen fragment more accurately.
-
Step 9. Apply the finishing touches to the photo as before, giving it fuzzy edges. Process the image by pressing
 .
.
Since the edges of both images are fuzzy and overlap each other, there is a smooth transition between them, just as we wanted.
- Step 10. Fill in the remaining blank space of the collage by adding images as before.

