A technique of colorization and color replacement
The example has been made by S.I Serikov in Adobe Photoshop.
AKVIS Coloriage allows achieving excellent results when coloring black and white photos. But being a perfectionist, Mr. Serikov wanted to achieve the best possible result.
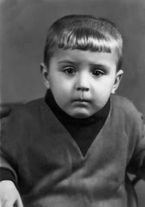
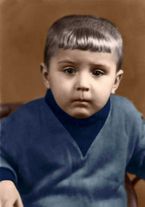
In this tutorial the author tells us how to make a photo more vivid.
He colorized a photo taken in the 60s.
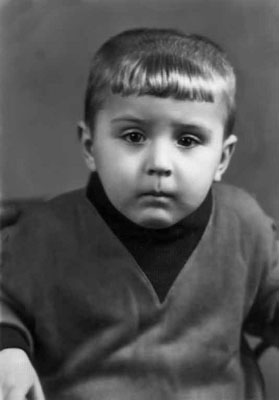
First, we colorize the portrait with the AKVIS Coloriage plug-in:
- We open the portrait in Adobe Photoshop and call the plug-in AKVIS Coloriage.
- Draw an outline within every object following with the color you've chosen for it.
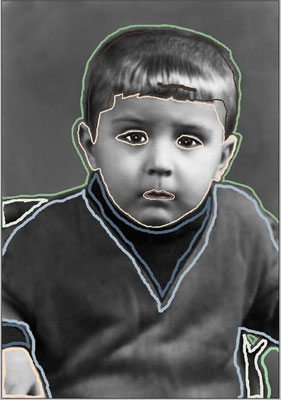
- Press the button
 to start the colorization process.
 - We apply the result to the picture by pressing the button
 .
.
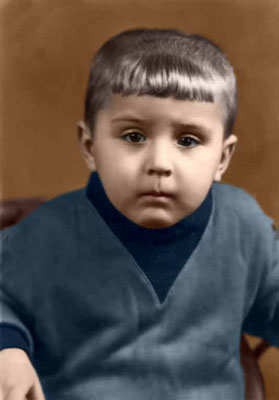
The author decided to touch up the image: he called the Replace color command of Adobe Photoshop and added some blue hues to the pullover to make the color more vivid.
Here is the instruction:
- Select the command Image - Adjustments - Replace Color in Adobe Photoshop;
- Use the Eyedropper tool to pick a dark-blue color from the boy's shoulder;
- Set the parameter Fuzziness in such a way that in the Selection window only the pullover could be seen;
- Adjust the Hue and the Saturation parameters;
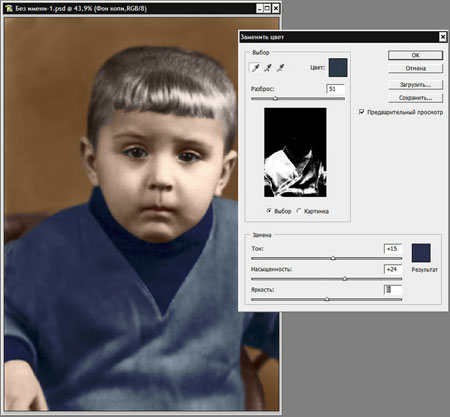
- Apply the result by pressing the button OK.
Below are two images: on the left is the portrait of the boy right after the colorization, on the right is the same portrait after applying the Replace color command of Adobe Photoshop. After the strong>Replace color command the photo has become more interesting as the pullover of the boy now has more shades of the blue color.

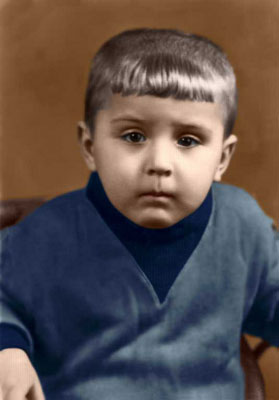
You can use this technique to add color shades to the photos colorized with the AKVIS Coloriage plug-in. You can experiment with portraits as well as nature shots to add new tints to leaves, grass, etc.
