Beautiful Nataly
The author of this example is Maria Skripina.
Maria writes that she would like to excel in the field of design. To create a new image she used a photo of Russian singer Natalia Korolyova, and applied three products from AKVIS: АKVIS Retoucher, AKVIS MultiBrush, and AKVIS Coloriage. According to Maria, they are easy to use and produce interesting results.
 |
 |
You will see some steps to make this beautiful image even better.
- Step 1. Open the image in a graphics editor (for example, Adobe Photoshop).
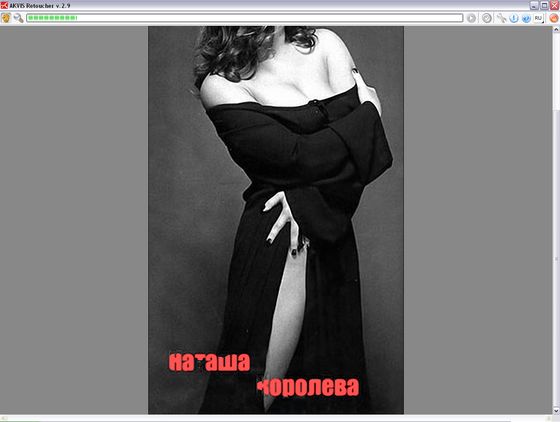
- Step 2. Select the inscription below and remove it with AKVIS Retoucher. To select areas with the same color it is convenient to use the Magic Wand. This tool is activated by left-clicking on its icon
 in Tools in the graphics editor. The Options bar displays the parameters for the selected tool. Change Tolerance to 50, and check Anti-alias and Contiguous. The white letters will be selected along with the pixels bordering them. Click the mouse under each letter while holding down the Shift key to select the text.
- Step 3. Start the AKVIS Retoucher plugin. In Adobe Photoshop do this by choosing from the menu Filter -> AKVIS -> Retoucher. The selected areas (text) of the image will be displayed in red.
- Step 4. Press the button
 to start processing.
 - Step 5. After the process is finished, press the button
 to accept the changes. The changes will be applied and the plugin window will close.
Since there is still a dark outline around where the white text was, more correction is required.
- Step 6. To begin making corrections, start AKVIS MultiBrush (Filter -> AKVIS -> MultiBrush).
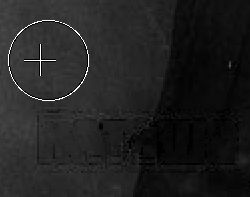
- Step 7. Choose the Stamp tool from the Toolbar, and adjust the size of the cloned area by changing the Stamp Size to 15. Hold down the Alt key and left-click on the gray background near the letters to set a source point. This point will be marked with a dagger. When you let go of the Alt key, a circle will appear, which should be moved to the areas that need correction.
- Step 8. To accept the changes press the button
 . The plugin window will then close.
- Step 9. Now you can open the AKVIS Coloriage plugin (Filter -> AKVIS -> Coloriage) and start coloring.
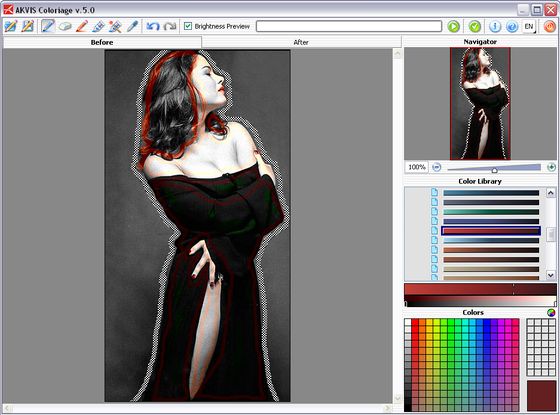
- Step 10. This is the sequence of actions for coloring the image:
- With the Keep Color Pencil
 draw around the contour of the figure, so that the colors do not spill into the gray background.
- To get a preview of the brightness of the changes, check the box next to Brightness Preview. The strokes will then display the brightness after processing.
-
Activate the Pencil tool by either pressing the button
 or using the hot key B. Choose colors from the Color Library or from Colors and outline areas with the colors you have chosen.
- Finally, draw some dark green strokes on the dress. This color should work well with the flow of the fabric.

Drawing strokes with the chosen colors - With the Keep Color Pencil
- Step 11. Press the button
 to start processing. The colored image will appear in the After tab.
- Step 12. If you are satisfied with the results, press the button
 to apply the changes and the plugin window will close.

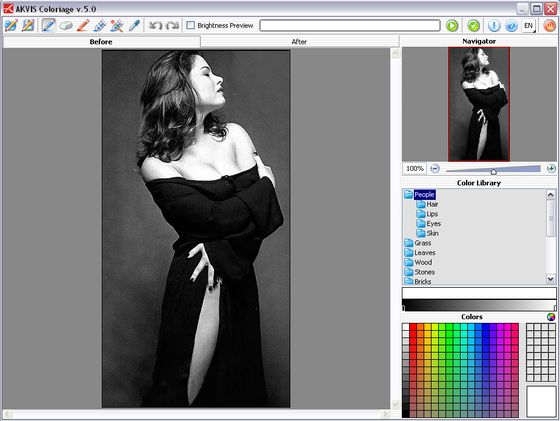
Black and white portrait

Removing text from the photo with AKVIS Retoucher

Use of the Stamp tool

Start coloring with AKVIS Coloriage
Now, upon comparing the two images, one can exclaim “there is no limit to perfection!”
| |
| After Coloring |

