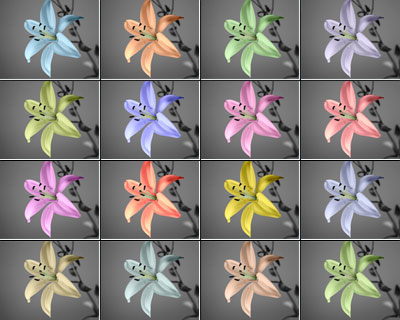
A Flower Show
In the tutorial Partial coloring of B&W photos we showed you how to colorize parts of a black and white picture with AKVIS Coloriage. In this tutorial we will also colorize only a part of the image and will show you some other features of the program.
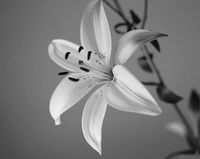
Open a black and white photo in AKVIS Coloriage.
Here we have a photo of a lily.
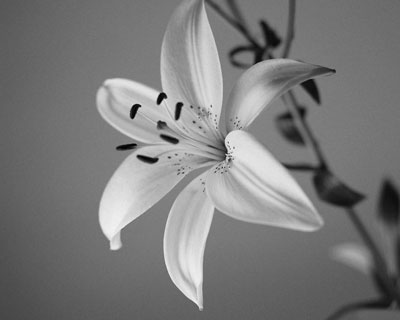
We are going to colorize only the lily, that's why first we should use the Keep Color Pencil ![]() to draw a close outline around the flower.
to draw a close outline around the flower.
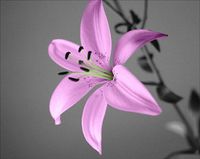
Then select a lilac color from the Color palette and outline the petals of the lily with the Pencil tool ![]() . Select a reseda color for the stamens and draw a line within every stamen with the Pencil tool.
. Select a reseda color for the stamens and draw a line within every stamen with the Pencil tool.
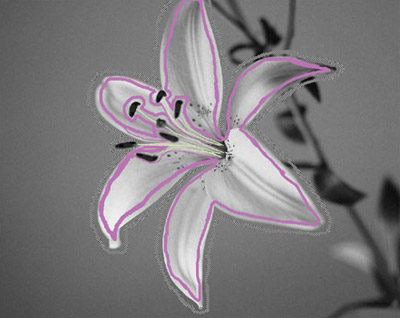
Start the colorization process by pressing the button  . You will see the colorized lily in the After tab.
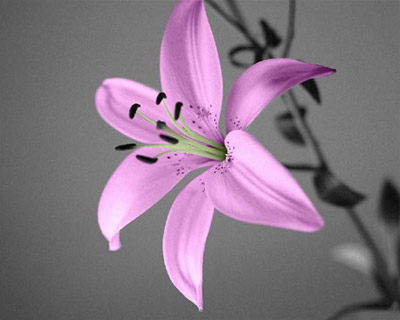
Now you can save the image and quit Coloriage… but wait, do not close the program window before you learn some tips that will help you to use AKVIS Coloriage efficiently.
First of all, you can save the strokes that you have drawn into a separate file. It is helpful when you want to edit the photo later, for example, if you have to interrupt your work before you have drawn the strokes for all objects. You can save the strokes by pressing the button  and close the plug-in's window. When you later load this photo in AKVIS Coloriage, you can open the strokes for the photo with the button
  and continue working.
Secondly, you can change the color of the strokes with a mouse click. Just select a new color, activate the Tube tool ![]() in the Toolbar and click the stroke, the color of which you want to change.
in the Toolbar and click the stroke, the color of which you want to change.
If you want to recolor several strokes having one color, you can activate the Magic Tube ![]() and click one of such strokes - all the strokes having this color will be recolored.
and click one of such strokes - all the strokes having this color will be recolored.
Here we used the Magic Tube ![]() to recolor the lily's petals into yellow.
to recolor the lily's petals into yellow.
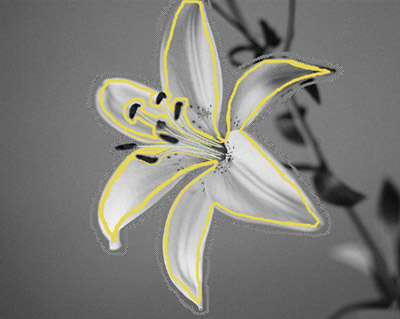
We pressed the button  and got a yellow lily.
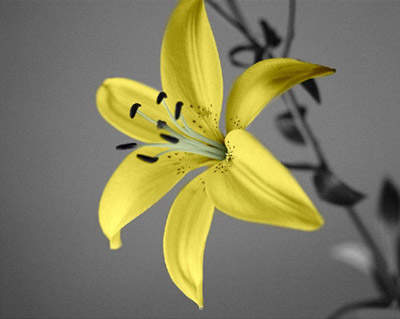
It's very easy to change the color of the flower, you try as many variants as you like, and all that - with a simple mouse click.
