City Canal View: Oil Landscape
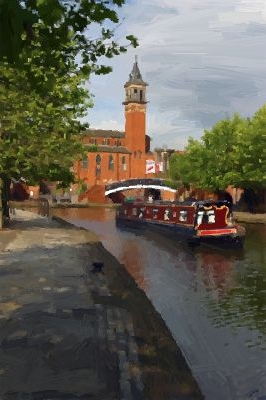
On a nice Summer day I was walking along the city canal when I was overcome with an irresistible itch for painting. I did not have paints and no easel, and, to be quite honest, my landscape studies had never excited my drawing teacher at school. But I had a camera with me, so I took a photo of the view. Then, using the program AKVIS ArtWork, I converted my photo into an oil painting. The result was just the painting I had in my mind.
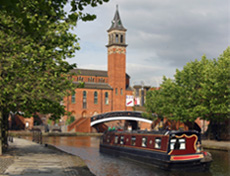
Original Image
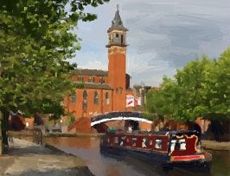
Result
AKVIS ArtWork Deluxe was used when creating this tutorial. The Deluxe/Business version (in contrast to Home license) has a Stroke Direction tool ![]() . This tool can do wonders!
. This tool can do wonders!
You can download the images in full size to compare the result with and without this feature: a zip-archive with three files 1st-result.jpg, 2nd-result.jpg and 2nd-result-with-canvas.jpg.
Please follow these steps to create an oil painting from a photo:
- Step 1. Open the image in your photo editor. We used the plugin version of ArtWork. But you can work with the standalone program, the steps will be the same.

Original Image - Step 2. Call the plugin AKVIS ArtWork. In AliveColors you can use the menu item Effects –> AKVIS –> ArtWork.
The image will be loaded into the workspace and, if it is large, scaled to fit the Image Window. To avoid a visual distortion effect, it is recommended to set the scale to 100%.
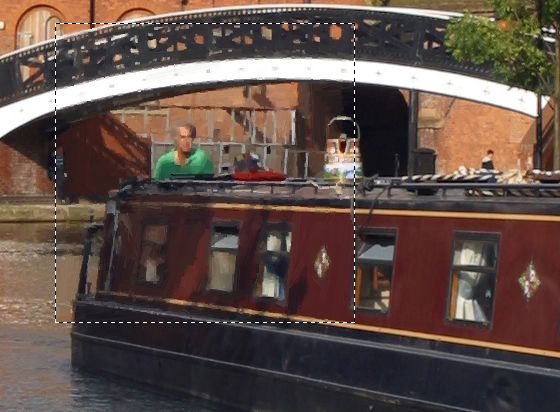
Fragment of the Image (Scaled to 100%) - Step 3. Adjust the parameters. The changes are automatically applied to the sample in the quick preview window. You can move this square with a double left-click to the required point of the image.
I would like to paint my landscape in an expressionist manner, in large strokes. Actually most painters do not try to make a photographic reproduction of the reality, they do not reproduce every minor detail. So I increased the value of the Simplicity parameter. This parameter simplifies the image by reducing the level of detail. The strokes are rougher and the image looks more like a painting. You can notice that at Simplicity = 6 the level of detail is quite reasonable.
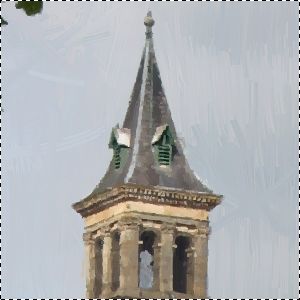
Default Settings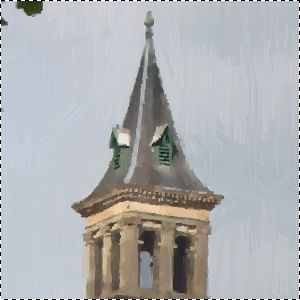
Simplicity = 6To make the image brighter, we increase the value of Saturation to 15.
- Step 4. Click on
 to process the whole image with the new settings. Here is the result (1st result.jpg):
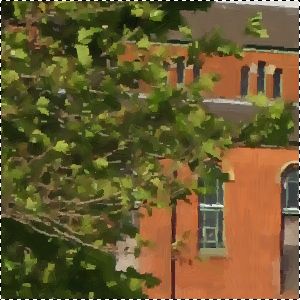
Leaves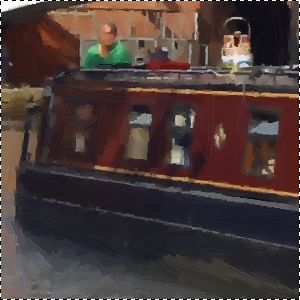
Boat - Step 5. We are happy with the result. But we can make it yet more realistic (that is more like a painting) if we use the Stroke Direction tool
 . This tool gives us full control over the strokes as it allows to set the stroke direction. If you examine the image 1st-result.jpg you can notice that the boat, the trees and the building came out well, but the water and the sky are not perfect. The reason is that the strokes are laid randomly, while an artist would use horizontal strokes for the sky and would follow the direction of the river stream when laying the strokes on the water:
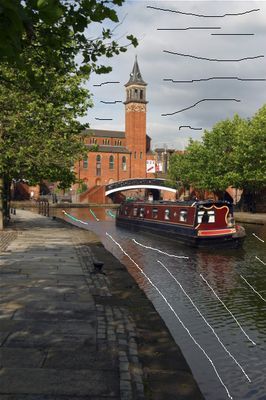
Change the Strokes Direction - Step 6. Click on
 again. The result is here: 2nd-result.jpg. You can also add a canvas and an inscription to the painting: 2nd-result-with-canvas.jpg.
- Step 7. Click on
 to apply the changes and close the AKVIS ArtWork plugin. It took me only 4 minutes to create my modest piece of art. I printed it on good paper and hung it on the wall in the dining-room.
Oil Painting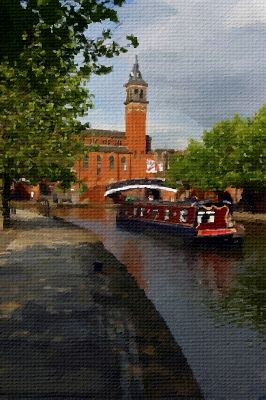
On Canvas
