Pastel Painting
The Pastel effect simulates a special artistic technique which bridges the gap between painting and drawing. The pastel sticks form soft velvety strokes with subtle edges.

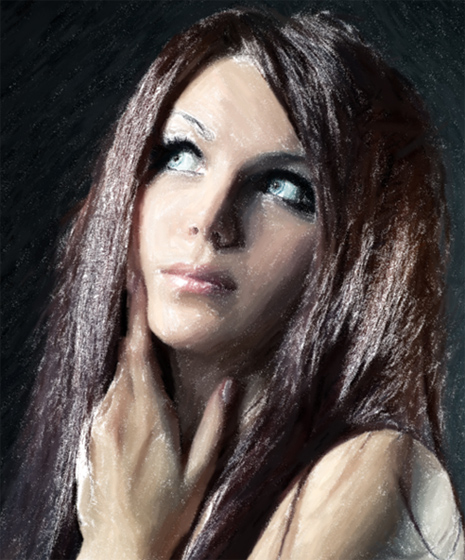
Attention! The Pastel style is only available for the Home Deluxe and Business licenses. In the Home version, you can use this effect only with the watermark. It's possible to upgrade the license to unlock the premium features.
The Painting tab contains the parameters for converting a photo into a pastel painting.
Effect Parameters:
Stroke Thickness (0-100) affects the width of the strokes.
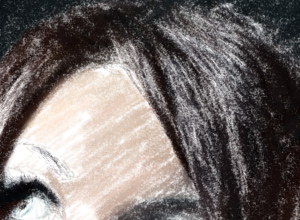
Stroke Thickness = 1
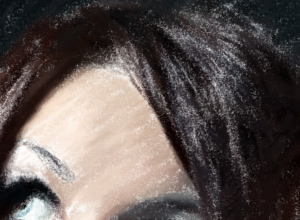
Stroke Thickness = 70
Min/Max Stroke Length (1-100) covers the full range of possible stroke lengths. Stroke Length is controlled by the position of two sliders on the same scale: the left slider sets the minimum stroke length while the right slider controls the maximum stroke length. You will see only the strokes greater than the minimum and shorter than the maximum settings.
This parameter lets you create pastel works in a variety of styles: from sketches made with short strokes (as if with a thin pencil) to drawings made with soft, velvety strokes.
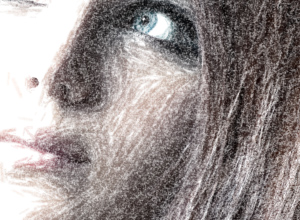
Min/Max Stroke Length = 1/11
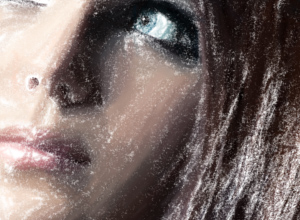
Min/Max Stroke Length = 45/100
Stroke Intensity (0-100) affects the visibility of the strokes. Lower values will result in paler, weaker, and softer strokes. At higher values more paint particles are concentrated into each stroke, so they become darker, larger, and more noticeable.
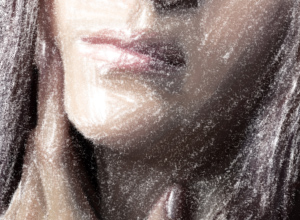
Stroke Intensity = 5
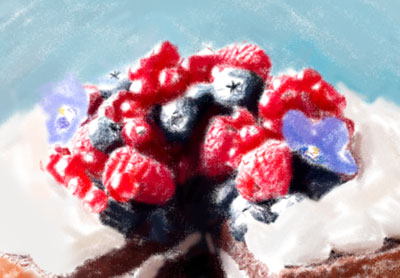
Stroke Intensity = 80
Density (0-100) affects the number of strokes on an image. The higher the value, the fewer unpainted areas there will be on a image. Once all gaps have been filled in, the strokes will begin to overlap in several layers, creating a glazing effect.
Attention: Setting the high values of this parameter can significantly increase processing time.
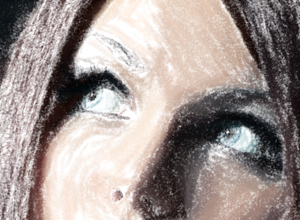
Density = 5
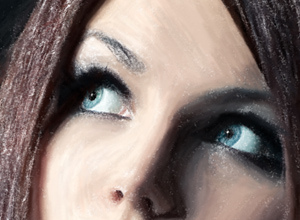
Density = 80
Lightening (0-100) affects the number of white strokes superimposed an image. The higher the value, the the more light tones will be used.
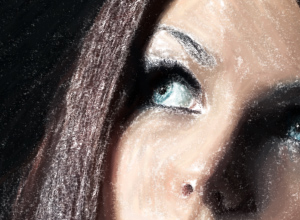
Lightening = 10
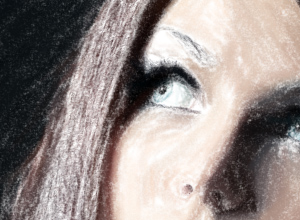
Lightening = 80
Smoothing (1-10) affects the structure of the drawing by thickening and smearing the strokes.
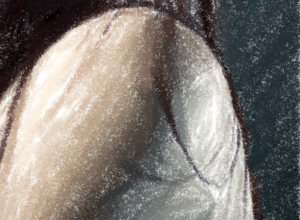
Smoothness = 2
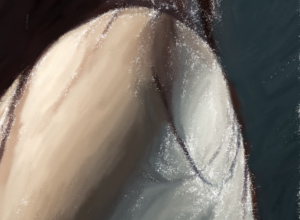
Smoothness = 10
Additional Tools:
On the Before tab:
Stroke Direction ![]() . Add your own creative touch by changing the direction of the strokes. Just draw the guiding lines, and the program will convert the image into a pastel painting directing the strokes to follow your guiding lines. With this technique you can achieve truly realistic paintings with human hair, patterns and textures going in the right direction.
. Add your own creative touch by changing the direction of the strokes. Just draw the guiding lines, and the program will convert the image into a pastel painting directing the strokes to follow your guiding lines. With this technique you can achieve truly realistic paintings with human hair, patterns and textures going in the right direction.
On the After tab:
Smudge ![]() . Use the tool to improve your result by manually refining irregularities after processing.
. Use the tool to improve your result by manually refining irregularities after processing.
History Brush ![]() . It fades the effect and restores the image, partially or fully, to its original state.
. It fades the effect and restores the image, partially or fully, to its original state.
Attention! If you re-run the image processing, the changes made with the post-processing tools will be lost!
Note: These tools are only available for the Home Deluxe and Business licenses.
