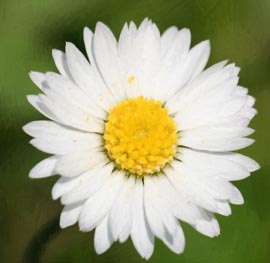
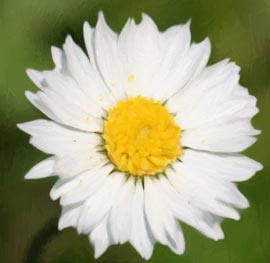
Oil Painting with an Enhanced Hand-Drawn Effect
The author of this tutorial is T. Skaarup. He shares his experience:
"AKVIS ArtWork can be used to generate excellent Oil Painting Renderings of photographs. One potential problems is the detail and scale of an image which is so accurately rendered in a painting. The fidelity of the final painting’s dimensions to the original images dimensions can cause the casual viewer to accurately determine that the processed image is computer generated.
In this tutorial I will show you one method to make the final rendered image look more like a hand-drawn image. This is done by purposefully (and intelligently) distorting the size and details of the original image using the Smudge Tool."

Note: This tutorial was created using ArtWork plug-in in Adobe Photoshop. It's even more easier to achieve this effect by using the Smudge tool ![]() in AKVIS ArtWork itself (in Deluxe/Business versions).
in AKVIS ArtWork itself (in Deluxe/Business versions).
But in this case you should change the step sequence: first process a photo with the Oil effect, then use the Smudge tool on the After tab, to edit the processed image.
Follow these instructions:
- Step 1. Open the photo in the editor: File -> Open.
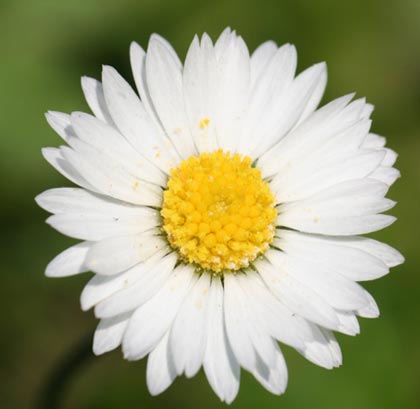
Original image - Step 2. Visually analyze your image and try to determine where the strong lines are. Imagine you were going to use a pen and draw the image, which lines would you need to draw to get the essential image across to the viewer.
If you can’t imagine these lines, you could create a layer with a copy of your original image then use the Photoshop Filter -> Sketch -> Photocopy filter. Here is the result:
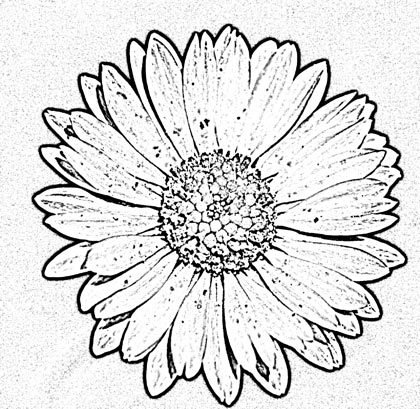
Determination of the strong linesTo the author's eye, there are four sets of lines: the edge around the entire flower; the edge around the center; the reticulations in the center of the flower; the lines radiating out from the center.
- Step 3. Select the Smudge Tool.
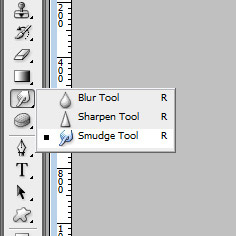
Smudge ToolBe sure the setting are a soft (non-hard) brush, with a diameter of the image resolution (e.g. 72dpi, 144dpi, etc.) but do not exceed 1/20th of the vertical height of the image. If the daisy image was 72dpi and sized 2000x2000, then the brush size would be sized between 72 pixels and (2000/20)=100 pixels.
Turn off the Finger Painting check-box or you’ll introduce unwanted color into your image.
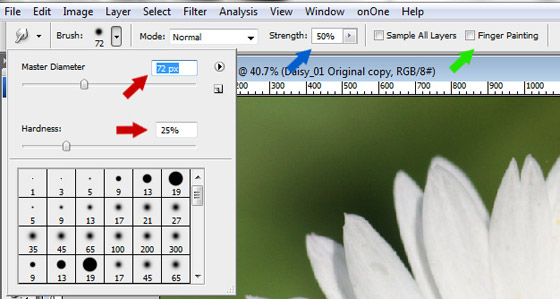
The Smudge Tool's settingsUsing the Smudge Tool, draw along the strong axis of the lines you identified earlier. There are a few rules to follow:
a. Don’t draw along the border of high contrast.
b. Don’t cross a line intersection (crossing “+”) if it involves a high-contrast set of colors.
Following these rules, the strong line around the edge of the entire flower would not be drawn as it is the boundary of high contrast (white to green). The area around the center would also not be smudged as there is a distinction between the white and yellow, though this color contrast is not as strong and would probably not be noticed. The yellow center of the flower would be drawn as would the radial lines from the center to the edge.
Smudge center: In this case since there isn’t much room, you can smudge irregularly in a somewhat circular pattern. These sets of smudges don’t cross the yellow border (this would be a violation of rule (b) of crossing into a new color.
Smudge center and spokes: You can smudge along the edges of the daisy petals outward. Once you reach the outer edge of the flower petal then stop as that would violate rule (b) by crossing into green.
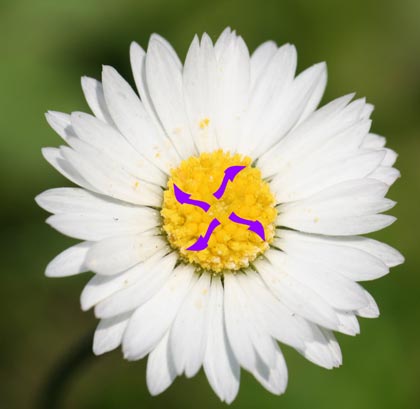
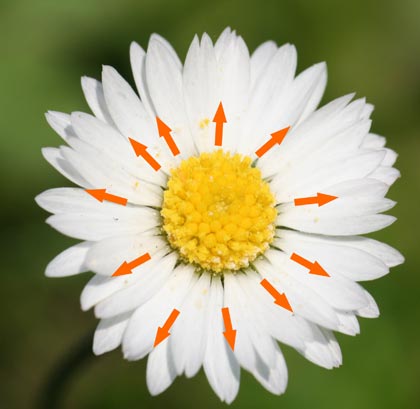
This is the resulting photographic image:
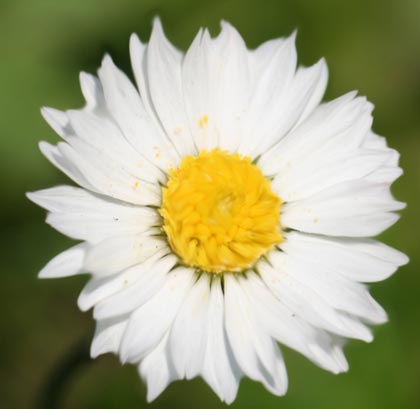
After Smudge Tool using - Step 4. Use AKVIS ArtWork to convert the image to an oil painting using AKVIS Light Strokes preset.
Here is the final image:

After AKVIS ArtWork, Oil Painting Effect
Compare with the original:
Another example:

Original image
Pre-processing of the image in Adobe Photoshop:
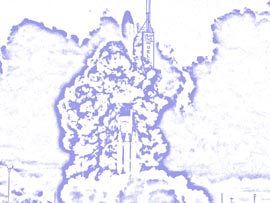
Photocopy layer to identify edges

Smudged image
Result of photo-to-painting conversion in AKVIS ArtWork:

Painting of Original

Painting of Smudged
