Scrapbooking Ideas
The author of the example Cindi Dornellas shares her experience:
"This tutorial is created with AKVIS ArtWork Pen & Ink feature. The purpose of this tutorial is to illustrate the capabilities of this program to create a high-contrast pen & ink drawing to be used with electronic cutting machines that have drawing abilities with pens."

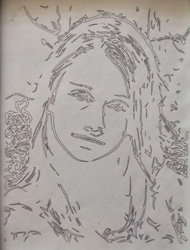
We hope that everyone who loves the idea of scrapbooking will find this article interesting and useful.
Here is the description of the process:
-
Step 1. Open a photo in AKVIS ArtWork:

Hint: Depending on the image you choose, you might find better results with using a B&W image as an original. Even though the AKVIS program will convert it to B&W – sometimes the results are better when you start with a B&W image.
- Step 2. In the Style list select Pen & Ink.
-
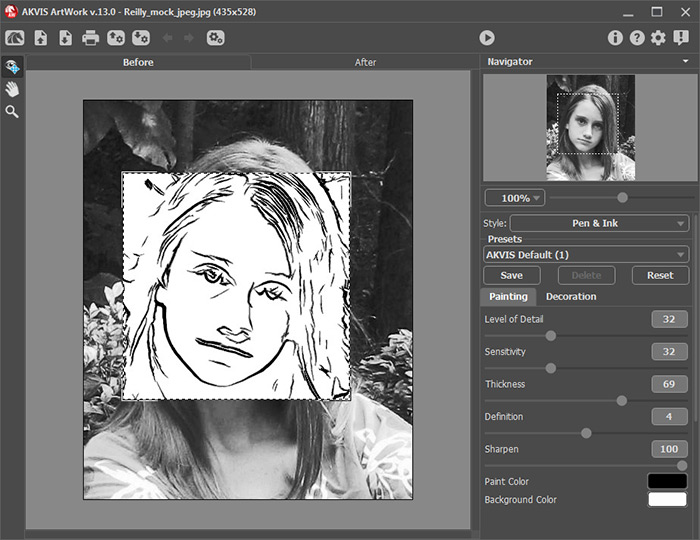
Step 3. This is where you modify the slider to obtain as much detail as possible without having features distorted. Sometimes it is helpful to convert the original image to a B&W prior to bringing into AKVIS. It’s your personal preference. Using your pointer tool, move the square box in the middle of the screen to see how the pen & ink will look in the various elements of your image.
Move the Sharpen slider to 100.
-
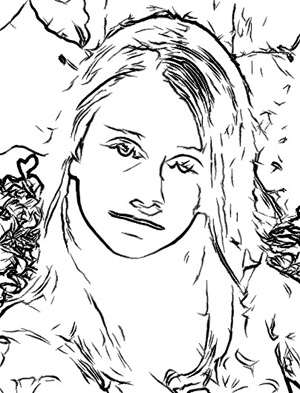
Step 4. Click the After tab to see the results of converting your image to a B&W Pen & Ink image.
Click the Save As
 button to save your image.
-
Step 5. In SCAL, go to File -> New Project.

Then go to Cutter -> Mat Size and set your mat size to your preference. This example shows a 12”x12”.

-
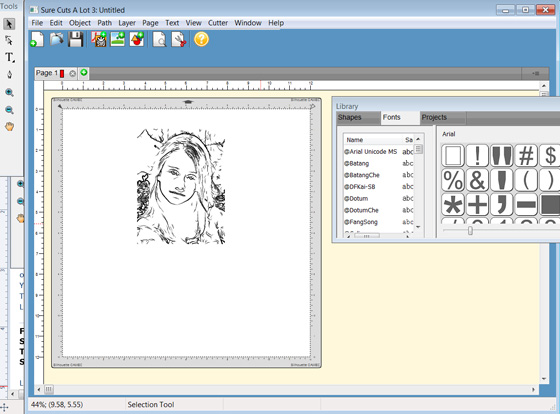
Step 6. Go to File -> Place Image and locate your AKVIS ArtWork Pen & Ink image.
-
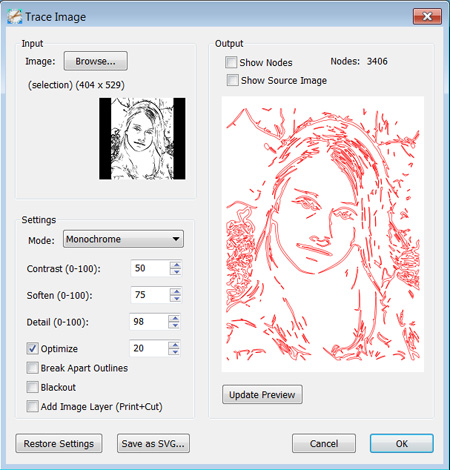
Step 7. Click image and then go to File -> Trace Image. This will bring up the Trace Image settings. Your image will display in red.
As in the AKVIS program, you will modify the image to adjust to your preference. Using the up/down arrows. Once you have an image you are pleased with, click the OK button.
-
Step 8. You now will have two images on your screen. One is the actual image you placed, then the other is the image you ‘traced’. Click the image to select it and click Delete on your keyboard to remove the top/original image. You now are left with the ‘traced’ image.
Click the image, in SCAL go to Cutter then Preview and your traced AKVIS ArtWork Pen & Image image will display red.
In your cutting machine, make sure you have replaced your blade with a pen. Turn on your machine, hook up the image to your computer using a USB cord. Load paper onto your cutting mat. Turn on your machine. Be sure to select ‘load cutting mat’ click the Enter button and your mat will go into the machine and is now ready to ‘draw’.
Back in SCAL, go to Cutter and select cut with Choose your Machine.
Change your settings.
Cut Settings -> Holder should be PEN.
Speed and Pressure -> Material – use the pull down arrow to select the type of material that is on your cutting mat. Click the Cut button.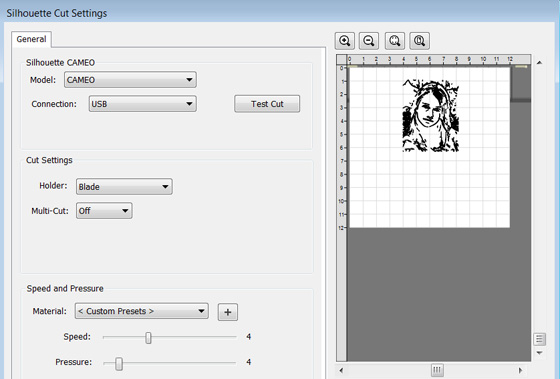
-
Step 9. The electronic cutting machine will start to "draw" the image.
You will see a progress bar on your computer monitor.
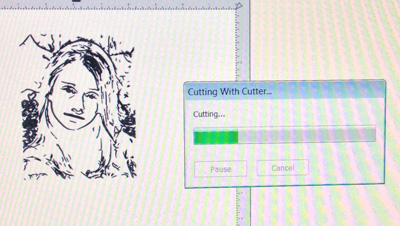
Ta Da! Your original image converted to a drawing using AKVIS ArtWork Pen & Ink.
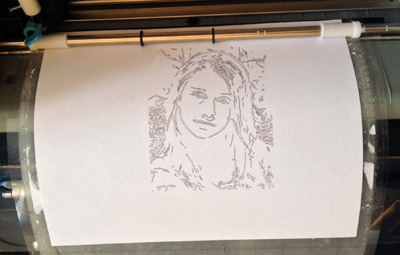
There are many brands of electronic cutting machines. All have various capabilities and all have support forums. I believe the AKVIS programs would be a huge benefit to a designer using one of these machines.
There are many electronic cutting machines out there. They use a cartridge with a blade and ‘cut’ out images/shapes. Most of these cutting machines now have a cartridge to accommodate holding a ‘pen’ (in place of a blade). This allows the electronic cutting machine to ‘draw’ rather than ‘cut’.
Most of these cutting machines have software associated with their company. There are also several third party software companies that work with the machine. Sure Cuts A Lot (SCAL) or Make The Cut (MTC) are two of them. This tutorial shows how to bring your Pen & Ink image into SCAL and utilize a cutting machine as a ‘drawing tool.
