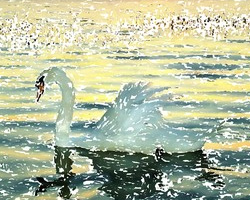
Creating a Semi-processed Image Effect
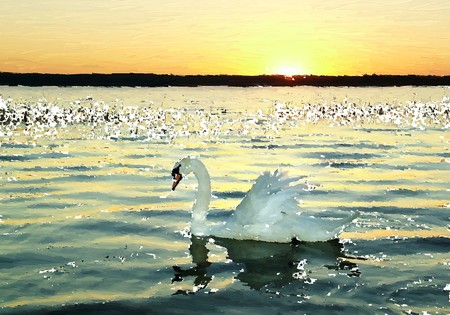
In order to make the photo-to-painting rendering more entertaining and show the conversion in real time, AKVIS ArtWork offers the Animated Processing option. You can see how the white spaces become fewer and fewer until the final image is shown. The effect can be quite striking, so users often ask us — Is it possible to stop photo-to-painting rendering with just the slight hints of white showing and save the semi-processed painting as a result?
Yes, there is a small trick for doing that.
- Step 1. Open the photo you want to process in AKVIS ArtWork.

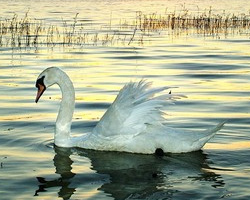
Original image - Step 2. Click the button
 to process the photo in full (the parameters don't matter - we will adjust them later).
Attention: At this step it is necessary to let the program finish its conversion process - otherwise, it will start it again when you try to stop rendering in the middle.
For example, here is the result with the AKVIS Default preset. The painting looks good, but quite boring.
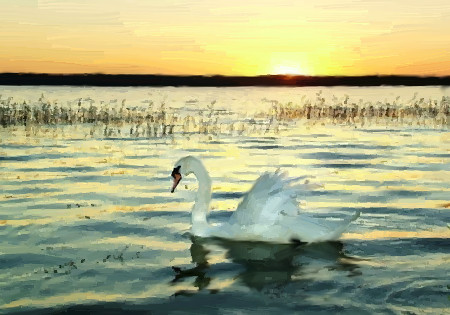
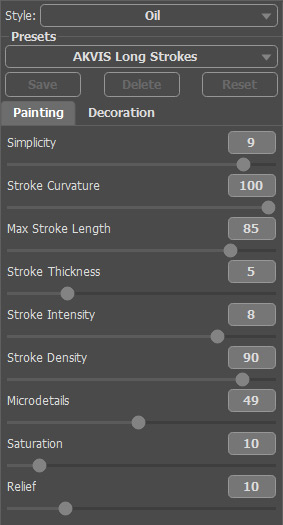
Processed image (AKVIS Default preset) - Step 3. Open the Before tab and adjust the parameters as you like or try one of the standard AKVIS presets. It is necessary to change at least one parameter, even a bit (for example, from 0 to 1).
I chose the AKVIS Long Strokes preset:
AKVIS Long Strokes preset - Step 4. Restart the rendering by clicking the button
 . After that click the Cancel button near the progress bar.

- Step 5. You will see the dialogue box asking you whether you want to interrupt the process or not. Watch the Animated Processing, and when you see a suitable frame, click the button Yes.
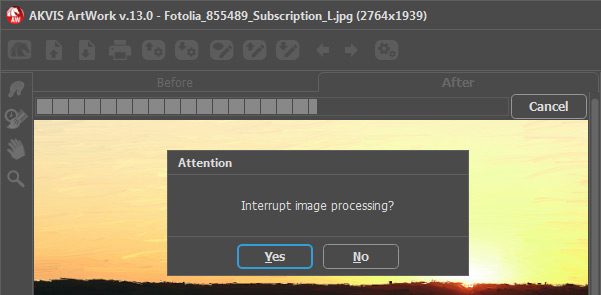
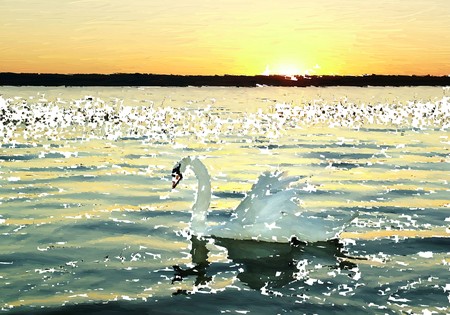
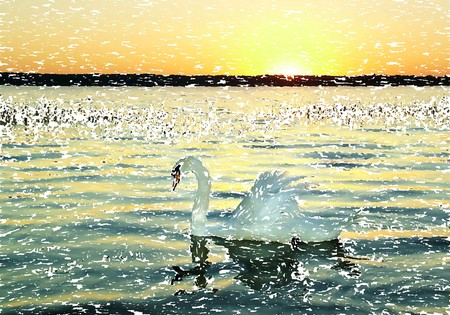
- Step 6. Go to the After tab and voilà! Here is a semi-processed image:

Semi-processed image - Step 7. If you don't like the result, change the parameters again (at least one of them) and repeat the process: Run -> Cancel -> Yes -> After tab.
You can get various results changing parameters or presets:
