Nature Effects: Sun
This effect adds the most important celestial body to an image - The Sun in all of its manifestations, depending on the time of day, the seasons, and the weather: bright, dim, summer, winter, rising, setting, etc. By changing settings or using one of the presets from AKVIS, it's possible to transform the sun into the moon (AKVIS Moon preset) or another more distant star (AKVIS Star preset).
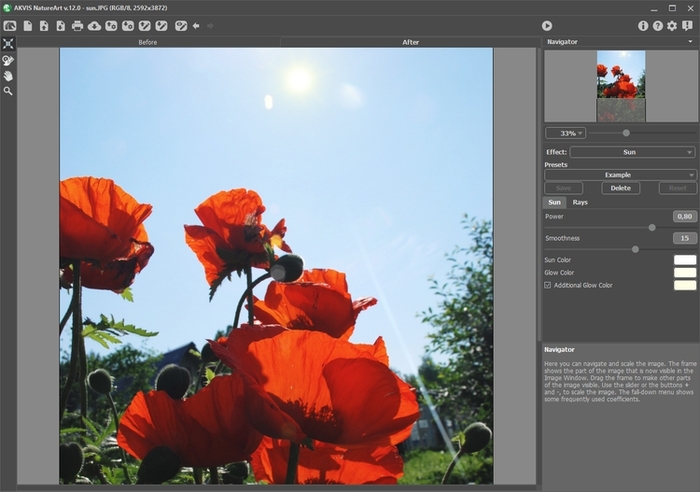
Sun Effect in AKVIS NatureArt
Use the Transform ![]() tool in the Before tab to determine the location of the sun, its size, and the direction of its rays.
tool in the Before tab to determine the location of the sun, its size, and the direction of its rays.
The sun is depicted schematically as a circle with rays emanating from it (the number of which is determined by the corresponding parameter in the Rays tab). When ![]() is pressed, markers appear around the circumference of the frame.
is pressed, markers appear around the circumference of the frame.
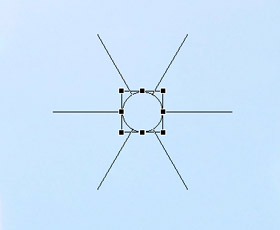
To move an object, bring the cursor within the frame, after which it will take the form of double perpendicular arrows, left click the mouse and while holding it down, drag the cursor. You can also draw a sun anywhere on the image by double clicking the left mouse button.
Note: To correctly place the sun and achieve the most realistic result, consider the location of shadows in the image.
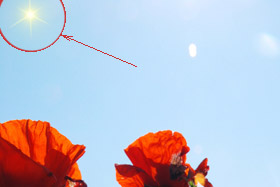
Original Position
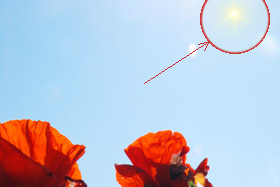
Position After Moving
To change the size of the sun, bring the cursor within the frame so that it takes the form of a double-headed arrow, and after clicking and holding the left mouse button, move the cursor to increase or decrease it.


The sun's rays can be rotated. To rotate them, bring the cursor outside of the frame, so that it takes the form of a rounded double-headed arrow, and after clicking and holding the left mouse button, drag the cursor.


Configure the effect's settings.
You can adjust the parameters for the Sun effect in the Settings Panel. There are two tabs: Sun and Rays.
Sun Tab:
- Working with color. There are three color to set for the sun: Sun Color, Glow Color and, if desired, Additional Glow Color. Usually two colors are enough. In rare cases an additional color is required, mainly for a rising or setting sun.
Click on the color plate and select a color in the standard dialog.
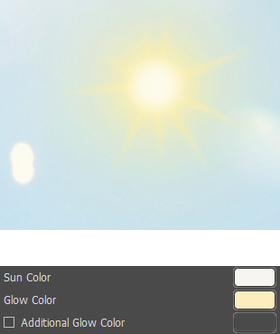
Sun - White, Glow - Yellow
Additional Glow deactivated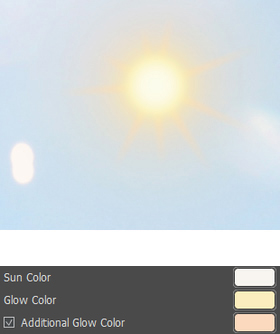
Sun - White, Glow - Yellow
Additional Glow - Orange - Power (0.30-1.00). This parameter determines the size of the sun's glow and its intensity. At higher values the glow is stronger and covers a larger area.
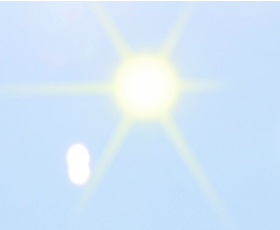
Power = 0.50
Power = 0.85 - Smoothness (0-25). This parameter determines how smooth the transition between the colors of the sun and its glow will be. Increasing the value of this parameter will make the transition between colors smoother.
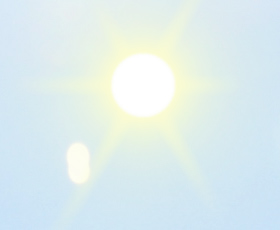
Smoothness = 2
Smoothness = 20
Rays Tab:
- Enable Rays check-box. When this option is enabled, the rays are drawn accordingly to the settings described below. If you want a sun without rays, turn this option off. In this case the parameters in this tab will not be active.
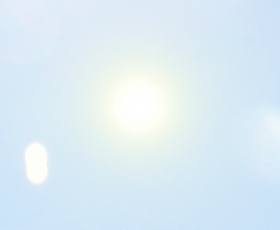
The "Enable Rays" check-box is disabled - Random Distribution check-box. If the check-box is enabled, the rays are placed randomly. If the option is disabled, the rays are arranged symmetrically at the same distance between them.
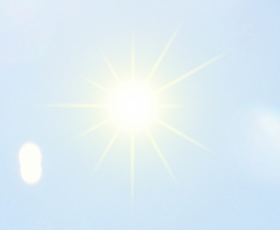
The "Random Distribution" check-box is disabled
The "Random Distribution" check-box is enabled - Number (1-100). The parameter determines the number of the rays.
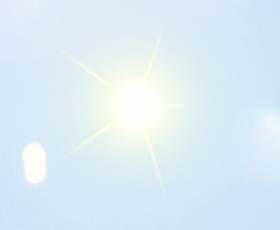
Number = 5
Number = 11 - Max Length (0-200). The parameter controls how far the rays spread, and also acts as a contraint on their length. The length of the rays can be different but they will be no longer than the specified value.

Max Length = 20
Max Length = 100 - Smoothness (1-100). The parameter changes blurriness of the outer edge of the rays. The higher the value, the smoother the edges are.
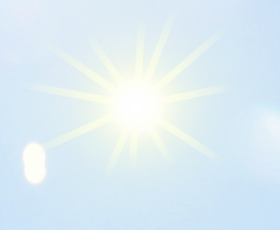
Smoothness = 1
Smoothness = 95 - Width (1-100). The parameter changes the width and brightness of the rays.

Width = 25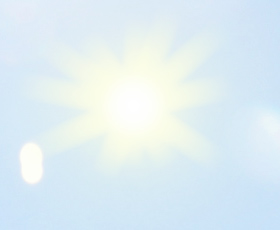
Width = 60 - Transparency (0-99%). The parameter determines the translucency of rays. At higher values their color fades and more of the image is visible through them. For a more realistic effect it is best to set this to a high value.

Transparency = 30%
Transparency = 80%
