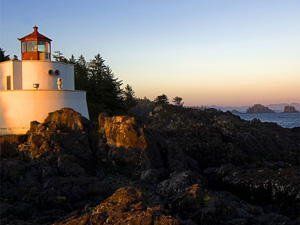
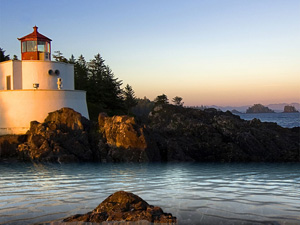
Rocky Coast: Applying the Water Effect to Specific Areas
The author of the tutorial is J.L. Alcover Lillo, Madrid, Spain. This example shows how to create the effect of partial image processing in AKVIS NatureArt using the History Brush ![]() .
.
(Click on either image to see a larger version)
- Step 1. Open an image in AKVIS NatureArt and select the Water effect.
Define a water level with the Move tool
 .
.
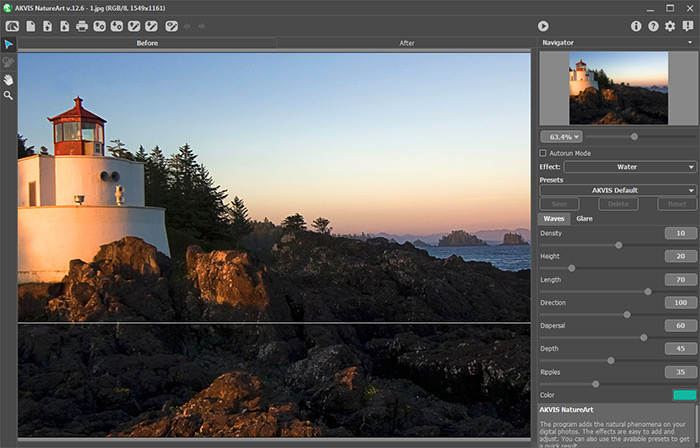
Line of the Water Surface - Step 2. Adjust the effect parameters or choose a ready-to-use preset from the list and start processing with
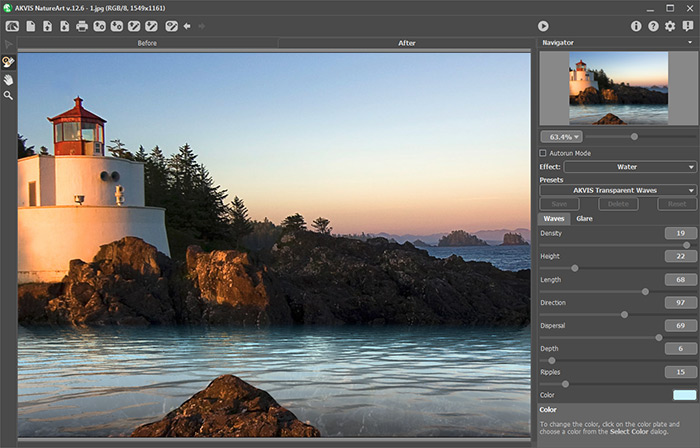
 . The author used the AKVIS Transparent Waves preset.
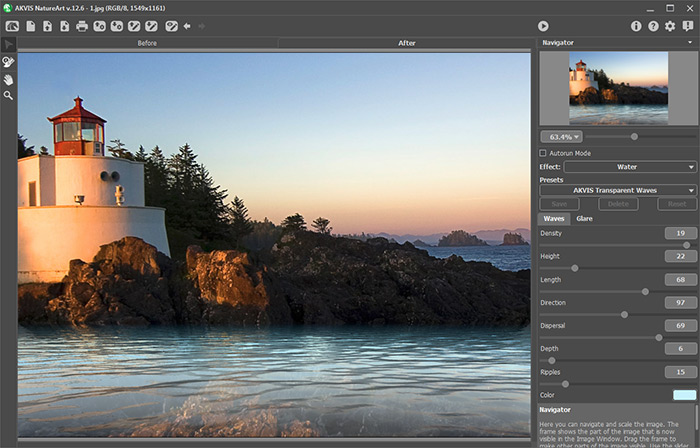
Water Effect Parameters - Step 3. "Uncover" a piece of a rock sticking out of the water.
Select the History Brush
 and adjust its parameters in a pop-up window that appears after right clicking in the image.
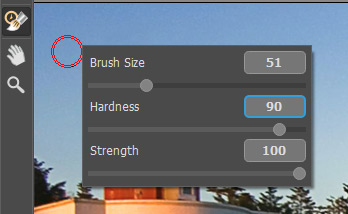
History Brush ParametersUsing the brush process the desired area. This tool helps to reduce the effect and return the image to its initial state. Here is the result:
After Applying the History Brush
