Planet of Storms
The author of this tutorial is Robert (Norway).
In this tutorial we'll add rain showers and lightning to this photo to give it an otherworldly appearance.
- Step 1. Open the original image in AliveColors.

Original Image - Step 2. Let's add some rain. First make two copies of the main layer.
Choose the first copy and call the AKVIS NatureArt plugin (via Effects -> AKVIS -> NatureArt). Once the plugin has opened choose Rain from the list of effects. Select the entire image with the Selection Bucket
 and adjust the parameters as you wish or use the settings below.
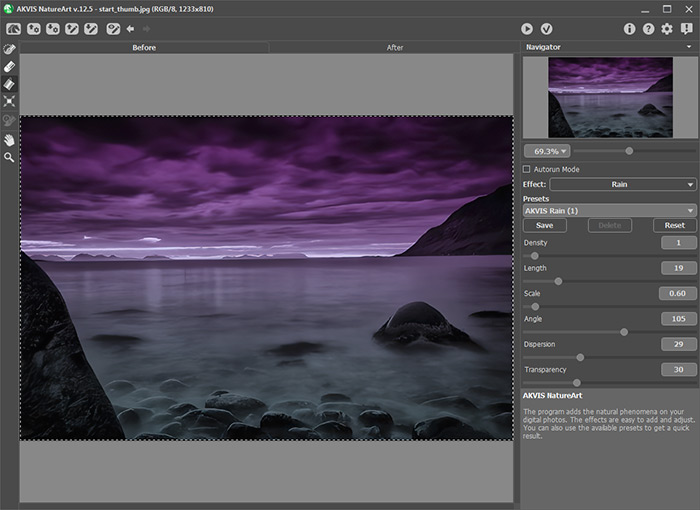
Press
 to process the image. If you are satisfied with the result, press
  to close the plugin and return to AliveColors workspace.
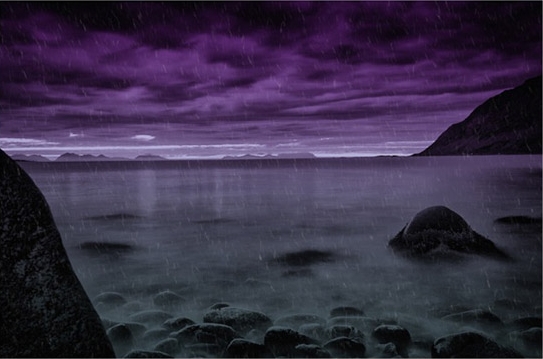
- Step 3. Choose the second layer copy. Call the AKVIS NatureArt plugin again, select the Rain effect and change the settings slightly. Process the image and press
 to apply the result and return to the graphics editor. Change the opacity of this layer to 25%.
- Step 4. Now that we've added some light rain to the image, the next step is to create a new layer: Layers -> New -> Raster Layer. After this fill the layer with 50% Gray (color #808080).
Apply the AKVIS NatureArt plugin to this new layer, using new settings for the Rain effect. Slightly change the size and length of the raindrops, but do not big changes to the other settings. Process the image. Press
 to apply the result, and in the graphics editor change the layer's blend mode to Overlay and reduce it's opacity to 40%.
- Step 5. Repeat Step 4 a few times until the light rain becomes a heavy downpour. The final result was created with five layers of rain.
We're finished with the rain, so we can now combine all the layers into one (via Layers -> Merge All).
- Step 6. Now let's add a bolt of lightning. Begin by creating a new layer and filling it with 50% gray. Call the AKVIS NatureArt plugin and choose Lightning from the list of effects. Select the
 tool from and draw branching strokes for the lightning. Adjust the settings as shown below.
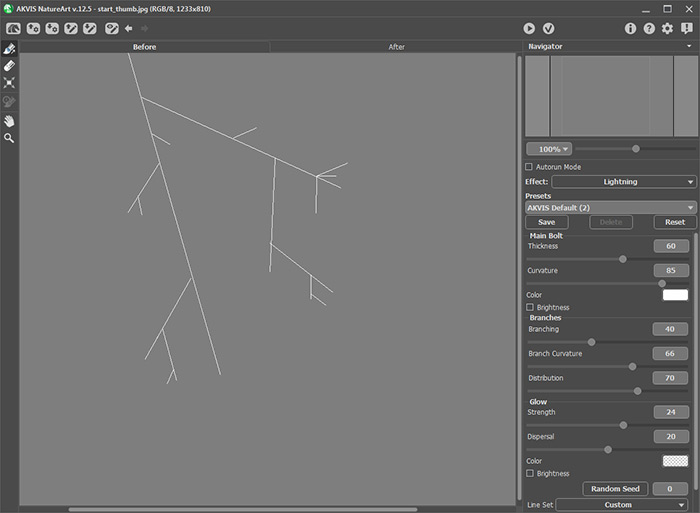
Process the image and press
 to close the plugin's window.
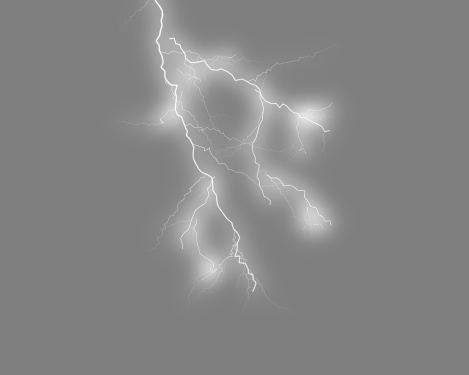
- Step 7. Change the layer's blend mode to Hard Light and adjust the size and position of the lightning bolt on the image.
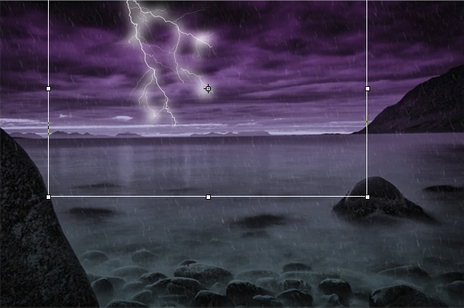
To make the lightning three-dimensional, create a few layers with different lightning bolts, place them below the first bolt, and then use the Overlay blending mode.
- Step 8. After following all of these steps we'll get this result:

Final Result
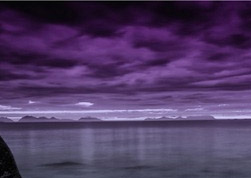
Original Image
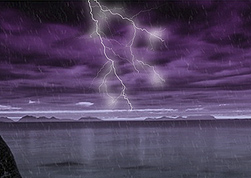
Result
