Creating Original Ice Frames
AKVIS NatureArt generates magical effects that can be used for creativity, for example, for making original ice frames or creating photo albums. Add a winter charm to your photos!
In this tutorial, we used the plugin version of AKVIS NatureArt and the AliveColors graphics editor.
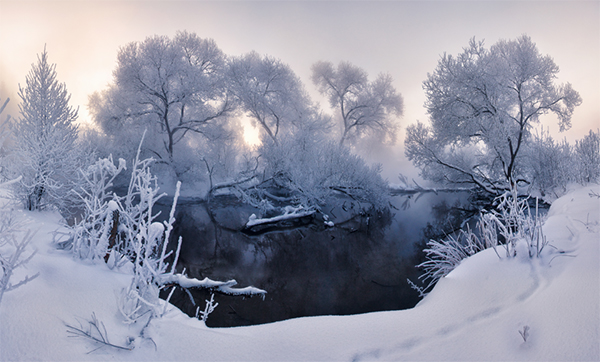
- Step 1. Open an image which will be used to make a frame with the ice pattern. Create a copy of a layer with the command: Layers -> Duplicate.
- Step 2. Select the top layer and call the NatureArt plugin: Effects -> AKVIS -> NatureArt.
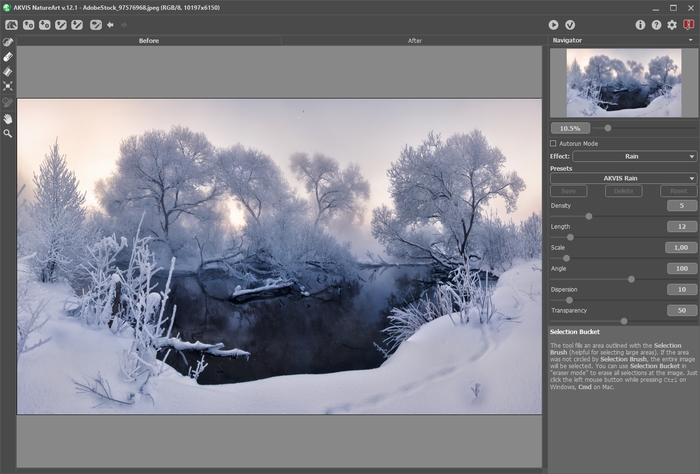
- Step 3. In the Effects list, select Ice. Create a free-form selection using the Selection Brush tool
 .
.
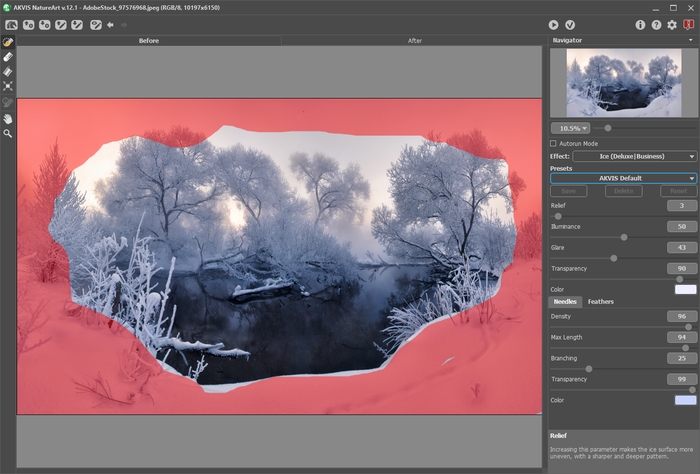
- Step 4. Adjust the effect parameters (we used the AKVIS Distortion preset) and run image processing with
 .
.
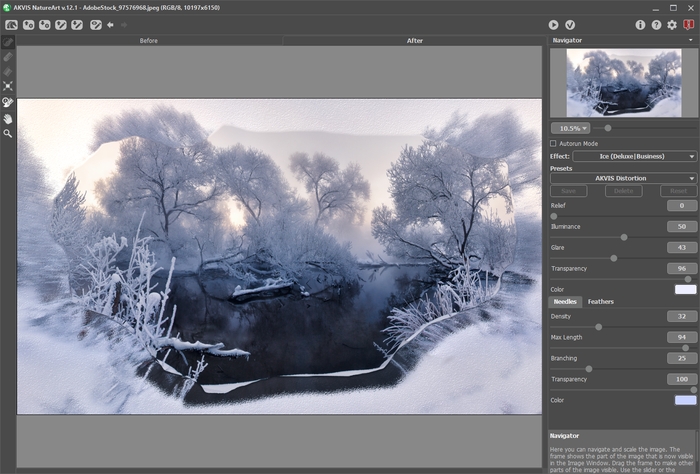
- Step 5. Apply the effect with
 . An image with the ice frame will appear in the graphics editor.
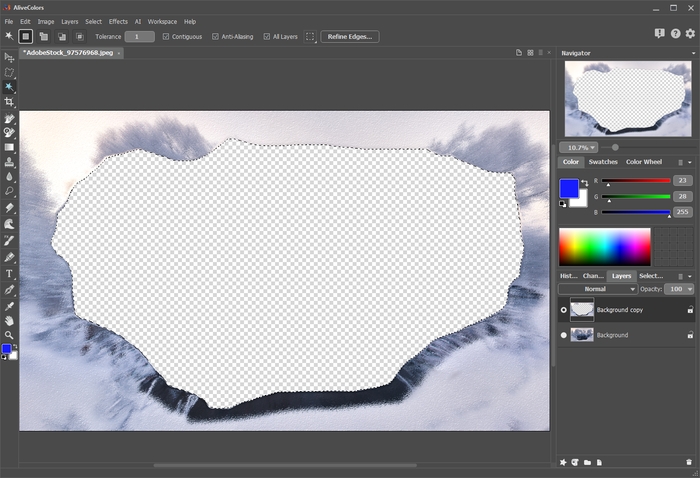
To remove the central part, select the Difference blend mode in the Layers panel. Then click in the center of the image with the Magic Wand tool
 . Press Delete to remove the selection.
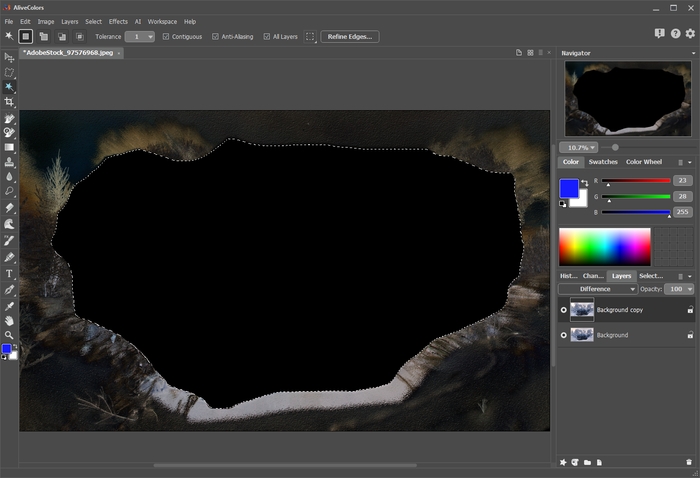
- Step 6. Switch to Normal blend mode and turn off the visibility of the bottom (Background) layer.
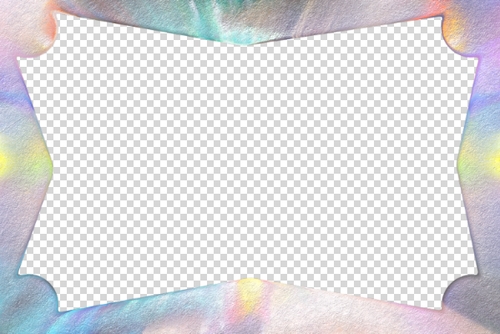
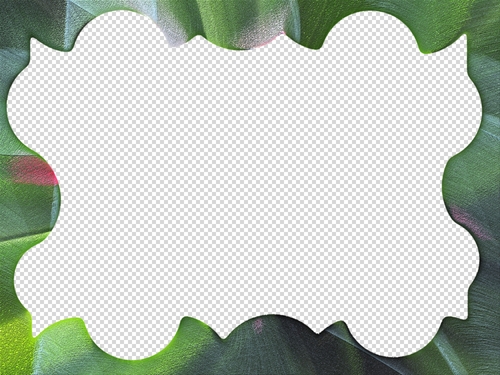
It turned out to be a wonderful frame.
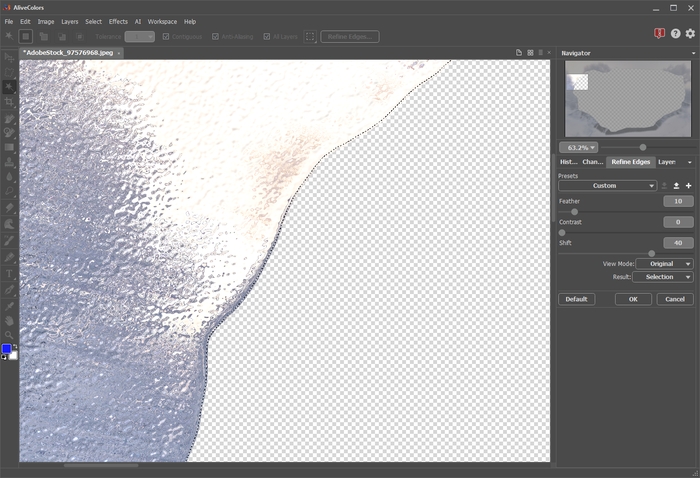
- Step 7. To smooth out the inside part, use the Refine Edges feature (Select -> Refine Edges) and slightly move the selection outline using the Shift parameter.
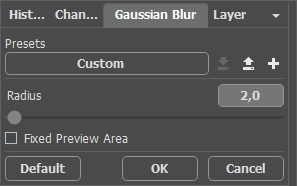
Apply the Gaussian Blur filter: Effects -> Blur -> Gaussian Blur.
Save the result as a PNG file with transparency.
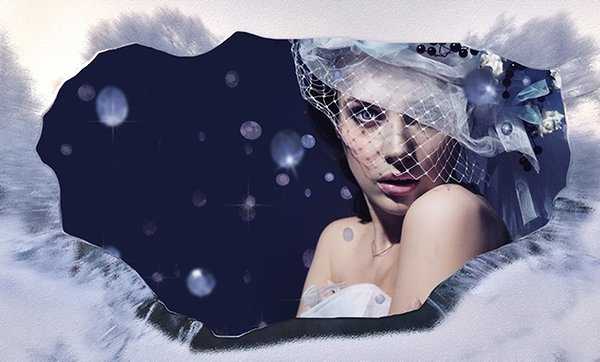
Now you can apply this striking frame to your photos.

In a similar way, you can prepare multiple amazing frames for your photo album.
Try various settings and combinations of effects.


