Creating an Iridescent Aurora Effect
The thrill of watching and photographing the Aurora Borealis is a matter of great luck and a once-in-a-lifetime experience for many. Blazing in streaming ribbons of color, the breathtaking Aurora Borealis is a natural wonder to behold.
Using the Aurora effect in AKVIS NatureArt, you can add the astonishingly beautiful Northern Lights to your image with a simple mouse click.

(open a larger version)
- Step 1. Launch AKVIS NatureArt, select the Aurora effect, and open an image using
 .
.

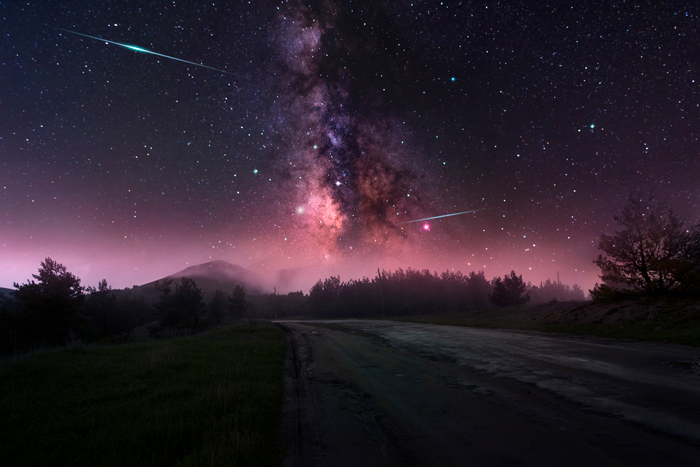
Image in AKVIS NatureArt - Step 2. Draw the guiding lines using the Direction Tool
 . If the Autorun Mode is enabled, the image is processed automatically. If the mode is disabled, click on
  to run the processing.

Selection - Step 3. Adjust the effect parameters. Choose the Plus blend mode.
The result is quite good, and you can add even more color and luminosity to the image by multiple applying the effect.

Preliminary Result - Step 4. Save the image by clicking on
 . The program will ask if you want to use the result as a source image. Press Yes.

Use Result as a Source Image - Step 5. Draw new guide lines using the Direction Tool and adjust the effect settings. You can experiment with different blend modes. Also, try to enable/disable the Reverse Colors option.

Selection 2 - Step 6. Run the processing with . Save the image by pressing .

Final ResultCheck out another images created using AKVIS NatureArt. With the software, your creative possibilities are truly limitless!

Lilac Flashes
Fiery Flashes
Emerald FlashesNatureArt v. 12.7 - Free 10-day Trial
