Nature Effects: Rainbow
A rainbow is a natural phenomenon that leaves no one indifferent. If you stand between the sun and the raindrops (with your back to the sun), you will see an enormous colorful arc filling the sky, created by light refracted and reflected by billions of raindrops. The colors of the rainbow always appear in the same order, from red to violet, and each color is paler than the one before it. Droplets of mist over a body of water or a fountain can also create a rainbow.
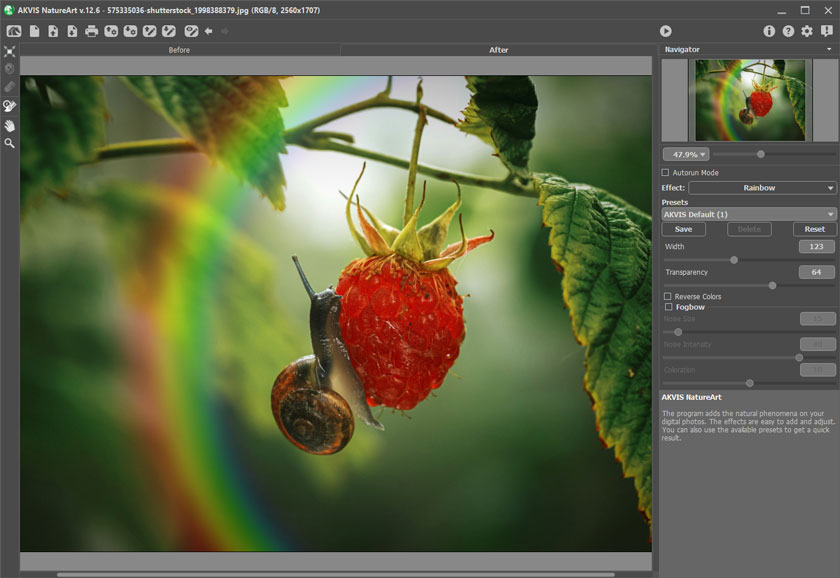
Rainbow Effect in AKVIS NatureArt
The shape, size, and location of the rainbow are set by a semicircular frame which appears when the Transform tool ![]() is active.
is active.
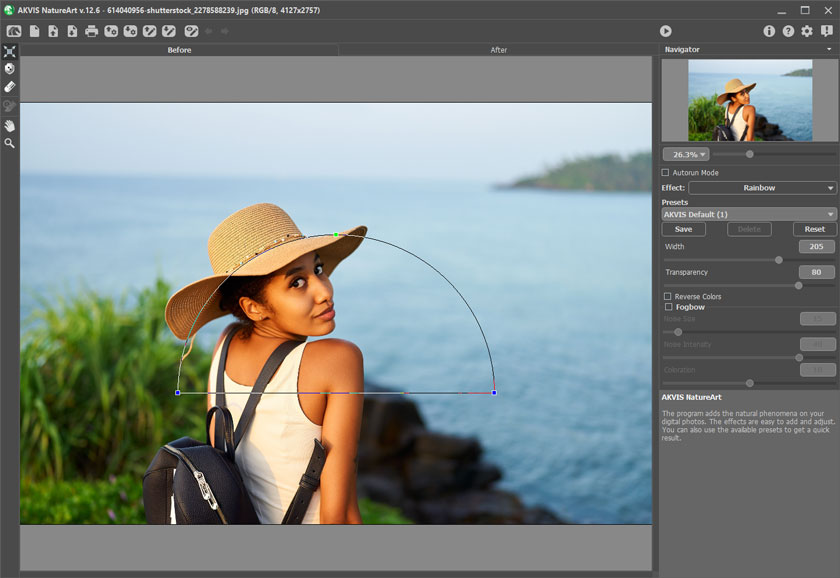
By dragging any of the frame's three control points, you can adjust the arc's height and angle of curvature. When the cursor is brought near one of the control points, it changes to a round shape ![]() : in this state, it is used to rotate the arc clockwise or counterclockwise. If the cursor is brought within the frame it changes to this
: in this state, it is used to rotate the arc clockwise or counterclockwise. If the cursor is brought within the frame it changes to this ![]() shape, and the rainbow can be moved steadily in one direction.
shape, and the rainbow can be moved steadily in one direction.
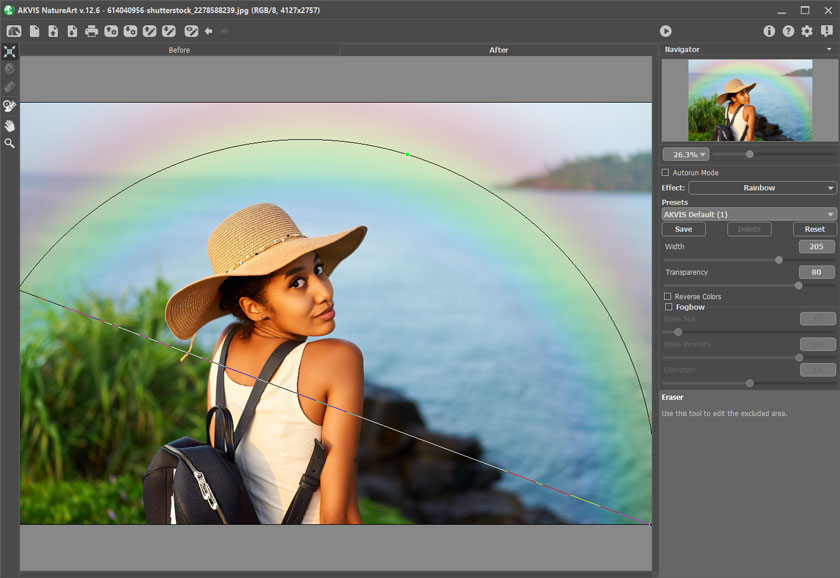
Changing the Shape of the Rainbow
You can use the Exclusion Tool ![]() to select the areas that should be excluded from the effect. The tool protects the selected areas keeping their initial state. It lets you hide parts of the rainbow on the image, for example, to make an object appear to be "in front" of the rainbow.
to select the areas that should be excluded from the effect. The tool protects the selected areas keeping their initial state. It lets you hide parts of the rainbow on the image, for example, to make an object appear to be "in front" of the rainbow.
You can adjust these parameters for the tool:
- Brush Size (1-500) affects the tool's diameter.
- Hardness (0-100%) defines the blurriness of the tool's edges. The less the value the more blurry the tool's edges become.
- Strength (1-100%) adjusts the influence of the tool to the rainbow.
The Eraser tool ![]() lets you edit the excluded area.
lets you edit the excluded area.

Rainbow In Front Of Girl
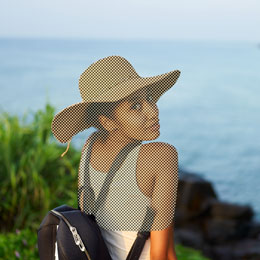
Excluded Area

Rainbow Behind Girl
Hint: This effect can also be achieved with the History Brush ![]() which restores areas to their original state.
which restores areas to their original state.
The parameters for this effect can be adjusted in the Settings Panel.
- Width (3-300). The parameter affects the lateral size of the arc.

Width = 20
Width = 100 - Transparency (0-100). The parameter affects the opacity of the rainbow in relation to the background color. The higher the value, the paler the rainbow appears.

Transparency = 30
Transparency = 90 - Reverse Colors сheck-box. When the check-box is enabled, the order of colors of the rainbow is reversed.

Normal Order of Colors
(the check-box is disabled)
Reversed Order of Colors
(the check-box is enabled) - Fogbow. This check-box activates a group of parameters which are used to create a white rainbow. A white rainbow appears when fog droplets, which are smaller than rainbow water drops, reflect light. This phenomenon is also called seadog. The fog texture is created by adding noise.

Rainbow
Fogbow
- Noise Size (1-40). It defines the size of the noise spots (from small to large).

Noise Size = 5
Noise Size= 35 - Noise Intensity (0-50). The parameter adjusts the depth and intensity of the noise. At the value = 0, no noise is applied.

Noise Intensity = 0
Noise Intensity = 40 - Coloration (0-20). The parameter lets you add slight color to the fogbow. At the value = 0, the fogbow appears completely colorless creating a white rainbow.

Coloration = 0
Coloration = 15
You can adjust these parameters of the fogbow:
