Toolbar
The Toolbar in AKVIS Retoucher contains groups of tools for selecting defects and retouching images. The tool's parameters can be adjusted in a pop-up window that appears after right-clicking on the image. You can display the tools options Settings Panel by enabling the Show Tools Parameters option in the program's preferences.
You can quickly change the brush size with the [ and ] keys.
To draw a straight line, select a starting point by clicking the left mouse button, then, while holding down Shift, drag the cursor with the mouse to a new location on the image, click the left mouse button again and release Shift. If Shift is not released, a new line will be drawn to each point where the left mouse button is clicked.
The tools are divided into four sets. Different tools are visible, depending on the workspace mode Express/Advanced chosen.
- The Selection Brush
 is used to highlight areas and details that need to be retouched. The transparency of lines made with the brush can be changed in the Preferences dialog. Press B to quickly access this tool.
If the Keep Exclusion Area is activated, the brush can not draw in excluded areas.
- The Exclusion Tool
 is used to protect areas. Parts of the image marked by this tool will be excluded from the area used for calculation. You can use this tool to mark areas adjacent to a selection to prevent them from being cloned.
If the Keep Selection check box is activated, the tool can not draw in selected areas.
Note: The Exclusion Tool is available only in the All-Purpose Retouching mode.
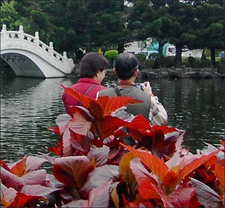
Original Image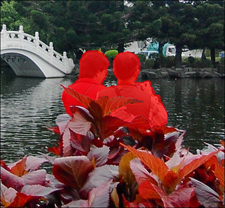
Selection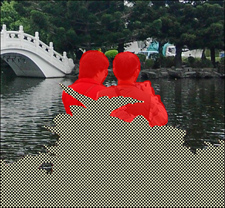
Area to be excluded is marked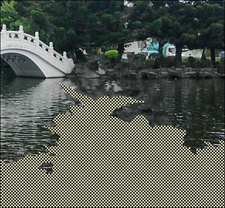
Area is excluded from reconstruction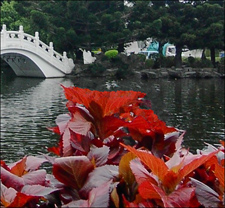
Result without using the exclusion tool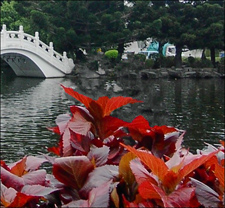
Result when exclusion tool is used - The Eraser
 erases lines. Press E to quickly access this tool. The following modes can be selected:
- erase all lines;
- erase only selection area;
- erase only exclusion area. - The Selection Bucket
 fills an area outlined with the Selection Brush
  (useful for selecting large areas).
- The Magic Wand
 selects all pixels of the same color. When the value of Tolerance is increased, more colors are included in the selected area.
If the Contiguous Mode check box is activated, only adjacent pixels of the same color are selected. If it is deactivated, all pixels the same color throughout the image will be selected. This tool is useful for selecting one color objects, text, etc.
- Linear Retouch
 allows you to restore the background in a specified direction: for example, to align the junction of areas or preserve the smooth edges of an object. Lines should be drawn as long as possible, into the red zone or across it.
Parameters:
Gradient. If this check-box is activated, areas between the beginning and the end of the line will be restored evenly, with a smooth transition between one part of the image and another. If this is not the result you want, deactivate the check box.
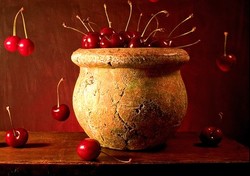
Original Image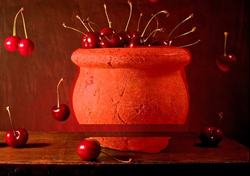
Linear Retouch
(Smooth Transition)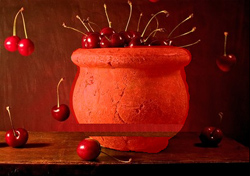
Restoration from left to right
('Gradient' Check Box Not Activated)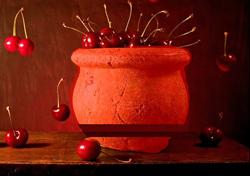
Restoration from right to left
('Gradient' Check Box Not Activated)Zone of Influence affects the width of the area which is restored. The higher the value, the wider the restored area will be.

Original Image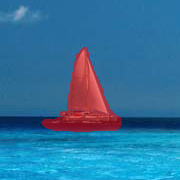
Selection
Result without
Linear Retouch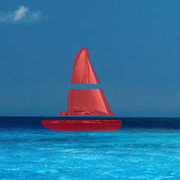
Zone of Influence = 2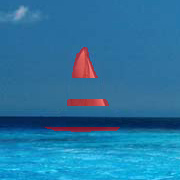
Zone of Influence = 8
Result using
Linear RetouchSearch Distance affects the size of the area from which fragments are taken, which are used to restore along a line. A large value increases processing time and may lead to the capture of unwanted fragments.
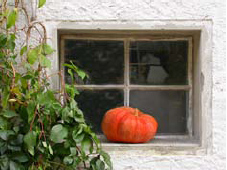
Original Image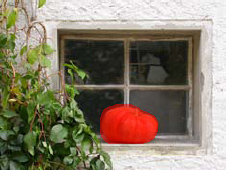
Selection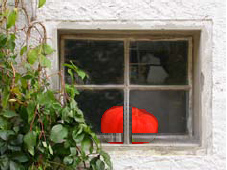
Search Distance = 1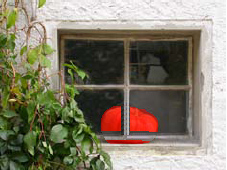
Search Distance = 5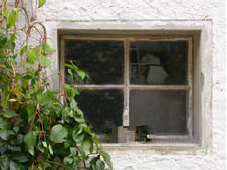
Result without
Linear Retouch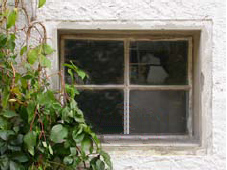
Result with
Linear Retouch - Patch
 restores by copying similar square fragments from other parts of the image. To apply a patch, bring the cursor over the appropriate area, hold down the left mouse button, then drag the clone into the red area.
Parameters:
Patch Size affects the size of the patch used in restoration.
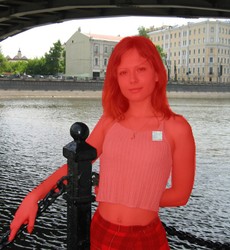
Patch Size = 15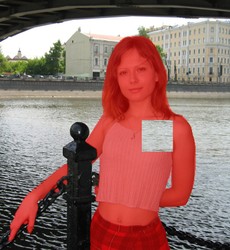
Patch Size = 50Flip Horizontal. This option allows a fragment to be mirrored along the standing axis, i.e. interchanging the left and right sides.
Flip Vertical. This option mirrors a fragment by turning the image upside down.
- Local Run
 is used to process selected areas of the image individually. Processing begins by clicking on a selected area. You can focus more clearly on individual selections, fine-tuning the parameters to restore each selection more effectively. Press L to quickly access this tool.
Post-Processing Tools (available for Home Deluxe and Business licenses):
- Spot Remover
 removes small imperfections on an image: stains, dust, etc. You can also use it to retouch portraits, it looks like it "heals" skin problems. Just click with the tool on the defect. Press O to quickly access this tool.
Tools' options:
Size - diameter of the brush.
Round Brush. If the check-box is enabled, the brush has a shape of an ellipse, if disabled - a rectangular shape.
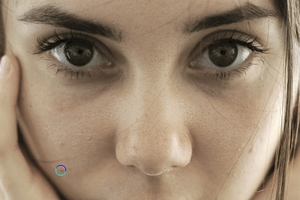
Fragment of the Original Image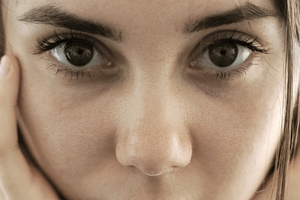
Using the Spot Remover Tool - History Brush
 lets you restore the image to its original state.
The tool's parameters:
Size. The maximum width of a line made by the brush.
Hardness. The blurriness of the tool's edges. The less the value the more blurry the tool's edges become. At value 100% the border between the brush's edges and the background is very distinct; at lower values the transition between these areas is smoother.
Strength. The degree of restoration to the original state. At lower values there will be less restoration and more blending with the effect; at value 100% the original image will be restored more completely.

After Retouching
Using History Brush - Clone Stamp
 copies parts of an image from one area to another while preserving the cloned area's original color palette, shadows, textures, lighting, and other characteristics. The hot-key for the tool is S.
To duplicate an object, select an area to be cloned by holding down Alt on Windows or Option on Mac.
To remove a part of the clone, press the Ctrl-key on Windows /
 on Mac, and keeping it pressed draw over the area.
Tools' options:
Size - diameter of the brush.
Hardness defines blurriness of the fragment's edges. At values near 100% the border between the fragment and the image is very distinct; at lower values the border between these areas will be smoother.
Opacity. The opacity of the fragment in relation to the background. This parameter affects the opacity of the fragment where it is stamped: at lower values, the fragment is paler and its interaction with the background is greater.
Aspect. The compression of the base element. At value = 1 the brush is flattened into a line, at 100 it is a circle, and at intermediary values it is an ellipse. The lower the value for this parameter, the further the ellipse is compressed in the direction specified by the Angle parameter.
Angle. The angle of the base element.
Round Brush. If the check-box is enabled, the brush has a shape of an ellipse, if disabled - a rectangular shape.
Aligned check-box. You can select the cloning method using the Aligned option. When the check-box is activated, a single clone will be created using information from around the selected source: in this case each time the left mouse button is pressed a clone will be selected from the relevant area. When the check-box is disabled, each time the mouse button is released the cursor returns to the source area, and new clone fragments are created from the same area.
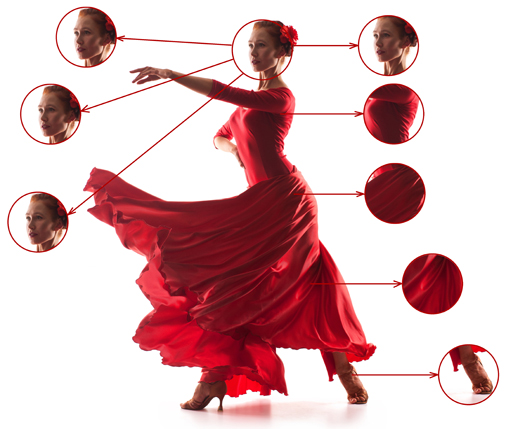
Left: Aligned check-box is disabled Right: Aligned check-box is enabledIt's also possible to mirror a clone horizontally and/or vertically:
Flip Horizontal. This option allows a clone to be mirrored along the standing axis, i.e. interchanging the left and right sides.
Flip Vertical. This option mirrors a clone by turning the image upside down.
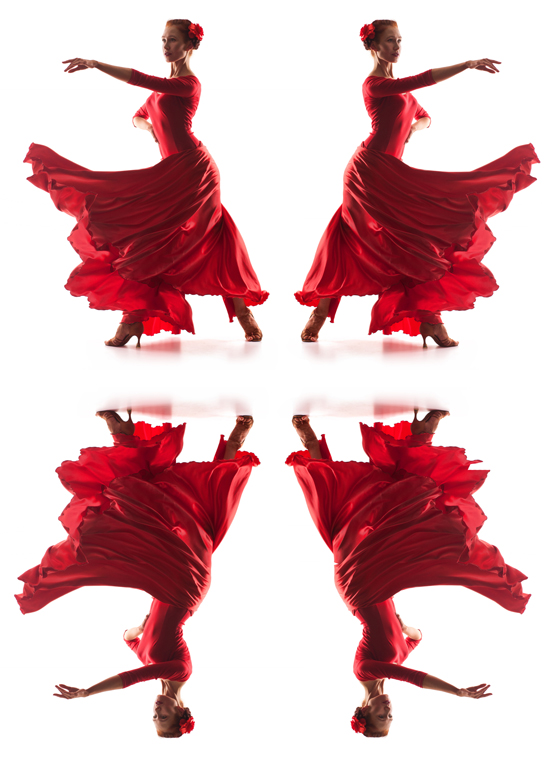
Mirror ImageScaling. The size of the clone relative to the original fragment.
- Chameleon Brush
 copies parts of an image from one area to another, while taking into account the color palette, shadows, textures, lighting, and other characteristics of the background, onto which the clone is placed. Unlike the Clone Stamp, this tool preserves the texture of the image. The hot-key is H.
Tools' options:
Size - diameter of the brush.
Aspect. The compression of the base element. At value = 1 the brush is flattened into a line, at 100 it is a circle, and at intermediary values it is an ellipse. The lower the value for this parameter, the further the ellipse is compressed in the direction specified by the Angle parameter.
Angle. The angle of the base element.
Round Brush. If the check-box is enabled, the brush has a shape of an ellipse, if disabled - a rectangular shape.
Aligned check-box. You can select the cloning method using the Aligned option. When the check-box is activated, a single clone will be created using information from around the selected source: in this case each time the left mouse button is pressed a clone will be selected from the relevant area. When the check-box is disabled, each time the mouse button is released the cursor returns to the source area, and new clone fragments are created from the same area.
Flip Horizontal. This option allows a clone to be mirrored along the standing axis, i.e. interchanging the left and right sides.
Flip Vertical. This option mirrors a clone by turning the image upside down.
Scaling. The size of the clone relative to the original fragment.
- Crop
 (in the standalone version) lets you cut off unwanted areas in the image. The tool is useful when you want to improve the image composition, straighten a crooked photo, turn a horizontal photo into a vertical one and contrariwise. The tool settings are shown in the Settings Panel.
Change the crop area by dragging the sides and the angles of the bounding frame.
To apply the result and remove the areas outside the frame, press OK or use Enter. To cancel the operation and exit the tool, press Cancel or use the Esc-key. To restore the original area keeping the tool active, press Reset button.
Attention! It is recommended to crop the image before starting the actual processing. After applying the Crop tool, the selection disappears, and the History Brush
 ignores the previous state of the document.
At any stage of processing, you can revert the changes using
 and
and  .
.

Crop ImageAdjust the crop options:
You can choose the size of the crop rectangle from the Ratio drop-down list or enter your custom aspect ratio.
If the External Area check-box is enabled, you can change the color and opacity of the outer parts.
- Hand
 lets you scroll the image when it does not fit within Image Window at the desired scale. To use it click on the button, bring the cursor over the image, and while keeping the left mouse button pressed move in the desired direction.
Double-clicking on the tool's icon
 on the Toolbar makes the image fit the window.
- Zoom
 lets you change the image's scale. To zoom in left click on the image. To zoom out left click with Alt on the image. The hot-key is Z.
Double-clicking on the tool's icon
 makes the image scale to 100% (actual size).
