How It Works
To retouch photos using AKVIS Retoucher, follow these steps:
- Step 1. Open the image, which needs to be restored or edited, from which unnecessary details and defects need to be removed.
- If you work with the standalone version:
To open an image in the program, you can double-click in the empty workspace of Retoucher, or drag the image into the workspace, or press
 on the Control Panel. The program supports RAW, JPEG, PNG, BMP, WEBP, and TIFF file formats.
- If you work with the plugin:
Open an image in your photo editor by calling the command File -> Open or using the keyboard shortcut Ctrl+O on Windows, ⌘+O on Mac.
Then call the AKVIS Retoucher plugin in the Filter/Effects menu of the photo editor:
In AliveColors: Effects -> AKVIS -> Retoucher;
in Adobe Photoshop: Filter -> AKVIS -> Retoucher;
in Corel PaintShop Pro: Effects -> Plugins -> AKVIS -> Retoucher;
in Corel Photo-Paint: Effects -> AKVIS -> Retoucher. - Step 2. The first time the program starts it will be in Express mode, with a simplified interface and a minimal set of tools designed to quickly achieve a satisfactory result.
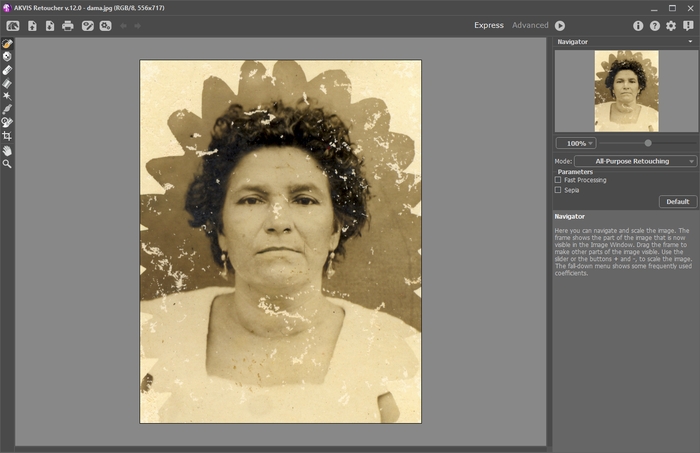
AKVIS Retoucher Workspace ("Express" Mode)Experienced users can work in the advanced editing mode. Switch to this mode by clicking Advanced in the Control Panel: the interface's appearance will change, providing access to the full functionality of the program.
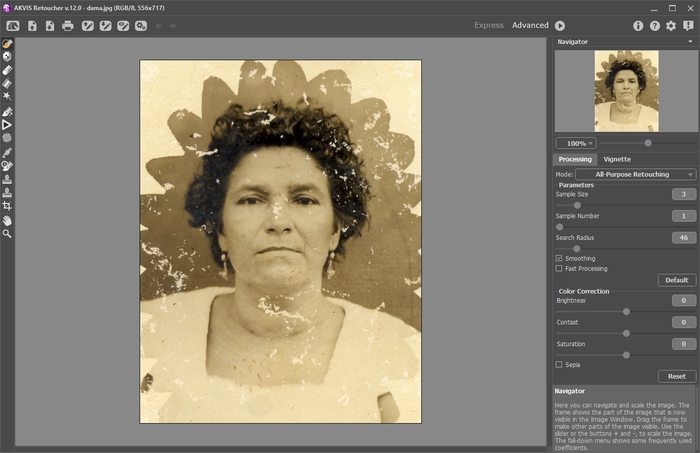
AKVIS Retoucher Workspace ("Advanced" Mode) - Step 3. Mark the areas of the image which need to be retouched. It might be a scratch, text, or a small object which needs to be removed. Selections made in the graphics editor are transferred to the plug-in.
Attention! Use the Crop tool
 before starting the retouching process.
You can use the following tools to make a selection: Selection Brush
 , Exclusion Tool
  , Eraser
  , Selection Bucket
  , and Magic Wand
  .
.The selected areas will be highlighted in red.
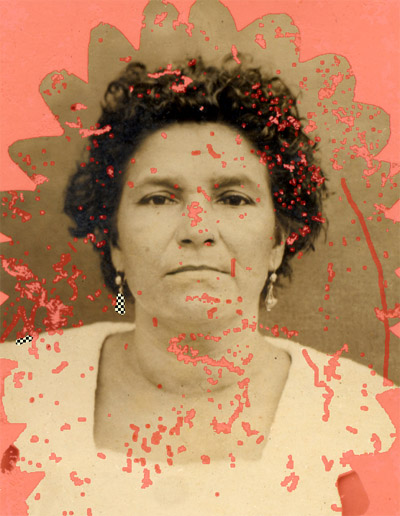
Defects MarkedYou can save your work on a selection to a file (in .retouch format) with the
 button. You can then load this selection at any time by pressing the
  button.
- Step 4. When working in Advanced mode, selection areas can be processed further using the tools Linear Retouch
 and Patch
  .
.
More about using these tools can be learned from these examples.
- Step 5. In the Settings Panel, select a photo retouching mode: All-Purpose Retouching or Small Defects. Adjust the parameters.
The All-Purpose Retouching mode can be used to process any type of defects but is particularly suitable for large and medium-sized imperfections.
The Small Defects mode is specially designed for enhanced removal of small imperfections like scratches, dust, specks, etc. The innovative algorithm allows more accurate and detailed image restoration.
If necessary, adjust the brightness and contrast of the image using the Color Correction settings.
Press
 to start reconstructing the image. The hot key for this operation is Ctrl+R on Windows, ⌘+R on Mac.
If you are not satisfied with the result, you can make correct the selection areas or adjust the algorithm's parameters in the Settings Panel and start processing the image again.
The result will immediately begin to appear after processing has started. If you are sure that the result will not turn out as you would like, you can interrupt processing by clicking on the Cancel button, which is located to the right of the progress bar, then make changes to the parameters and start processing again by pressing
 .
.
-
Note: In Advanced mode you can use Local Run
 to focus more clearly on individual selections in the image. Press L to quickly access this tool. Processing begins after you click on an individual selected area. You can work step by step, selection by selection, fine-tuning the parameters to restore each selection more effectively. This is useful when you want to remove a large, complex object. If the processing result is not entirely successful, it is possible to undo the change with the
  /
/ buttons and make a correction (for example, remove unnecessary fragments, change the selection or the algorithm's parameters, apply a patch, etc.)
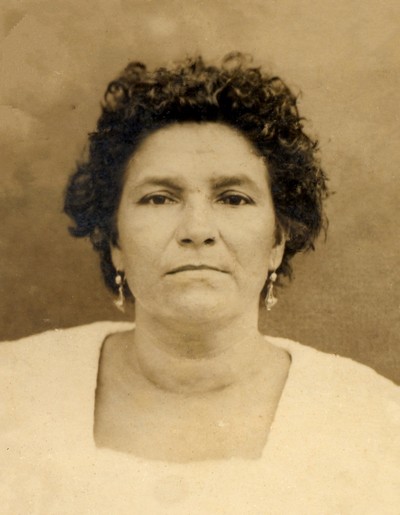
Result of Automatic Processing - Step 6. Those using the Home Deluxe and Business have the opportunity to perform post-processing with the tools Clone Stamp
 , Chameleon Brush
  , History Brush
  , and Spot Remover
  .
.
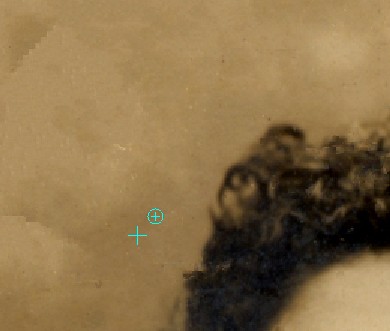
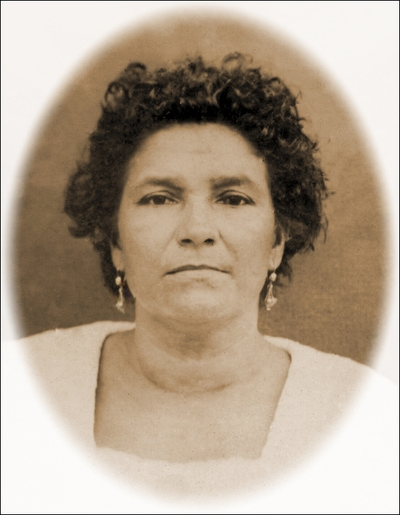
Post-Processing with the Clone StampAlso, for Home Deluxe and Business licenses, the Vignette effect is available.
Vignette - Step 7. In the standalone version, you can also print your image with
 .
.
- Step 8. Save the resulting image.
- When using the standalone:
Press the
 button and in the Save Image dialog window, type a name for the file, select a format (TIFF, BMP, JPEG, WEBP or PNG), and choose a folder in which to save the file.
- When using the plug-in:
Press the
 button to apply the result (in the plug-in only). The AKVIS Retoucher plug-in's window closes, and the image is returned to the graphic editor's window.
Open the save file dialog File -> Save As in the graphics editor, type a file name, specify a file format and choose a folder, in which to save the file.

Result
