Ladies' Man: How to Remove Lipstick Stains
AKVIS Retoucher not only retouches old photos. It can also remove imperfections which are not the result of photo damage. In this tutorial, we will remove lipstick stains on a man and his shirt.


Each defect has its own unique characteristics, so we will remove them sequentially, one after another, using different tools, and paying attention to the nuances of removing each defect effectively.
- Step 1. Open an image which needs correction.
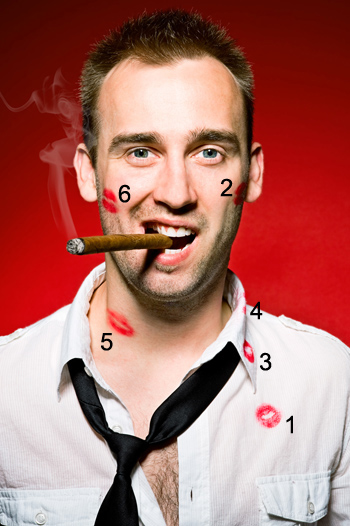
Portrait of a Ladies' Man - Step 2. Since the lipstick stains are large, it is best to remove them one at a time, taking note of the "individual characteristics" of each stain.
Let's start by selecting one of the stains on the shirt with the Selection Brush
 . Process the entire image by pressing
  or use Local Run
  (by clicking with this tool on each selection to process it).
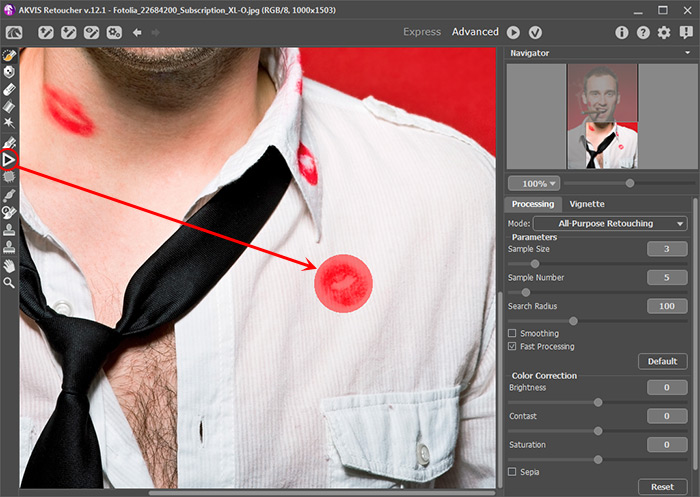
Selecting and Removing Stains With the AKVIS RetoucherThe stain is gone!
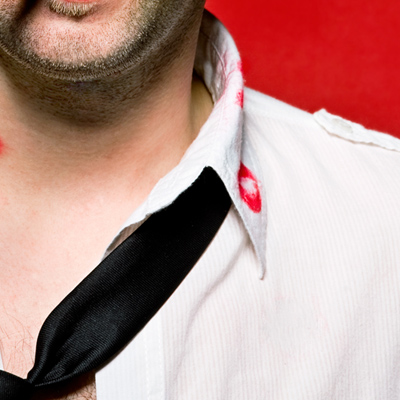
Stain Removed From Shirt - Step 3. Now use the Selection Brush
 on two stains on the man's cheek. These stains need a more accurate reconstruction, so you should deactivate the Fast Processing Check Box. When it is activated the image is processed more quickly but with a coarser result. Activate Local Run
  , and click on the first, then on the second stain.


Deleting stains on the man's cheek:
1. Selection 2. Result - Step 4. The fourth stain, in spite of its insignificant appearance, requires a special approach. Note that during processing the background will be pulled into the collar. To prevent this, draw a defensive line with the Exclusion Tool
 along the edge of the collar near the stain.
Change the settings to those shown in the screenshot, and process the selection (stains) with Local Run
 .
.
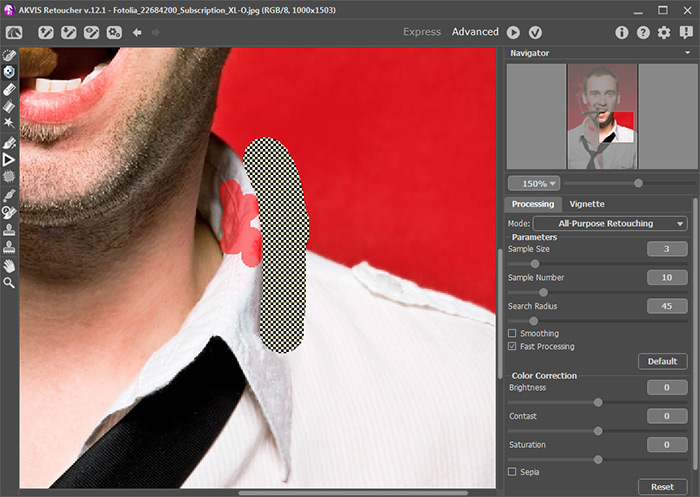
Protecting an Area with the Exclusion Tool
Result - Step 5. Now let's work on the stain on the neck. Select it with the Selection Brush
 . The stain on the cheek (see Step 3) was removed well with the default settings, so return to them by pressing the Default button. We do this step separately to learn the new tool that lets restoring the image in a specified direction.
First, to preserve the neck line, use the Linear Retouch
 tool to draw a vertical line through the selection, as shown below.
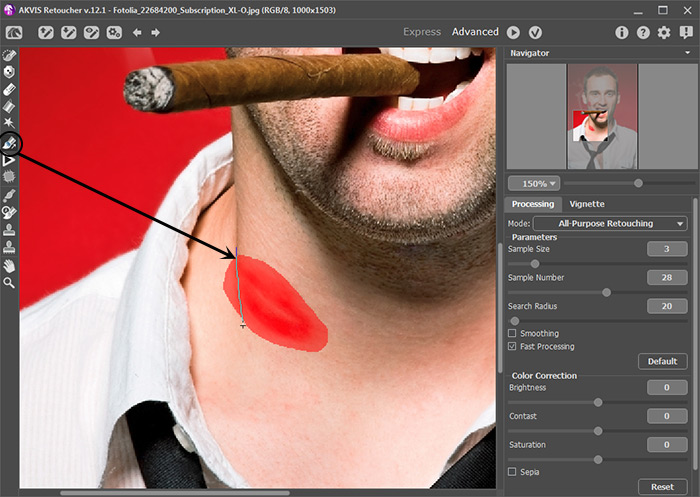
Selecting the Stain on the NeckOnce the line is drawn, the area under it is immediately restored.
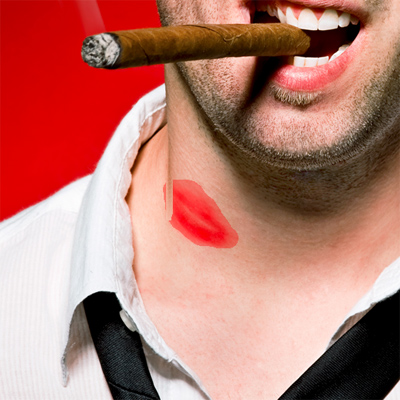
Restoring the Neck LineProcess the selection: click on both parts with Local Run
 or process all selections at once by pressing on
  .
.

The stain on the neck is completely gone - Step 6. Select the last stains and carefully adjust the algorithm's settings. This is the most crucial step, since the skin's texture here (bristled) is difficult to restore.
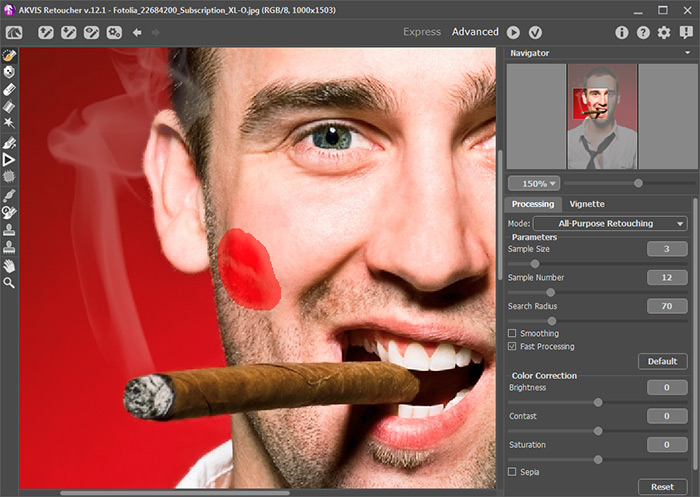
Selecting StainsProcess the final stain.

Last Stain is Removed - Step 7. The image has been retouched.

Result
