Valentine's Day Card
This example shows how to create a Valentine’s Day card for your loved ones. AKVIS Chameleon is easy and fun to use collage creation software, and it makes the creative process a pleasure. Your gift will be original and unique.
You will need:
- Adobe Photoshop or another graphics editor that works with the AKVIS Chameleon plug-in,
- the AKVIS Chameleon plug-in,
- a basic image for a card (for our future “valentine” an image of rose petals will be ideal),
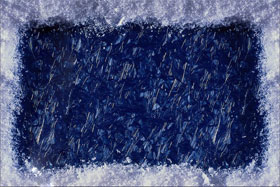
- a picture frame (we’ve chosen an image with an ice picture frame), and
- a bit of your time.
Let’s proceed to the St. Valentine’s card creation:
-
Step 1. Let’s open the images from which the card will be created in Adobe Photoshop.

-
Step 2. Let’s combine the image of the petals with the ice frame:
- Go to the image of the petal and choose from the menu Select – All;
- Let’s copy the selection: choose from the menu Filter -> AKVIS -> Chameleon – Grab Fragment;
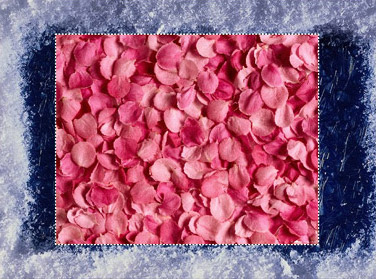
- Switch to the image of the ice frame. Select Filter -> AKVIS -> Chameleon – Make Collage. The AKVIS Chameleon plug-in window will open. In the Before tab will be the image of the ice frame with the image of the petals above it.
- Select the Blend mode from the drop-down menu in the Settings Panel.
- With the Transform tool, we will change the size of the image of the petals so that it completely covers the frame.
- Start the collage creation process by pressing the
 button. The result will be shown in the After tab.
 - Press the
 button to accept the changes and return to the graphics editor.

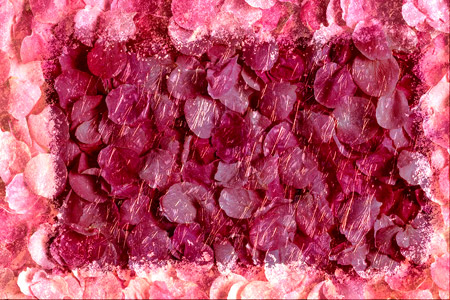
At this stage we will have the following image:
-
Step 3. What is a card without an inscription? Especially a Valentine's Day card. The text can say anything, but do not forget, it is more pleasant to receive a personal message. In our example, we will be limited to general phrases.
Therefore, let’s add an inscription:
- In the Tool Panel, choose the Horizontal Type tool.
- Then set the parameters for the text: font Chiller, size 150, Smooth, and the red color (in the Options panel of the Horizontal Type tool).
- Let’s click on the image and enter some text (for this example: “I love you”). The inscription will be created on another layer.

- Now let’s add some effects to the text. Since the inscription is on a separate layer, we will apply the layer effects: Outer Glow, Inner Glow, and Satin - with the following commands: Layer – Layer Style – Outer Glow, Layer – Layer Style – Inner Glow, and Layer – Layer Style – Satin.

-
Step 4. Now we will add some hearts to make our Valentine's Day card more romantic. This should not be difficult since any graphics editor has sets of such standard shapes.
- In the Tool Panel select the Custom Shape tool.
- In the Option panel of the Custom Shape tool, we can choose from a variety of figures. We will use Card Heart.
- Let’s place the heart on a new layer.

- While on the heart’s layer, we'll apply the Drop Shadow, Inner Shadow, and Bevel and Emboss layer effects. These are executed by the commands Layer – Layer Style – Drop Shadow/Inner Shadow/Bevel and Emboss.

- Slightly turn the heart with the command: Edit – Free Transform.
- Create a duplicate of the heart’s layer by selecting Layer – Duplicate Layer.
- Now let’s move the second heart a little to the right and turn it with the command Edit – Free Transform.
All that is needed is to adjust the arrangement of the inscription and hearts – and the Valentine's Day card is ready! To see the card in full size (and in full beauty) click on the image.

