Delicate Colorful Painting: Combined Effect (Watercolor + Sketch)
The author of this example is Greg Collins.
AKVIS Watercolor allows you to create beautiful paintings that can be even more picturesque when combined with other artistic effects. This tutorial shows how to get a stunning watercolor effect using AKVIS Watercolor, AKVIS Sketch, and the AliveColors graphics editor.
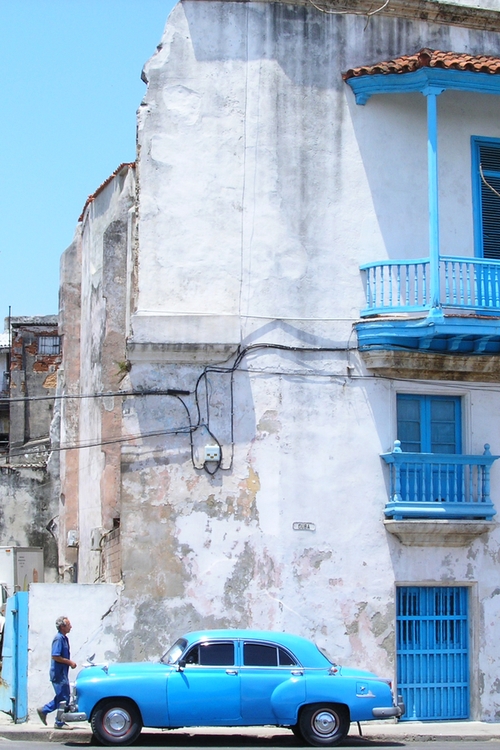
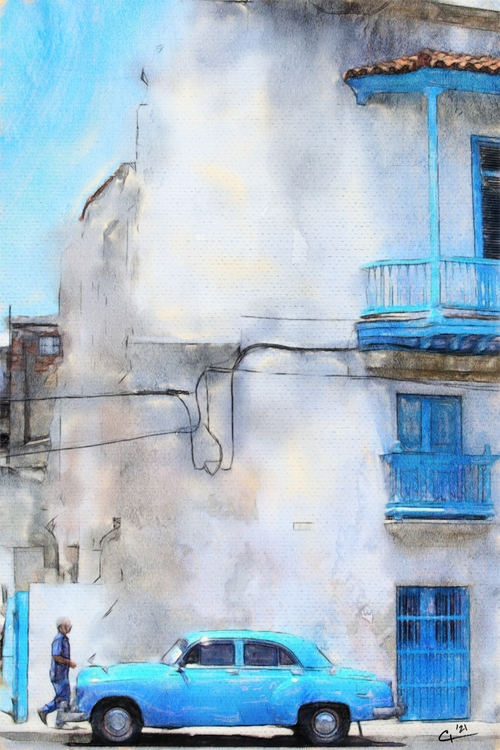
(open a larger version)
- Step 1. Open the image in AKVIS Watercolor using the button
 .
.

Original Image - Step 2. Choose the AKVIS Meringue preset and run the processing by clicking
 .
.
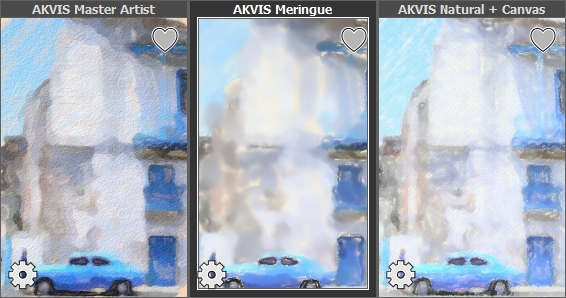
The result is a washed painting that will be used as the base image.
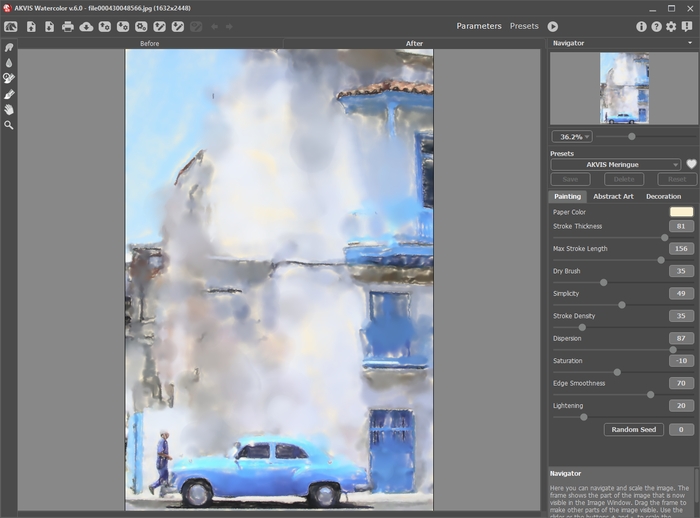
Workspace of AKVIS WatercolorSave the result by clicking
 .
.
- Step 3. Choose the AKVIS Tangerine preset and run the processing by clicking
 .
.
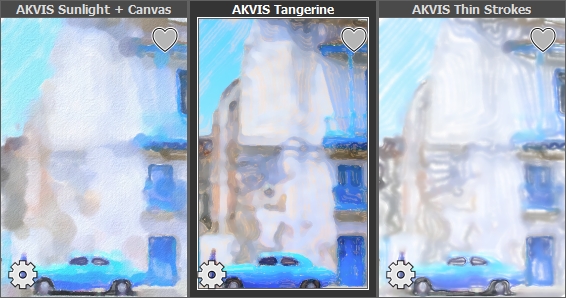
The result is a more detailed painting, portions of which will be combined with the previous rendering.
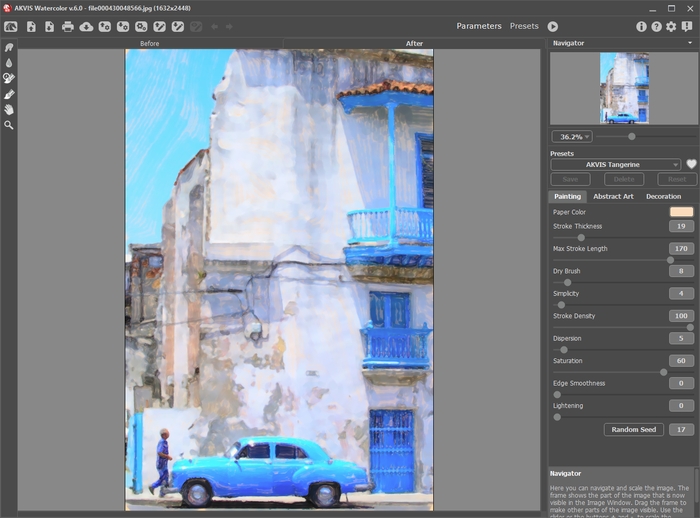
Workspace of AKVIS WatercolorSave the result by clicking
 .
.
- Step 4. Open the image in AKVIS Sketch.
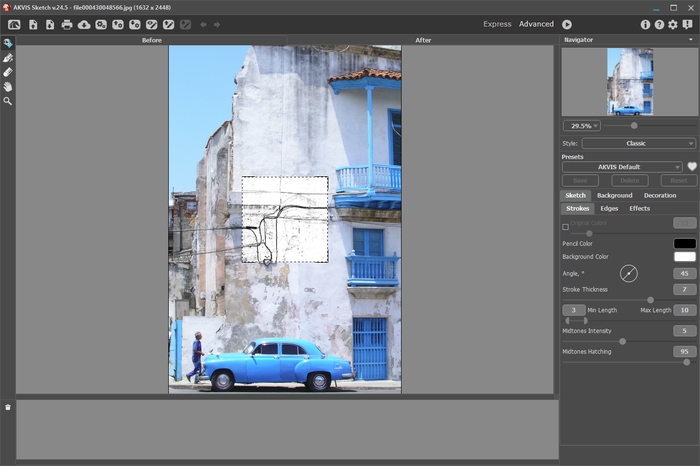
Workspace of AKVIS Sketch - Step 5. Choose the AKVIS Rough Sketch preset in the Classic style, modify the preset with the following settings, and run the processing by clicking
 .
.
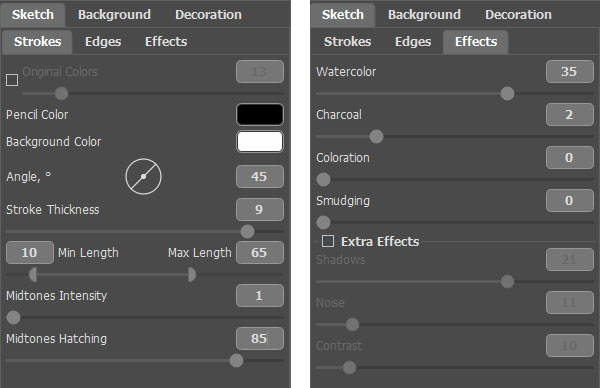
Sketch SettingsThe result is a light sketch that will be used to add definition to the watercolor painting.
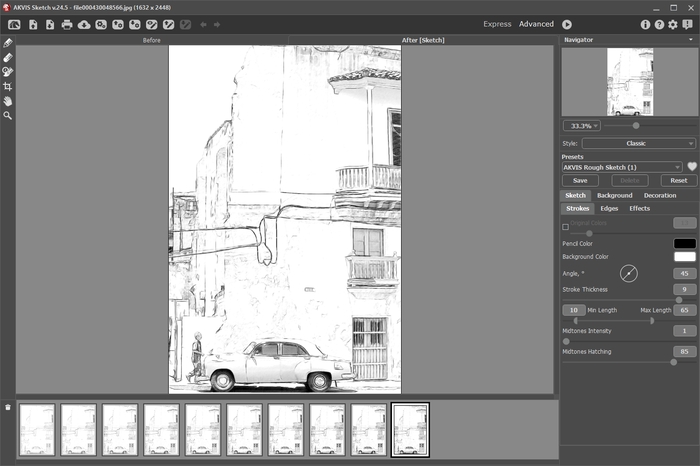
Light Sketch - Step 6. Choose the fourth version of the drawing from the Timeline, and then save the result by clicking
 .
.

Timeline in AKVIS Sketch - Step 7. Open each of the Meringue, Tangerine, and Sketch renderings in AliveColors.
- Step 8. Choose the tab with the Tangerine image, copy the whole image and paste it as a new layer in the Meringue tab. Rename the layer “Tangerine”.
- Step 9. Choose the Color Brush tool and set the foreground color to white
 .
.
- Step 10. From the Layers menu, add a Hide All layer mask to the “Tangerine” layer, and then click the Layer Mask Thumbnail on the “Tangerine” layer to activate the mask.

Layers - Step 11. Paint on the mask to reveal detailed portions of the Tangerine painting that you want to show.
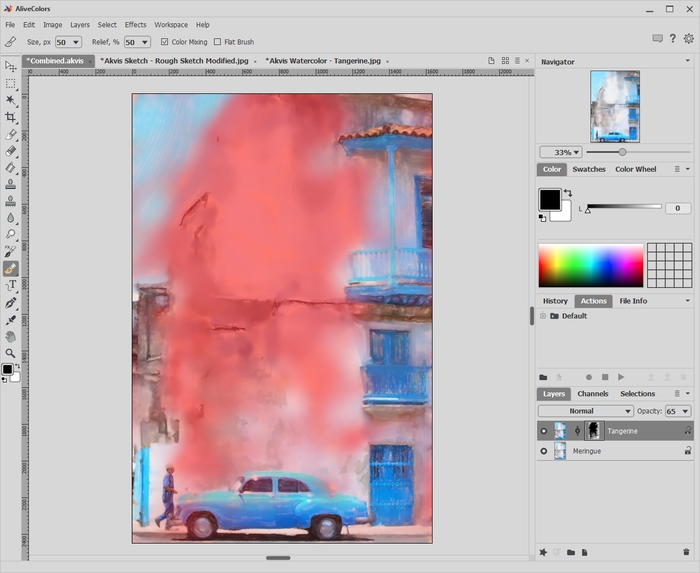
Painting on the Mask - Step 12. Select the Layer Thumbnail on the “Tangerine” layer to leave the mask.
- Step 13. Choose the tab with the Sketch image, copy the whole image and paste it as a new layer in the Meringue tab. Rename the layer “Rough Sketch”. Choose the Multiply layer style, and then reduce the Opacity to 75.
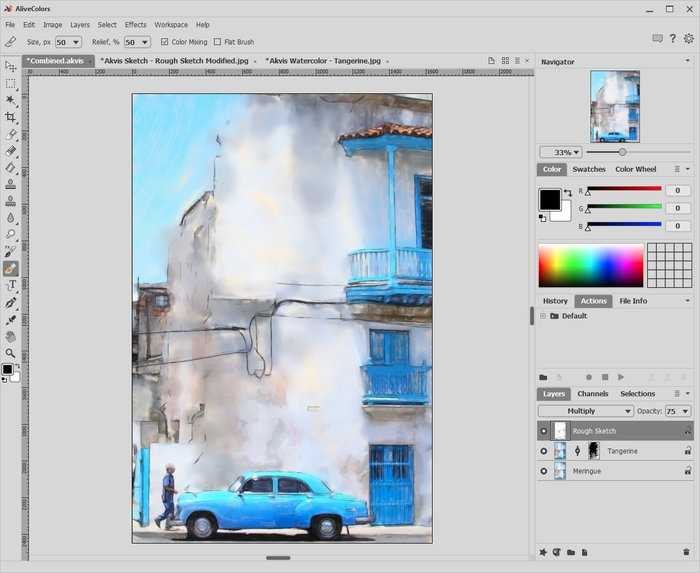
Adding Sketch LayerThe painting is nearly finished. There are some additional refinements that will make it look even more amazing.
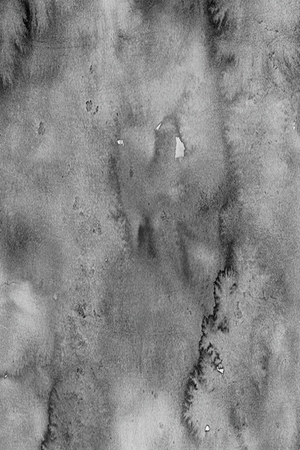
- Step 14. Add a real watercolor texture (many available for free on the Internet, best if grayscale) layer, choose the Overlay layer style, and reduce the Opacity to what looks good to you (for example, 60).
Watercolor Texture - Step 15. Add a real watercolor paper texture (best if grayscale) layer, choose the Multiply layer style, and adjust the Opacity (you can leave it = 100).

Watercolor Paper Texture - Step 16. Add a text layer and place your signature on the finished painting.
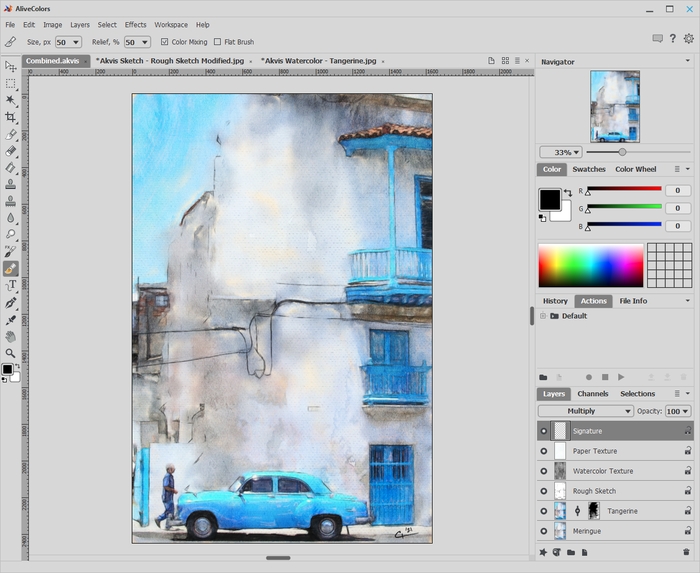
Signature Layer - Step 17. From the File menu, choose Save to save your layered file into a .AKVIS or .PSD format. Then save it again as a JPG file for sharing.

Watercolor with Additional Refinements
