Sakura in Bloom: Combining Watercolor & Sketch Techniques
AKVIS artistic programs allow you to turn digital photos into paintings in various techniques. You can further expand your creative possibilities by combining various effects in one image.
Read the tutorial to learn how to create an adorable illustration using AKVIS Watercolor, AKVIS Sketch, and AliveColors image editor. Get inspired and experiment with AKVIS programs!
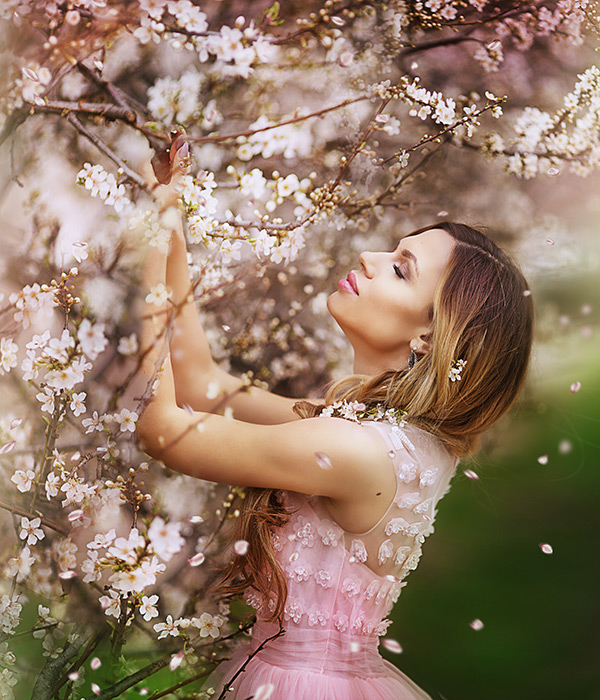
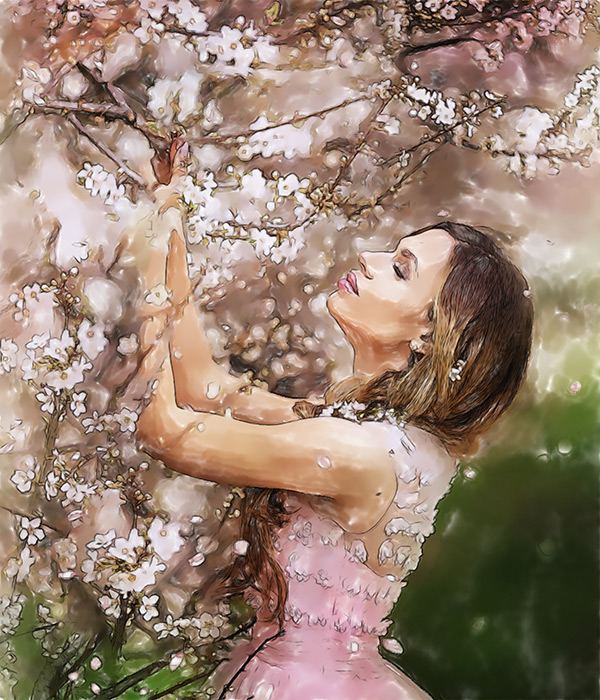
(open a larger version)
- Step 1. Open your image in AliveColors image editor. You can use the free version of the software.
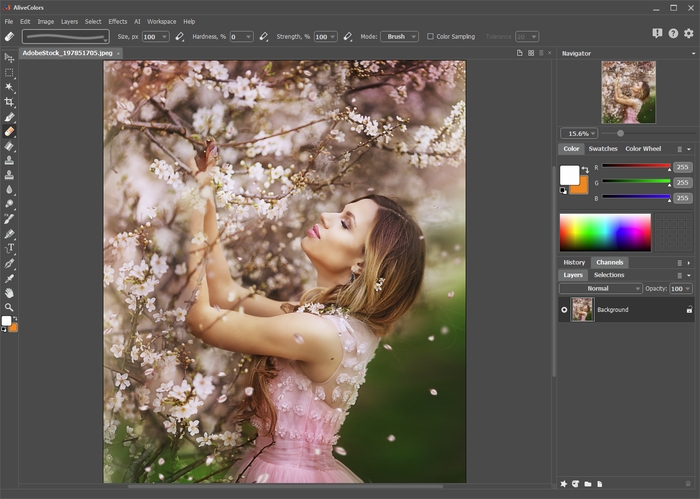
Program Window of AliveColors - Step 2. Duplicate the background layer using the Layers -> Duplicate command.
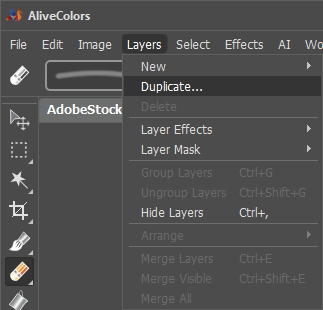
Duplicate Layers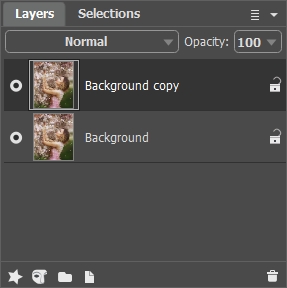
Background Copy - Step 3. Transform the underlying layer to the watercolor painting in AKVIS Watercolor. Enable the Background layer and call the Watercolor plugin from the effects menu: Effects -> AKVIS -> Watercolor.
Choose any preset (we've chosen AKVIS Default) and run the processing by clicking on
 . Click
  to apply the changes.
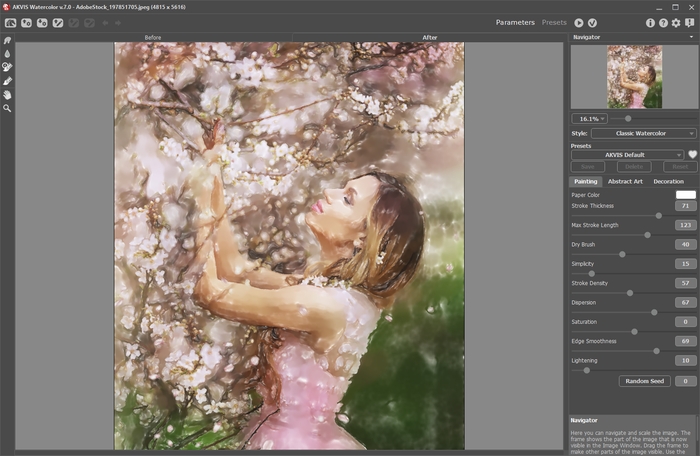
Program Window of AKVIS Watercolor - Step 4. Turn the upper layer into the pencil drawing in AKVIS Sketch. Enable the Background copy layer and call the Sketch plugin from the effects menu: Effects -> AKVIS -> Sketch.
Choose any preset (we've chosen AKVIS Charcoal High) and run the processing by clicking on
 . Click
  to apply the changes.
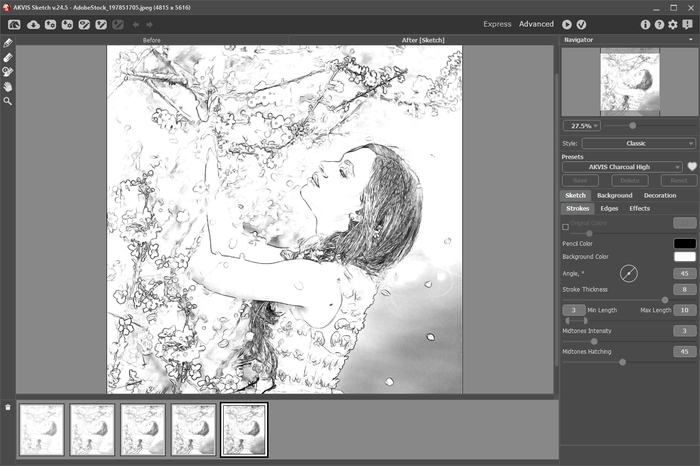
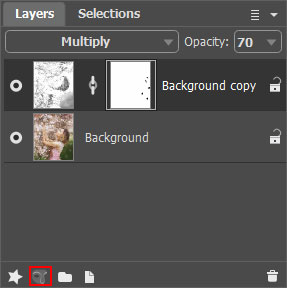
Program Window of AKVIS Sketch - Step 5. Select the upper layer and change the blending mode to Multiply. Decrease the Opacity to 70.
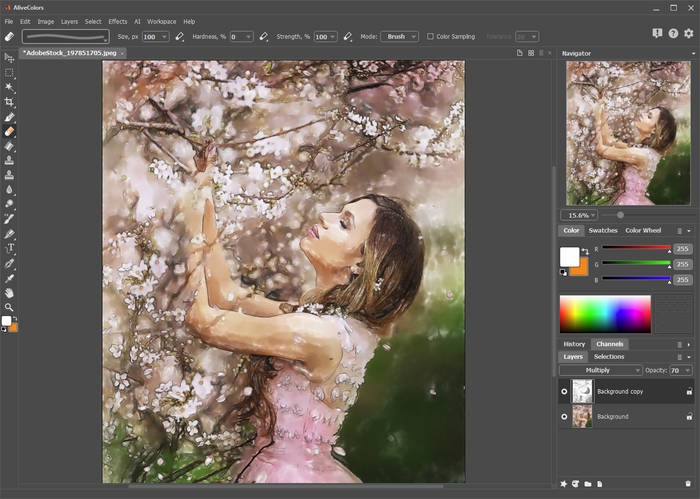
Multiply Mode - Step 6. You can remove superfluous pencil lines using the layer mask. Select the upper layer and press the button New Mask
 . After pressing the button, an extra thumbnail appears to the right of the layer thumbnail.
Select the mask thumbnail. Paint with black over the mask to hide parts of the layer. Paint with white to display parts of the layer.
Layer Mask - Step 7. Merge the layers (Layers -> Merge All) and save the result.
