V.1-3: Sharp Mode
The Sharp mode is ideal for images with a good contrast level and for objects with sharp edges (buildings, clothes, machines...).
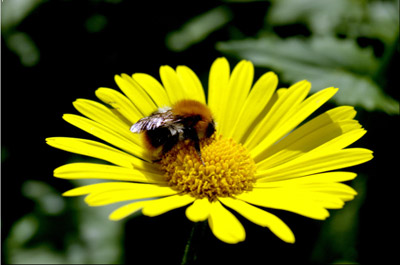
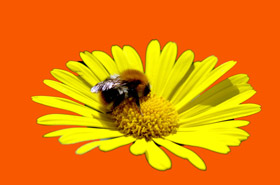
Original photo
To cut out an object in the Sharp mode:
- Step 1. Use the following tools to define the areas that must be
deleted and the areas that must be kept.
-
Keep Area Pencil
 .
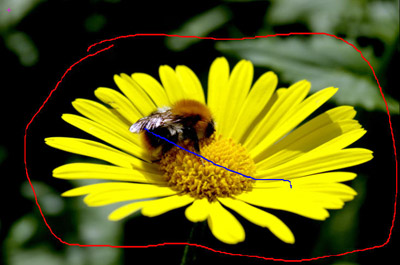
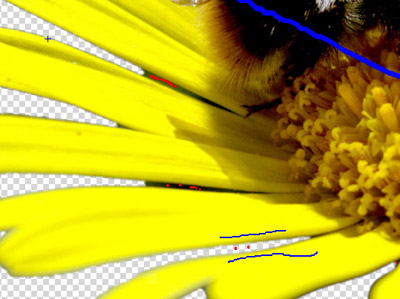
Use the blue pencil to draw an outline within the areas that should be kept.
 -
Drop Area Pencil
 .
Use the red pencil to draw an outline within the parts that should be deleted.
Use the hot-key B on the keyboard to activate these tools and to switch between them.
-
Eraser
 .
Use the tool to erase drawn strokes. Use the hot-key E to activate
this tool from the keyboard.
-
Zoom
 .
Use this tool to scale the image. A left-click with the mouse increases
the scale, a right-click with the mouse reduces the scale. If you move
the cursor keeping the left button of the mouse pressed, a "running
ants" frame appears. The fragment in the frame will be scaled to
the size of the Image Window. Use the hot-key Z to activate
this tool from the keyboard.
The Brush Size of the Pencils and the Eraser tool can be adjusted on the Settings Panel.
-
- Step 2. Start processing the image by clicking on
 .
The image will be processed with the default settings.
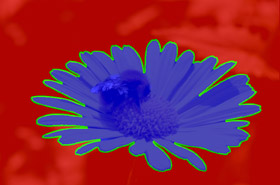
The program will take into consideration the drawn outlines and generate three
zone types: the areas that will be deleted are marked
red (the points in this area have Transparency
= 100%), the areas that will be kept are marked blue
- (the points in this area have Transparency = 0%). The Red and blue areas will
have a green transition border. The points in the green
border have different Transparency values (between 0 and 100%), which accounts
for the smooth edges of the selected (cutout) object.
View Color Areas (on) View Color Areas (off) - Step 3. If you are not satisfied with the result, edit the strokes
and adjust the parameters in the Settings Panel:
-
Edge Priority. This parameter defines the way the points between the red and blue outlines are treated (undefined areas) and, thus, specifies the edges of the cut-out object. If you increase the value of the parameter, the edges of the cut-out object are defined as the border between the objects marked with different colors. If you reduce the value, the program will give priority to the color range of the undefined areas. The program will compare the colors of these points with those in the red/blue zones and color them accordingly to define the border. By default the value is set to 50 and the program considers both principles equally.
-
Find Similar Areas. By default the check-box is disabled. In this case the points of the image are colored in accordance with the strokes drawn in the nearby areas. When the check-box is enabled, the program will compare the color of the undefined points with the color range of the points in the red and blue zones (on the whole image) and mark them accordingly. It is helpful when you need to cut out inscriptions or a lattice.
-
Mask Smoothing. This parameter helps to smooth the edges of the cutout object. The higher the value of the parameter, the smoother the edges of the object are.
-
Sharpen Edges. This parameter helps to sharpen the edges of the cutout image. The higher the value of the parameter, the sharper the edges of the object are.
-
-
Step 4. Click on
 again to start processing the image.
-
Step 5. If you are satisfied with the edges of the cutout object,
click on
 to apply
the result and close the plugin. The cutout image will appear in the workspace
of your photo editor.
If the edges are not clearly defined and the result is not achieved, edit the mask in other modes - Soft and Complex.
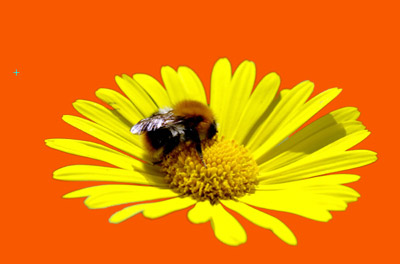
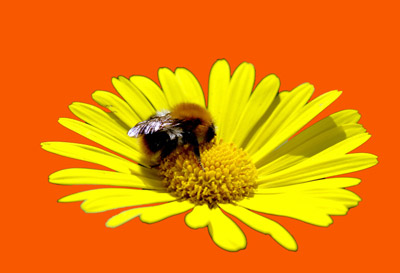
Result
