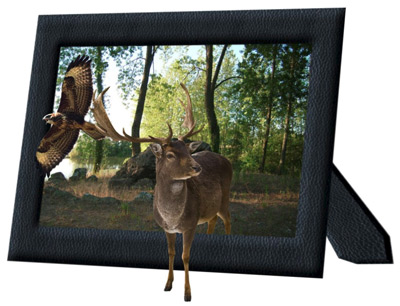
Breaking the Fourth Wall
The example was made in the old version of SmartMask. Now, you can achieve this effect more easily with the new AI-based tools.
The author of this tutorial is Sylvie Proulx.
You can use AKVIS SmartMask to quickly and easily cut even complex objects from a photo and combine them into a stunning collage. In this tutorial the author creates a magic portal, through which at any time wild animals and birds can enter your home.
These are the images which will be used for the collage:
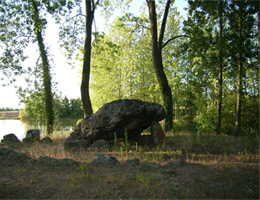
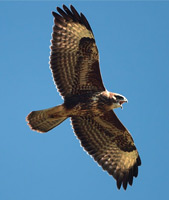
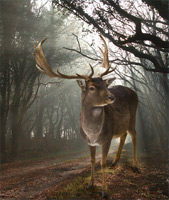
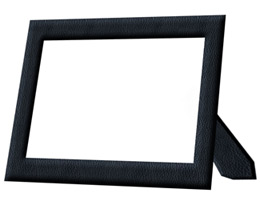
Result:
-
Step 1. Open the image of the flying bird in your graphics editor.
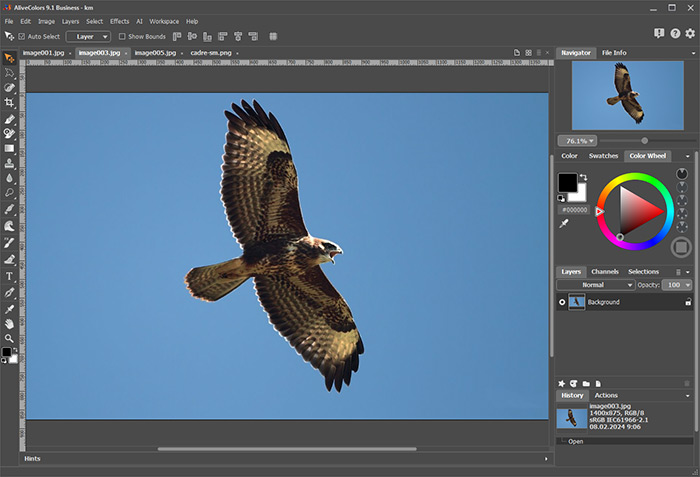
AliveColors WorkspaceMake a copy of the layer with the command Layers -> Duplicate, then open the AKVIS SmartMask plugin (Effects -> AKVIS -> SmartMask).
-
Step 2. Let's work in the plugin's Auto mode.
Draw a line with the Drop Area Pencil tool
 within the part of the image to be deleted (in this case the sky around the bird).
Draw a line with the Keep Area Pencil
 within the fragment of the image to be kept (the bird's silhouette).
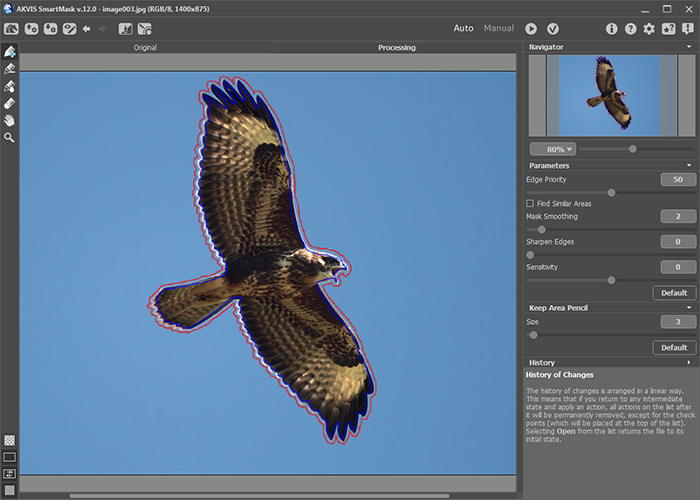
AKVIS SmartMask Workspace -
Step 3. Press
 to process the image. The result will be shown on a transparent background in the Processing tab.
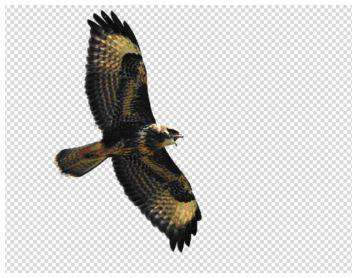
Bird on a Transparent Background -
Step 4. Press
 to apply the result. The image will be sent to the graphics editor.
- Step 5. Open the second image in the graphics editor (deer in the forest), create a copy of the layer, and call the AKVIS SmartMask plugin (as in Step 1).
-
Step 6. Select the
 tool from the Toolbar and draw a blue line within the contour of the deer. Next select the
  tool and draw a red line in the background around it.
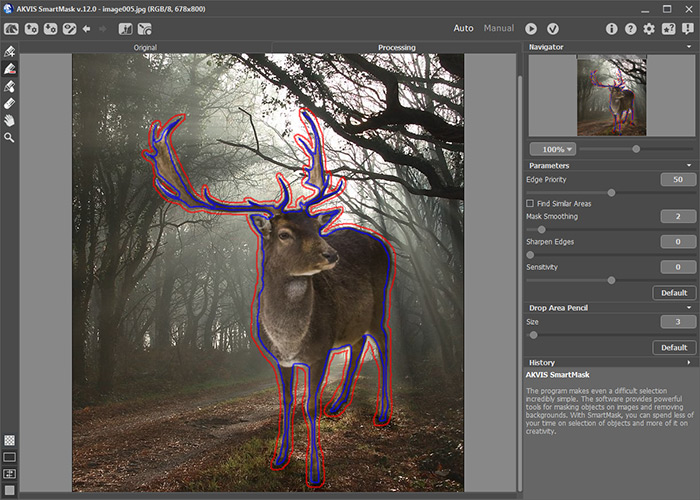
Lines on the Second Image -
Step 7. Press
 to process the image. The background will be deleted.
If the edges look too rough, smooth them by increasing the value of the Mask Smoothing parameter and reprocess the image.
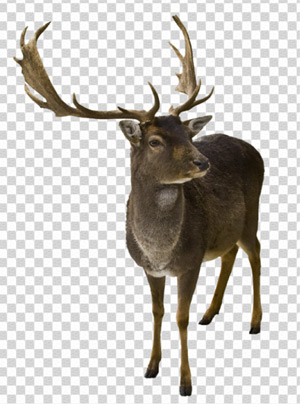
Deer on a Transparent Background -
Step 8. Press
 to close the plugin's window and send the image to the graphics editor.
- Step 9. Open the third image (the frame) in the graphics editor, make a copy of the layer and call the AKVIS SmartMask plugin again.
-
Step 10. To remove the white background, draw lines within it with the Drop Area Pencil tool
 , then draw lines within the boundaries of the frame with the Keep Area Pencil tool
  .
.
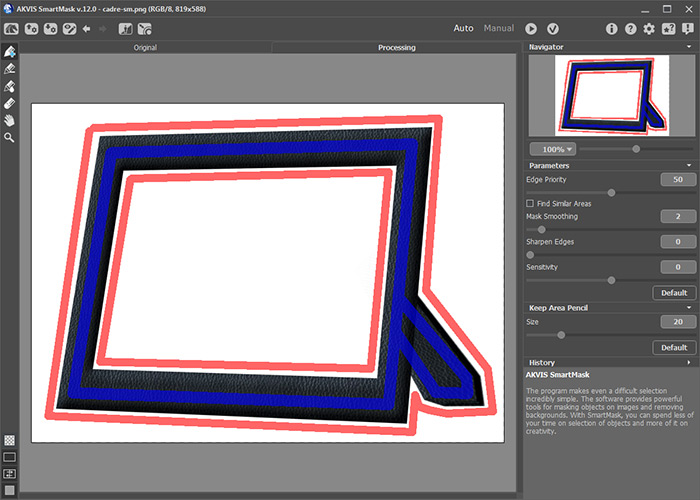
Cutting Out the FramePress
 to process the image.
-
Step 11. Apply the result by pressing
 . The image will be sent to the graphics editor.
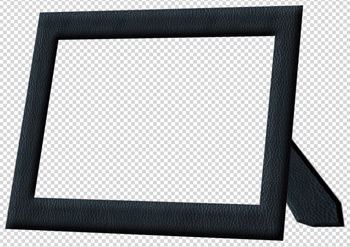
Frame on a Transparent Background -
Step 12. Open the image which will serve as the background in the graphics editor and add the images processed with the AKVIS SmartMask plugin:
- Choose the image of the frame;
- Select the layer with the frame on a transparent background (Ctrl+A);
- Copy the selection to the clipboard (Ctrl+C);
- Switch to the background image;
- Paste the selected fragment onto the background (Ctrl+V).
Transfer the processed images of the bird and deer in the same way. As a result, all four images are in one file, and the layers palette looks like this:
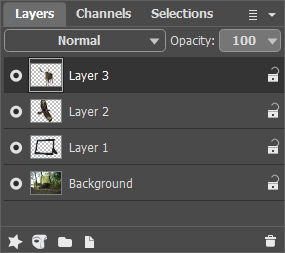
Layers Palette -
Step 13. Use the graphics editor's tools to arrange the pieces of the collage as desired, then merge the layers (Layers -> Merge All).
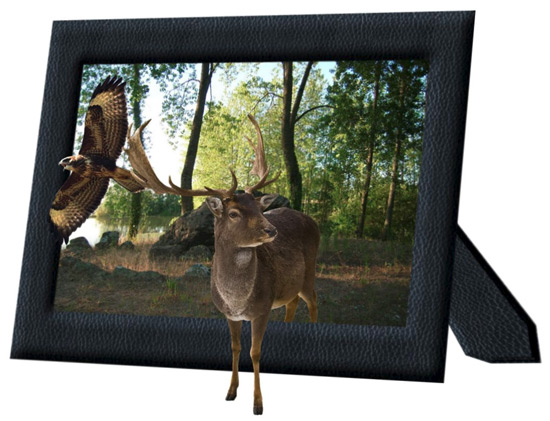
Collage
