How to use the plugin (v.1.0-3.5)
Note: This tutorial was created for the old versions of the Retoucher plugin (v.1.0-3.5). To learn how to use the new version with all its new features please read the new instructions.
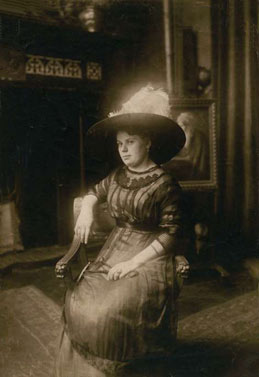
To restore this damaged photo using AKVIS Retoucher you should do the following:
- Step 1. Open an image that needs to be restored or edited due to unnecessary details or defects.
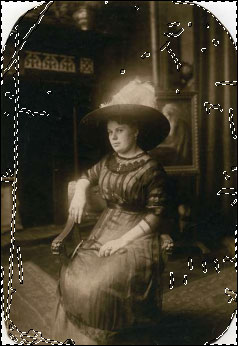
- Step 2. Select the areas to be restored. It can be a scratch, a text, a small irrelevant object.
Use any selection tool to select the defects.
Learn more about selection tools of Adobe Photoshop, Photoshop Elements, Corel (Jasc) Paint Shop Pro, Corel Photo-Paint. - Step 3. Open the AKVIS Retoucher window.
If you use Adobe Photoshop you should select Filter - AKVIS - Retoucher in the menu; in Corel (Jasc) Paint Shop Pro you should select Effects - Plugins- AKVIS - Retoucher; in Corel Photo-Paint use Effects - AKVIS - Retoucher.
The Retoucher window looks like that (click to enlarge):
The image occupies most of the window space. The areas selected in Step 2 are highlighted in red.
In the upper part of the window there is a Control panel with buttons and a status line that shows the process of active job execution. - Step 4. Launch the restoration process by pressing the
 button.

- Step 5. When the restoration process is over, press
 to apply the
restoration result

or press
 to cancel the restoration result and close the program
without applying the changes.

Attention! To help the program do the job well, you should select the entire defect as well as scratches near the retouched area. If the scratch you want to remove starts at the picture frame, you should first crop the picture, i.e. cut off the frame.
Otherwise, AKVIS Retoucher may consider the information about the nearby scratches and the frame important and, as it restores the damaged area, it will try to extend the frame or re-create the scratch.

