How It Works
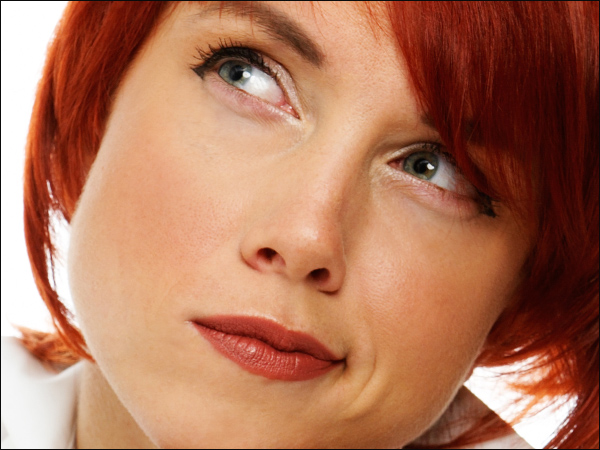
AKVIS MakeUp improves portraits and adds glamour to photos, giving them a professional look. The software lets retouching small defects on a skin, making it radiant, beautiful, pure and smooth as you can see on highly artistic images.
You can get a result with AKVIS MakeUp quickly and easily. It saves you from the long and laborious task of several stages (manipulating layers, masks, textures, filters, blur and noise, and blending modes).
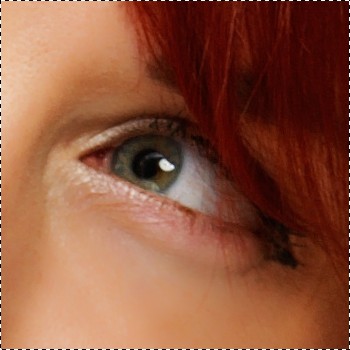
Compare these image fragments before and after using AKVIS MakeUp:


AKVIS MakeUp can run as a standalone program and as a plug-in in a graphics editor.
Follow these steps to improve an image in AKVIS MakeUp and give it a more glamourous look:
- Step 1. Open an image.
- If you work with the standalone edition:
The dialog box Select File To Open appears if you double-click on the empty workspace of the program or if you click on the button
 on the Control Panel. You can also drag the required image into the workspace of the program.
The Standalone edition of AKVIS MakeUp supports RAW, JPEG, PNG, BMP, WEBP, and TIFF file formats.
- If you work with the plugin:
Open an image in your photo editor by calling the command File -> Open or using the key combination Ctrl+O on Windows, or ⌘+O on Mac.
Call the AKVIS MakeUp plugin:
In AliveColors: Effects -> AKVIS -> MakeUp;
in Adobe Photoshop: AKVIS -> MakeUp;
in Corel PaintShop Pro: Effects -> Plugins -> AKVIS -> MakeUp;
in Corel Photo-Paint: Effects -> AKVIS -> MakeUp. - Step 2. The workspace will be arranged according to the interface mode chosen in the Control Panel: Express, Advanced, or Presets.

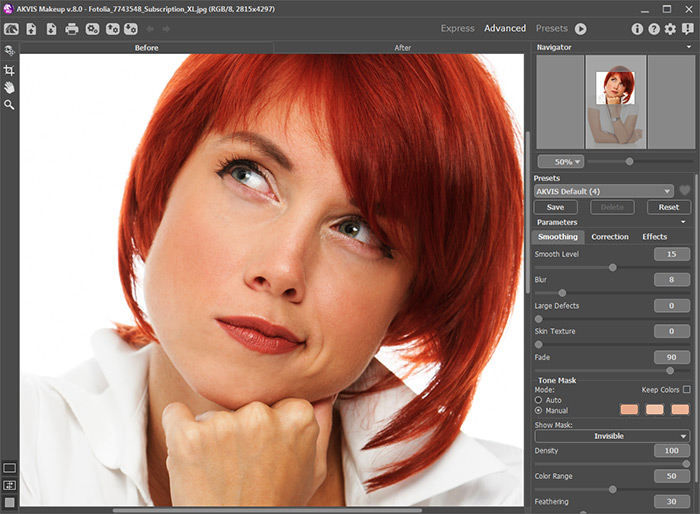
Workspace of AKVIS MakeUpWhen an image is loaded into the program a face mask is created automatically. This mask is used during the skin correction process. By default, the tone mask is invisible. To make it visible switch in the Show Mask modes.
You can edit the auto-mask by selecting colors on a portrait with the eyedropper or using the mask correction tools
 ,
,  ,
,  . Learn more about the mask correction tools in this example.
The result will be shown in the Before tab in the Quick Preview window which is represented by a dotted frame. You can drag the frame or draw it anew on any part of the image, thus analysing different parts of the photo.
To compare the processed sample with the original photo, left-click on the image within the preview area.

Quick PreviewIt's possible to change the size of the quick preview area in the program's Preferences
 .
.
- Step 3. If you are not happy with the automatic result, change the settings and/or manually modify the mask.
The parameters in the Settings Panel are grouped into three tabs: Smoothing, Correction, and Effects.
- Smoothing tab. These parameters help to improve an image by eliminating small defects. They affect the selected area (tone mask).
- Correction tab. The parameters in this tab offer additional ways of image processing (Sharpness, Brightness, Contrast, and other standard settings). They affect the entire image.
- Effects tab. Here you can apply creative effects (Glamour Glow and Vignette) to change the mood of your picture and make it look more magical, romance, or dramatic. They affect the entire image.

Without Effects
Adding Effects
- Step 4. To process the entire image, click on
 or on the After tab. After processing it is possible to switch between tabs by pressing the left mouse button on any point of the image.

Processing Result - Step 5. It is possible to save the settings you like as a Preset to use them in the future. The presets are also helpful when working in the Batch Processing mode. Learn more about the MakeUp Presets.
- Step 6. You can also make final touches and correct the result in the After tab using the retouching tools:
 ,
,  ,
,  ,
,  ,
,  ,
,  .
.
- Step 7. In the standalone version you can also print the image with
 .
.
- Step 8. Save the processed image.
- If you work with the standalone edition:
Click on the button
 to open the Save as dialog box. Enter a name for the file, choose the format (TIFF, BMP, JPEG, WEBP or PNG) and indicate the target folder.
- If you work with the plugin:
Apply the result by pressing
 . The AKVIS MakeUp plugin will close and the picture will appear in the workspace of the photo editor.
Call the Save As dialog box using the command File -> Save As, enter a name for the file, choose the format and indicate the target folder.
