Retouching Tools
AKVIS MakeUp also offers the post-processing tools which can be applied on the After tab. These retouching tools let you add the finishing touches and perfect your result:  ,
,  ,
,  ,
,  ,
,  ,
,  ,
,  ,
,  .
.
Retouching Tools:
- The Teeth Whitening tool lets you make the teeth whiter. Apply the tool to the image, it will lighten the areas finding edges. The effect is increased with each successive brush stroke.
The tool can be also used to process the whites of eyes.
You can adjust these parameters for the tool:
Size (20-200) affects the tool's diameter.
Smoothing (0-10) affects the degree of the edge softness of the stroke.
Tolerance (0-100%) determines the sensitivity of the tool: the higher the value, the more areas are changed.
Strength (10-100%) defines the how much the image will be whitened.
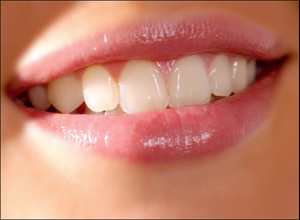
Fragment of the Original Image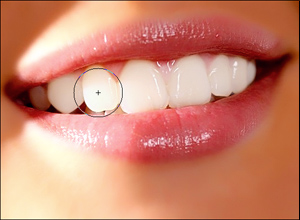
Using the Teeth Whitening Tool - The Red Eye Removal tool lets you correct the red eye defect.
You can change the tool's Size (10-300).
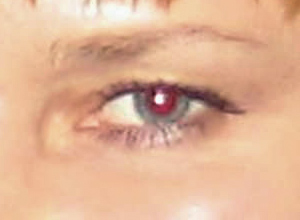
Fragment of the Original Image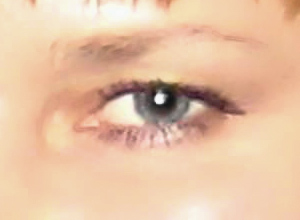
Using the Red Eye Removal Tool - The Spot Remover tool removes small imperfections and "heals" skin problems. Just click with the tool on the defect to remove it.
You can change the Size (7-200) for this tool.
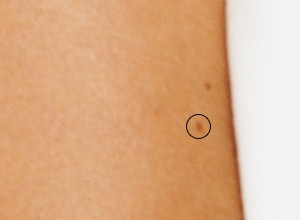
Fragment of the Original Image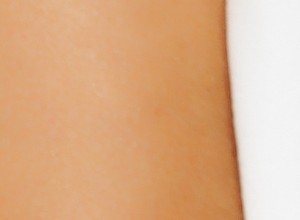
Using the Spot Remover Tool - The Chameleon Brush copies parts of an image from one area to another, while taking into account the color palette, shadows, textures, lighting, and other characteristics of the background, onto which the clone is placed. This tool preserves the texture of the image.
Tools' options:
Size (10-500) - diameter of the brush.
Aligned check-box. You can select the cloning method using the Aligned option. When the check-box is activated, a single clone will be created using information from around the selected source: in this case each time the left mouse button is pressed a clone will be selected from the relevant area. When the check-box is disabled, each time the mouse button is released the cursor returns to the source area, and new clone fragments are created from the same area.
Flip Horizontal. This option allows a clone to be mirrored along the standing axis, i.e. interchanging the left and right sides.
Flip Vertical. This option mirrors a clone by turning the image upside down.
Scaling (20-400%). The size of the clone relative to the original fragment.
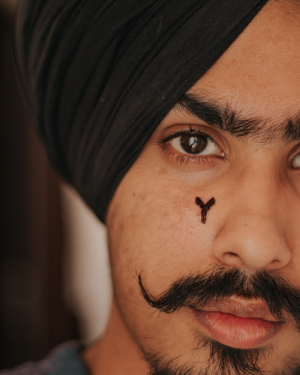
Fragment of the Original Image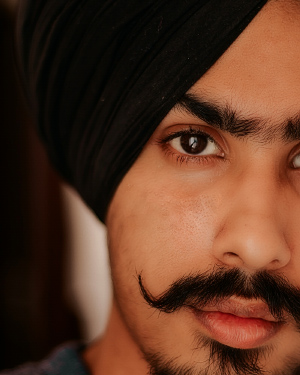
Using the Chameleon Brush - The Blur tool reduces image sharpness by decreasing color contrast between neighboring pixels.
You can adjust these parameters for the tool:
Size (1-200) affects the tool's diameter.
Hardness (0-100%) defines the blurriness of the tool's edges. The less the value the more blurry the tool's edges become.
Radius (0.1-5.0) determines the intensity of the effect on an image. It specifies the area of the points for blurring: at higher values the blurring radius is larger.
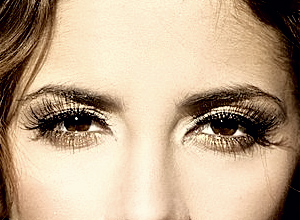
Fragment of the Image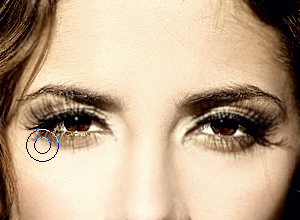
Blurring - The Recolor Brush lets you colorize the result with the selected color.
You can adjust these parameters for the tool:
Color. Specify the brush color in the color field.
Size (1-1000) affects the tool's diameter.
Hardness (0-100%) defines the blurriness of the tool's edges. As this parameter's value increases, the brush edge becomes sharper and more defined.
Strength (1-100%) defines the amount of influence on the image. The higher the parameter's value, the more intense the color overlay becomes.
Fill (1-100%) determines the paint density in each brush stroke. Holding the mouse button while drawing causes strokes to overlap, intensifying the fill effect. Lower values produce thinner, more transparent layers of color.

Fragment of the Original Image
Using the Recolor Brush - The Tuning Brush lets you subtly adjust the colors of an object, enhance shades and midtones, smooth out creases, folds, and wrinkles, and get rid of unwanted tones.
You can adjust these parameters for the tool:
Color. Specify the brush color in the color field.
Size (1-1000) affects the tool's diameter.
Hardness (0-100%) defines the blurriness of the tool's edges. As this parameter's value increases, the brush edge becomes sharper and more defined.
Strength (1-100%) defines the amount of influence on the image.
Smoothing Radius (1-10). At low values, the parameter smooths out larger details. At higher values, it targets finer details while preserving large ones.
Sample (1-100). When set to 0, the brush picks up the color from the stroke's starting point. As the value increases, the original color fades and the palette color becomes more vivid. At 100, only the palette color is applied.
Color Mixing (0-100) defines the amount of blending with the selected color.

Fragment of the Original Image
Using the Tuning Brush - The History Brush restores areas to their original state.
You can adjust these parameters for the tool:
Choose between the restoration modes: Restore to Original/Edit Brushes:
- 1st mode lets you return to the original state. It helps to edit the result without correcting a mask.
- 2nd mode lets you correct the result of the post-processing brushes keeping the effect achieved at the initial stage.Size (1-2000) affects the tool's diameter.
Hardness (0-100%) defines the blurriness of the tool's edges. The less the value the more blurry the tool's edges become.
Strength (1-100%) affects the degree of restoration to the original state.
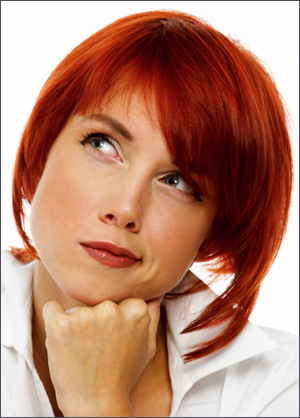
Original Image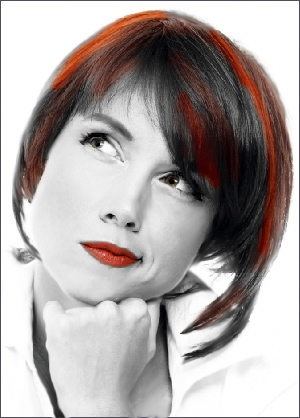
Using the History Brush
MakeUp v. 9.0 - Free 10-day Trial
