Golden Colors of Fall
The example was made in the old version of SmartMask. Now, you can achieve this effect more easily with the new AI-based tools.
The author of this tutorial is Igor Noskov of Russia.
He writes, "One day a friend asked me to print a photo of his mother, but first to add a couple of trees to the background behind her. When I opened this photo, instead of the bright and beautiful colors of fall, I saw a dreary scene. I wanted to add brightness and color and to remove three birch trees, one of which was broken. This tutorial is a good example of how it is possible to get a good result even if the photo has a gloomy, rainy background."


AliveColors was used in this tutorial, but it’s possible to get the same result using any graphics editor which is compatible with the AKVIS SmartMask plug-in.
-
Step 1. Open the original image in the graphics editor.
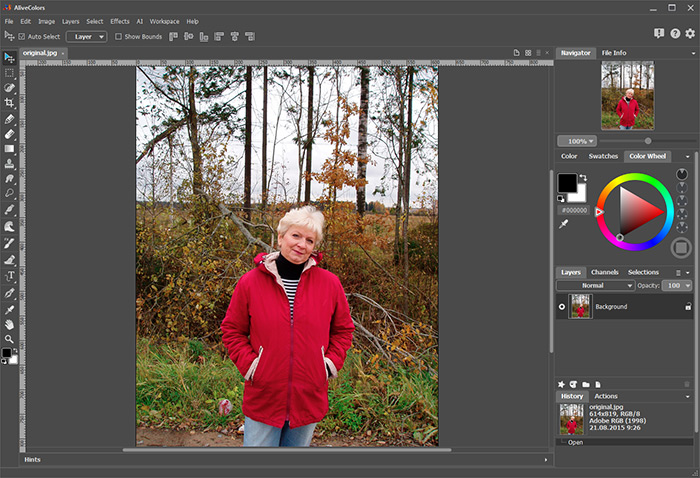
-
Step 2. Make a copy of the layer with the command Layers -> Duplicate.
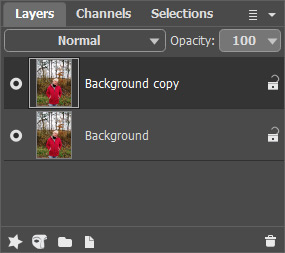
-
Step 3. Call the AKVIS SmartMask plug-in with the command Effects -> AKVIS -> SmartMask.
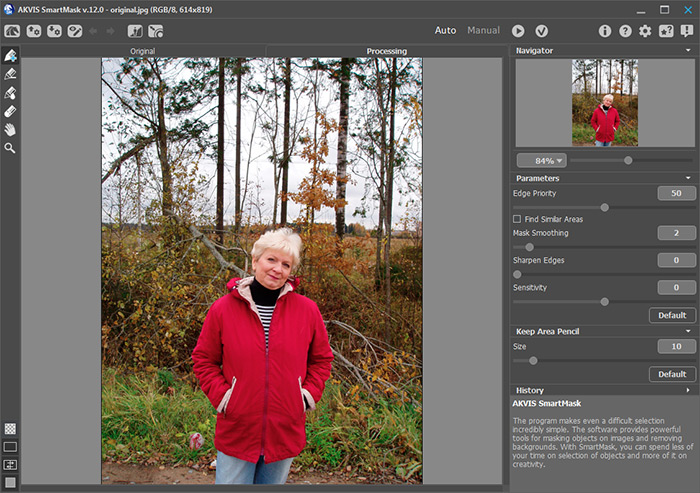
-
Step 4. The program will start in Auto mode, so begin working in it. Select the blue pencil from the Toolbar. Use it to outline within the boundary of the figure. This will be the fragment used in the collage.
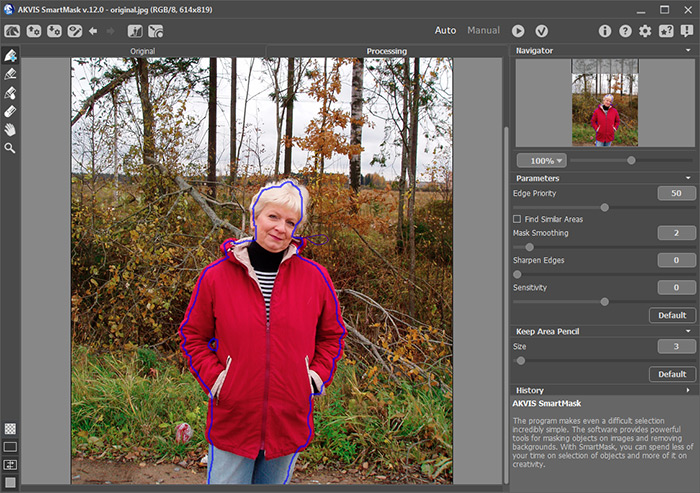
-
Step 5. Next outline the silhouette of the figure with the red pencil, making sure not to cross the blue line. This marks the area which will be removed.
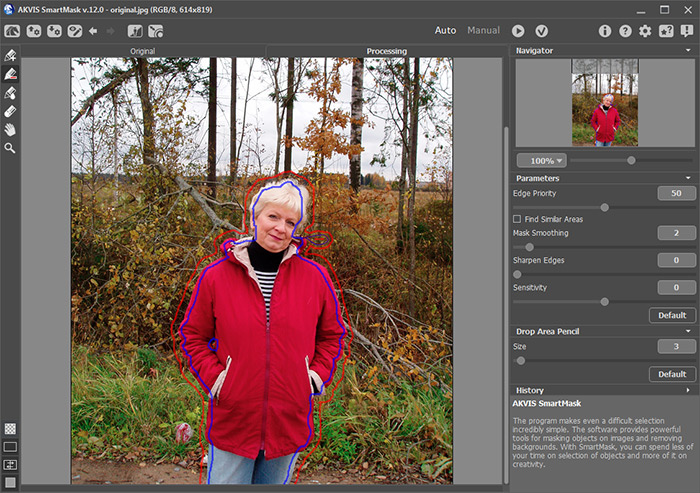
-
Step 6. Start processing by pressing
 . The result will be shown on a transparent background.
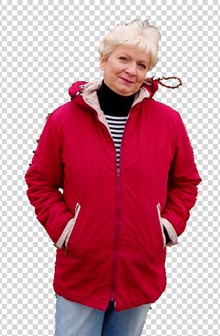
You can switch the Mask View Mode and view the fragment on a color backround.
-
Step 7. The resulting silhouette's edges are too rough, so more work is needed. Choose the green pencil and increase its size. Outline the silhouette's edges.
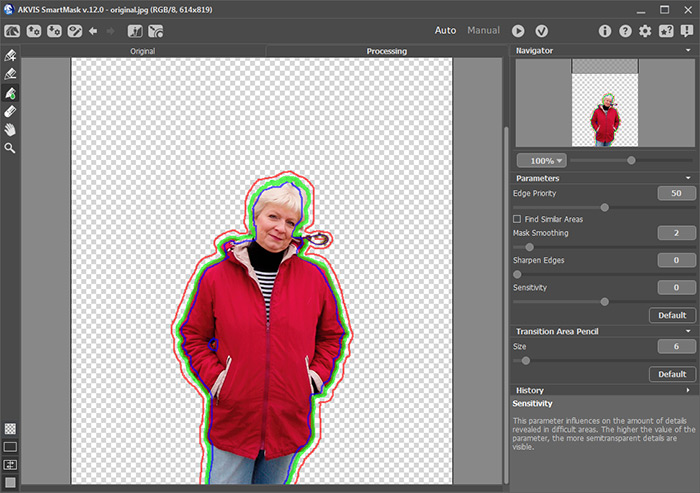
-
Step 8. Press
 to begin processing again. The edges of the silhouette are smoother and the hair is more visible.
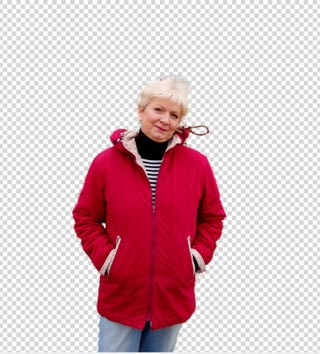
-
Step 9. Press
 to close the plug-in and return the image to the graphics editor.
-
Step 10. Now replace the background. Choose and open a photo of a fall scene in the graphics editor, then copy and paste it into the background of the collage.
If you use the standalone version, just switch to the Custom Background mode and load a new background image.
The photo turned out like this:
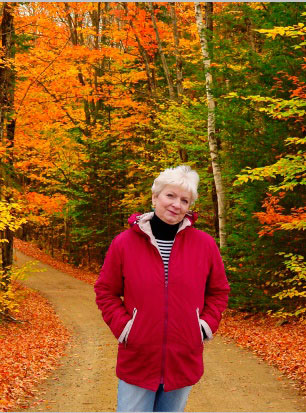
The friend was simply delighted with the result.
