Around the World in One Day
The example was made in the old version of SmartMask. Now, you can achieve this effect more easily with the new AI-based tools.
The author of this example is David Kelly, the UK.
If you want to visit the Seven Wonders of the World for one day or go to the Moon, just do it. Nothing is impossible! Take a photo and create photo montages with AKVIS SmartMask.
Original Image plus Examples:

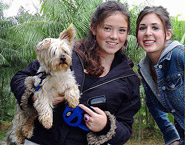
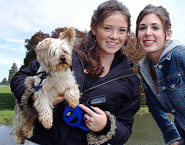
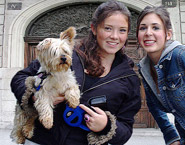
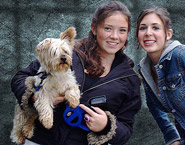
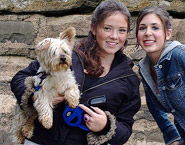
This example has been created in Corel Paint Shop Pro, but you can use any other photo editor compatible with AKVIS SmartMask plugin.
-
Step 1. Open an image in Paint Shop Pro: File -> Open.
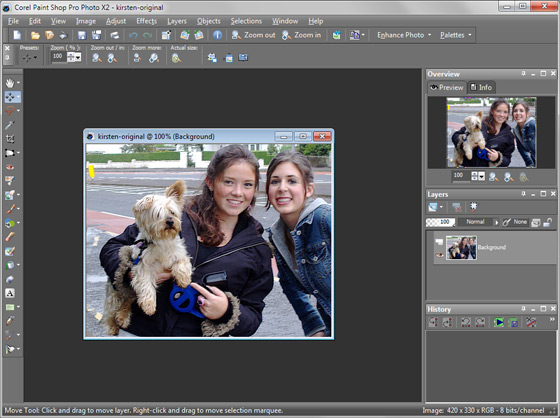
-
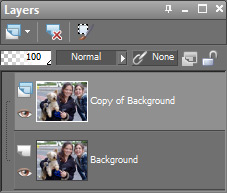
Step 2. Duplicate the original layer by right-clicking on the Background layer, which is located on the Layers palette, then select Duplicate. A copy of the background layer is created.
-
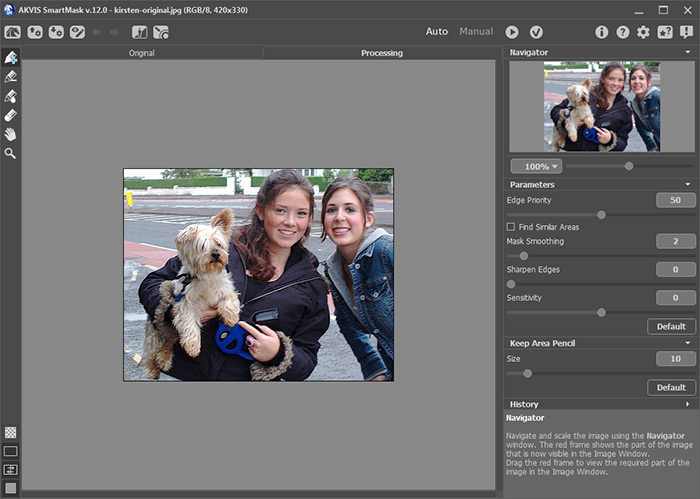
Step 3. Call AKVIS SmartMask plugin: Effects -> Plugins -> AKVIS -> SmartMask.
By default the program initially uses Auto mode, which is adequate for most general masking purposes, and is the mode used exclusively in this tutorial.
-
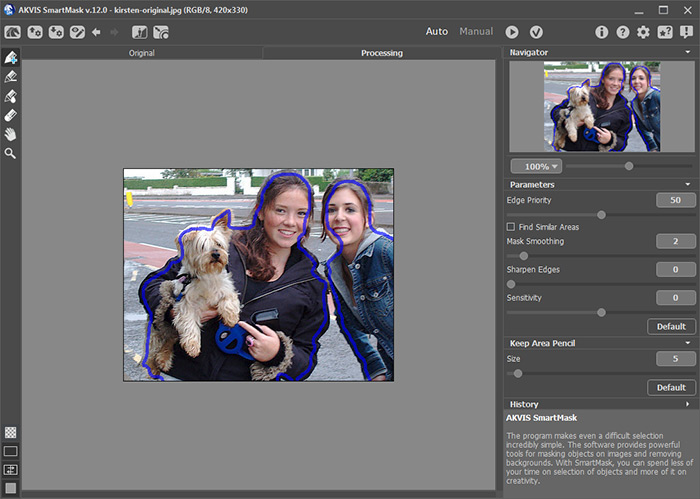
Step 4. Select the Keep Area Pencil
 located top of the left side vertical tool bar, and using the Size slider located in the Settings Panel adjust the brush to a suitable size.
Next carefully draw an outline inside the figures, including around any gaps through which the background is visible. Care should be taken not to allow the blue lines to stray into any background area.
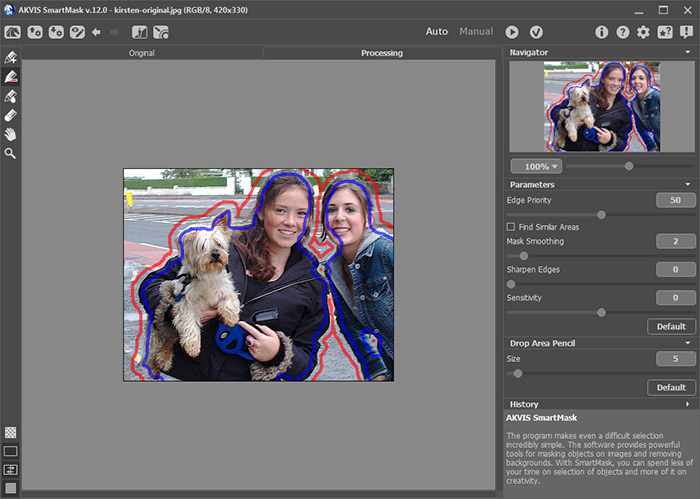
Next select the Drop Area Pencil
 , and with a suitably sized brush carefully outline the background, near to, but not touching the blue lines.
-
Step 5. Click the
 button to start image processing.
-
Step 6. The result will be shown on a transparent background.
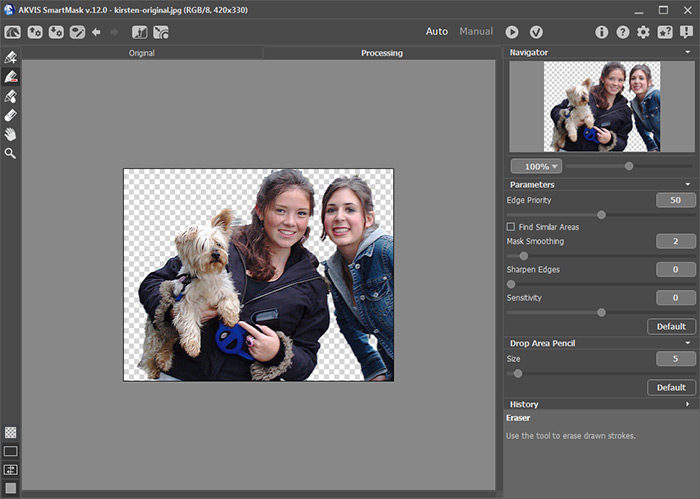
You can view the fragment on a color background by clicking the button
 .
.
-
Step 7. Click on
 to apply the result and return to PSP’s workspace.
- Step 8. Copy the fragment: select the image with the command Selection -> Select All (Ctrl+A), then use the command Edit -> Copy (Ctrl+C).
- Step 9. Open an image with a new background.
- Step 10. Paste the fragment to the replacement background: Ctrl+E.
-
Step 11. You can change the size of the background or resize the fragment. Use Deform Tool (D).
When finished name and save the layered image as a .psp or .psd file. This will retain the separate layers, which if required can be renamed before saving.
Before saving as another file type flatten the image by right-clicking the Background layer, selecting Merge then Merge All (Flatten).
