Adjustment and Single-Shot HDR Effect
The Adjustment tab lets you improve a photo or create an HDR effect from one single image.
We need several photos of one scene, taken at different exposures, to create an HDR image. But sometimes it's impossible (for example, the camera does not have bracketing mode or it's not possible to stabilize the camera). Therefore often there is only one photo, whose details in dark and light areas are hidden. For example, a picture can have a well-defined landscape but a bright, white, featureless sky.
Use the parameters of this tab to reveal details in the darkest and brightest areas, to give an image depth, and increase color saturation. It can help you whether you want to make small corrections or give your image a dramatic HDR look.
Note: When creating a real HDR image from a set of photos in HDRI tab, you can use the Adjustment tab as the 2nd step, to make additional corrections.
-
Step 1. The photo will be automatically processed. The result will be shown in the After tab.
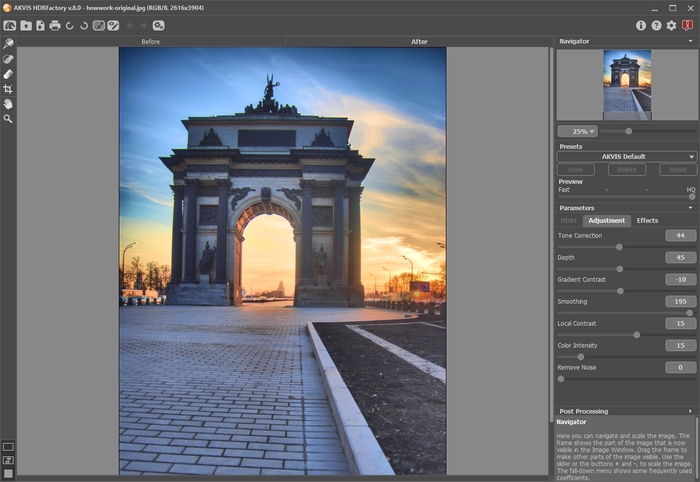
Image Adjustment with Default Settings - Step 2. Select the value of the Preview parameter. It’s an auxiliary tool, it does not influence the real size of the image. The original image will stay the same and all details of the original image will be kept.
-
Step 3. You can use one of the standard presets or adjust the settings as you like:
-
Tone Correction (0-100). The degree of change in the brightness of an image with respect to its surroundings. Dragging the slider to the right increases the impact of this parameter. It can reveal details in overexposed or washed-out areas.
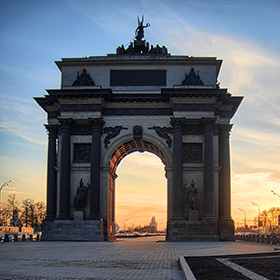
Tone Correction = 20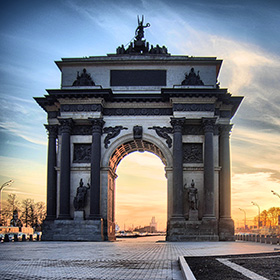
Tone Correction = 70 -
Depth (1-100). This parameter affects the depth of the image. When it is increased the picture becomes more voluminous.
Attention! If Tone Correction is 0, changing Depth will have no affect on the image.
We recommend you firstly adjust Tone Correction, then little by little change Depth to get details in both light and darks areas. If you are not satisfied with the result, change the first parameter and then the second one.
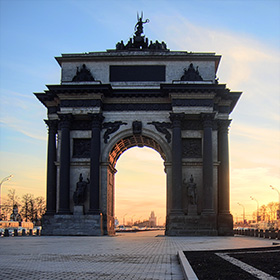
Depth = 1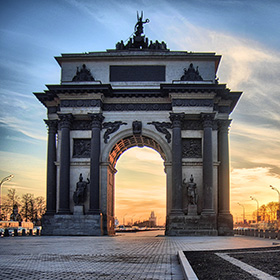
Depth = 100 -
Gradient Contrast (-100..100). This parameter affects contrast in gradient areas. When you move the cursor to the right from 0, the contrast increases, and when to the left, the contrast reduces.
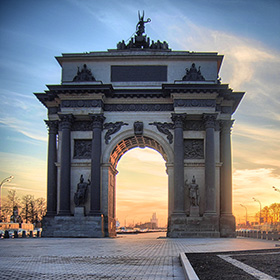
Gradient Contrast = -50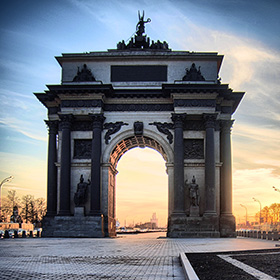
Gradient Contrast = 50 -
Smoothing (0-200). High values for the first two parameters can reveal noise. This parameter helps to reduce noise while not significantly affecting the clarity of boundaries. If this parameter is set to a high value the image’s volume decreases.
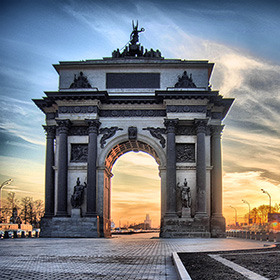
Smoothing = 15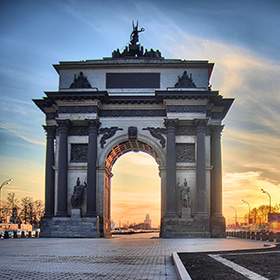
Smoothing = 150 -
Local Contrast (-100..100). This parameter increases the difference between pixels on the edges of the light and dark areas, it strengthens the details giving them a volume. This local change in contrast mainly affects midtone areas. As this parameter is increased the image becomes sharper.
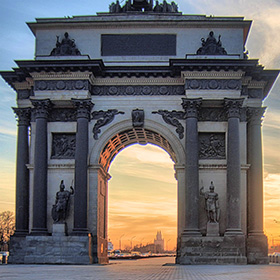
Local Contrast = -50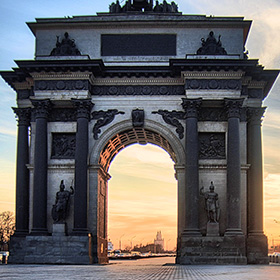
Local Contrast = 50 -
Color Intensity (0-100). Increasing this parameter increases the intensity of all colors in the image. At higher values this may cause noise. If the photo was processed before in other programs, and the original color information was lost, using this parameter could cause an unexpected result. It could, for example, lead to a decrease in the intensity of color in some areas of the picture.
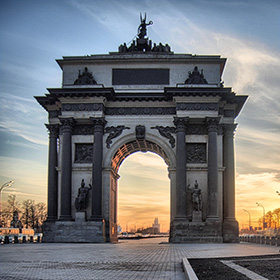
Color Intensity = 10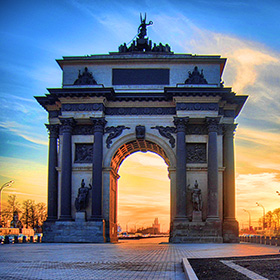
Color Intensity = 60 -
Remove Noise (0-25). The parameter lets removing noise and defects by increasing the level of smoothness. The higher the value, the smoother the result is.
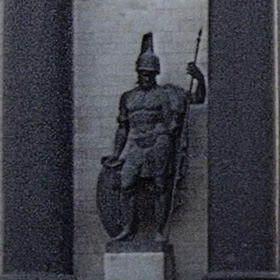
Remove Noise = 0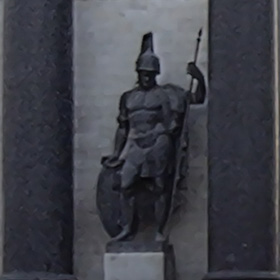
Remove Noise = 10
Image processing will start automatically and any changes will be displayed in real time, in the After tab.
Here is the result:
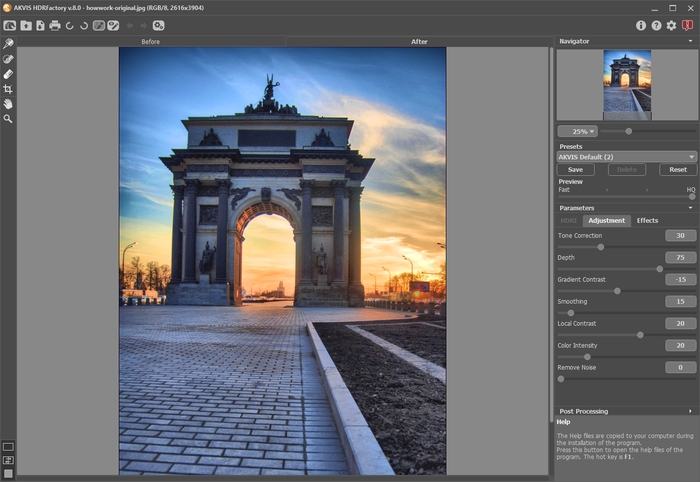
ResultNote: It's possible to apply additional effects to the image using the Effects tab.
With the Home Deluxe/Business license, you can also use the Local Correction
 mode to refine the result on certain areas.
-
Tone Correction (0-100). The degree of change in the brightness of an image with respect to its surroundings. Dragging the slider to the right increases the impact of this parameter. It can reveal details in overexposed or washed-out areas.
- Step 4. If you like the new settings you can save them as a preset and use them later. To save the settings, enter a name for the preset in the Presets field and press the button Save.
